Is a Rowing Machine Good for Lower Back Pain
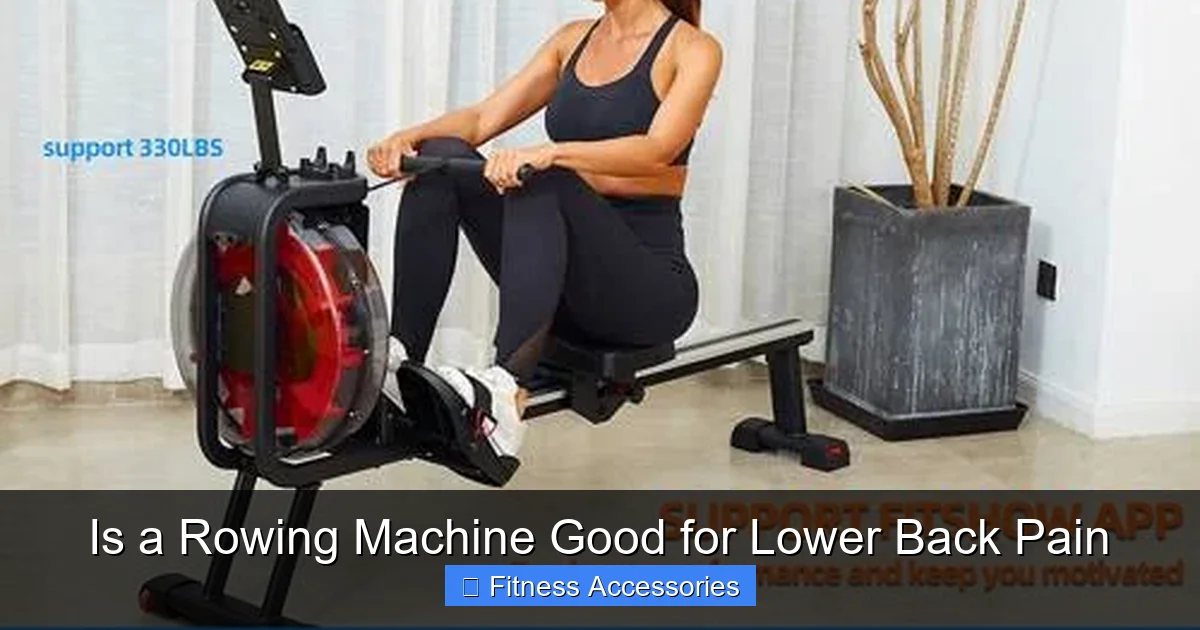
Wondering if a rowing machine can help your lower back pain? Rowing offers a low‑impact, full‑body workout that can strengthen the core and improve posture, but technique is key. Follow our guide to use a rower safely and reap the back‑friendly benefits.
Key Takeaways
- Proper form matters: Correct posture and a smooth drive prevent strain on the lumbar spine.
- Core activation helps: Rowing engages deep abdominal muscles that support the lower back.
- Low‑impact cardio: The seated motion reduces joint stress compared to running or jumping.
- Start slow: Begin with short, easy sessions and gradually increase duration and intensity.
- Equipment matters: Choose a rower with adjustable foot straps, a comfortable seat, and smooth resistance.
- Combine with stretching: Post‑row stretches keep the hamstrings and hip flexors from pulling on the back.
- Consult professionals: If pain persists, see a doctor or physical therapist before continuing.
📑 Table of Contents
Introduction: Rowing and Your Lower Back
Back pain is one of the most common reasons people avoid exercise. It feels like a catch‑22: you want to move to feel better, but moving sometimes makes the pain worse. Rowing machines are often praised for being low‑impact and full‑body, but can they be a friend or foe to a sore lower back? The short answer is: yes, they can be good—if you use them correctly.
In this article we’ll break down how rowing works, why it can help (or hurt) the lumbar region, and give you a step‑by‑step plan to row safely. Think of it as a conversation over coffee, where I share the exact tips I’d give a friend who’s just starting out with a back issue.
How a Rowing Machine Works
The four phases of a rowing stroke
Every row follows a repeatable pattern: catch, drive, finish, and recovery. Understanding each phase is essential because the lower back is most vulnerable during the transition from drive to recovery.
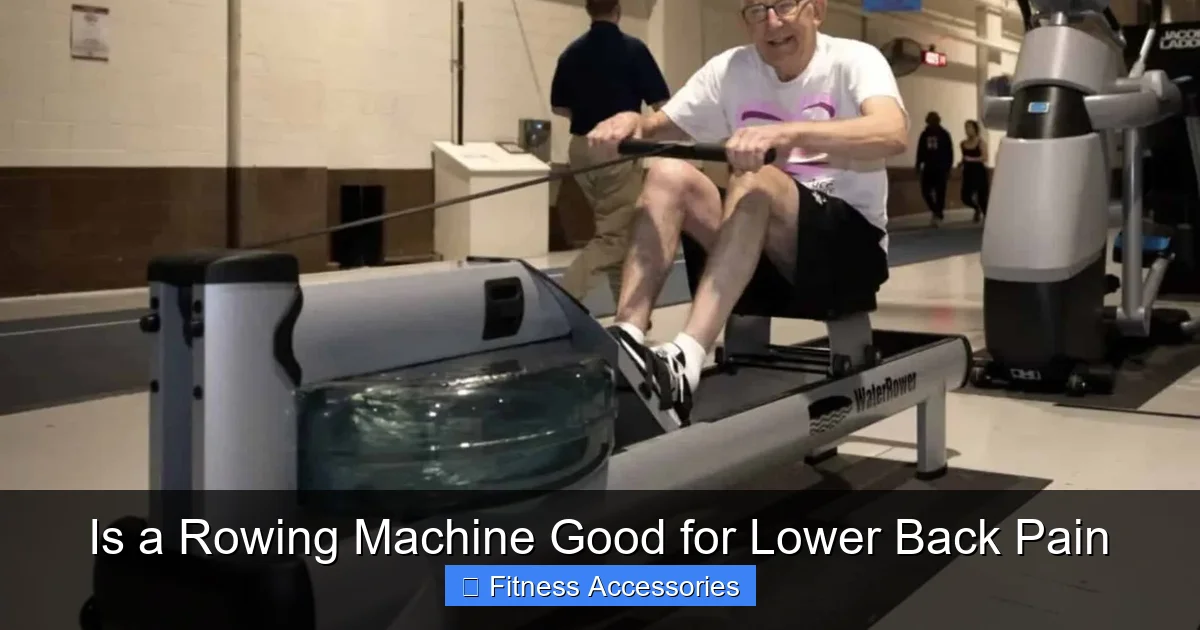
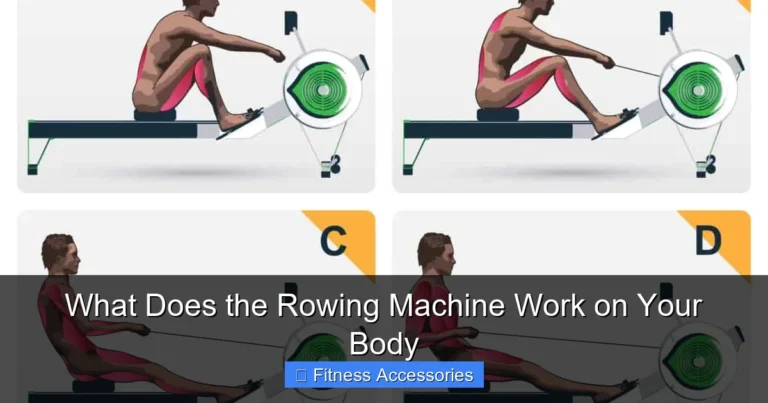
Visual guide about Is a Rowing Machine Good for Lower Back Pain
Image source: rowingmachineking.com
- Catch: You sit tall, knees bent, shins vertical, and arms extended. The spine is in a neutral, slightly forward‑tilted position.
- Drive: Push through the heels, straighten the legs, then lean back slightly while pulling the handle toward your chest.
- Finish: Legs are straight, torso leans back ~5‑10°, and the handle is pulled to the lower ribs.
- Recovery: Reverse the motion—arms out, torso forward, then bend the knees to return to the catch.
Why the motion is gentle on the spine
Unlike running, rowing keeps all impact off the ground. Your weight is supported by the seat, and the resistance comes from a flywheel or magnetic system, not from pounding the floor. This seated, sliding motion reduces compressive forces on the vertebrae, making it a popular choice for low‑impact cardio.
Benefits of Rowing for Lower Back Pain
Strengthening the core
The core isn’t just the “six‑pack.” It includes deep abdominal muscles (transverse abdominis), the obliques, and the erector spinae. Rowing forces you to engage these muscles to stabilize the torso during the drive. Over time, a stronger core acts like a natural brace for the lumbar spine, decreasing pain.
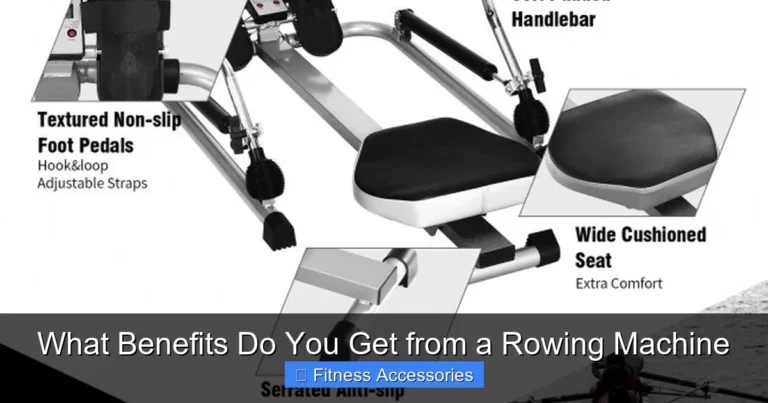
Visual guide about Is a Rowing Machine Good for Lower Back Pain
Image source: rowingmachineking.com
Improving posture
Many back problems stem from a slouched posture that puts extra load on the lower back. Rowing requires you to sit tall, keep the chest open, and pull the shoulders back—habits that translate to everyday life. Consistent practice can re‑educate your body to maintain a healthier alignment.
Boosting circulation
Cardio increases blood flow to the muscles and discs in the spine, delivering nutrients and flushing out waste. Better circulation can speed up the healing of minor strains and reduce stiffness.
Low impact, high calorie burn
Because you stay seated, the joints and spine experience far less shock than high‑impact activities. Yet you still burn 400‑600 calories per hour, making rowing an efficient way to stay fit without aggravating pain.
Risks and Common Mistakes
Rounding the lower back
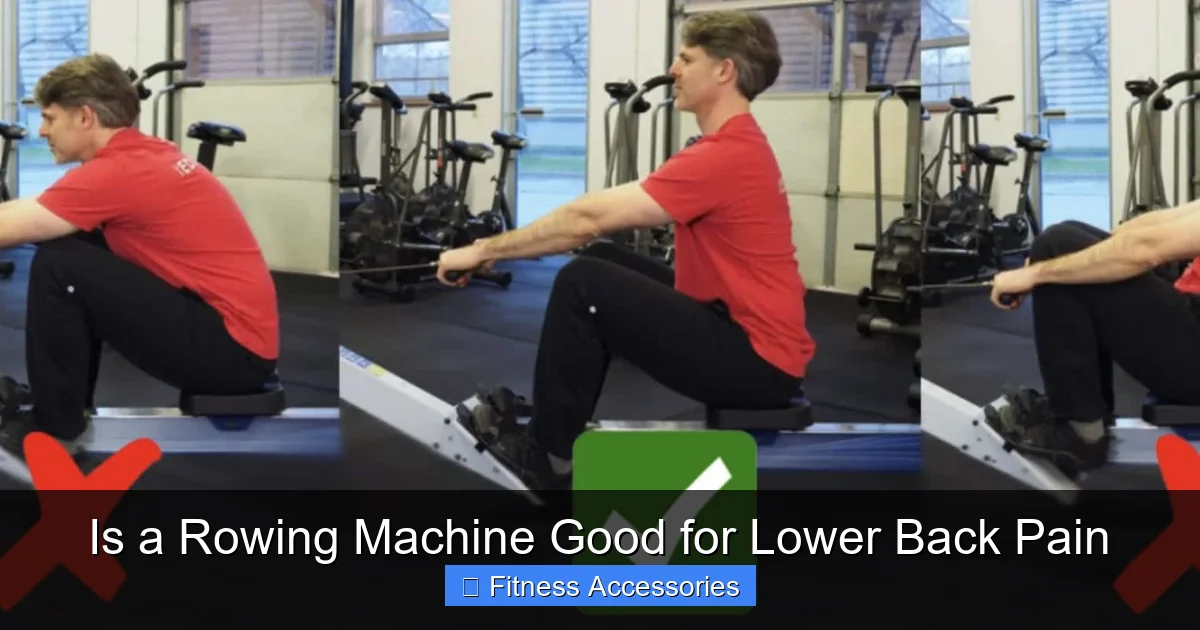
The most frequent error is allowing the lumbar spine to round during the drive. This creates a “flexion‑extension” pattern that spikes pressure on the discs. If you feel a “crunch” or sharp ache, you’re probably rounding.

Visual guide about Is a Rowing Machine Good for Lower Back Pain
Image source: litmethod.com
Over‑reaching with the arms
Pulling too hard with the arms before the legs are fully extended shifts the load forward, forcing the lower back to compensate. The correct sequence is legs → hips → arms, not the other way around.
Using too much resistance
Beginners often crank up the damper or weight to feel they’re working hard. Too much resistance forces a jerky motion, which can strain the back. Start light; focus on smooth, controlled strokes.
Improper seat positioning
If the seat is too far forward, you’ll have to hunch to reach the handle; too far back and you’ll over‑extend the hips. Most rowers have a sliding seat that should allow your shins to be vertical at the catch.
How to Row Safely with Lower Back Pain
Step‑by‑step setup
- Adjust the foot straps: Place the strap just above the ball of your foot. Your heels should stay down during the drive.
- Set the damper/resistance: Begin at a low setting (e.g., 3‑4 on a 10‑level air rower). You can increase gradually after 2‑3 weeks.
- Check the seat position: Sit so that when you’re at the catch, your shins are vertical and your knees are just past the toes.
- Find your neutral spine: Sit tall, shoulders relaxed, and imagine a string pulling the crown of your head upward.
Technique checklist
- Catch: chest up, shoulders forward, arms straight, hips hinged, spine neutral.
- Drive: push with the heels, straighten legs, then lean back slightly (5‑10°) while pulling the handle to your lower ribs.
- Finish: legs straight, torso slightly leaned back, handle close to your body.
- Recovery: extend arms first, hinge hips forward, then bend knees to return to the catch.
Sample beginner workout
Goal: 15‑minute session, 3 days a week.
- Warm‑up: 3 minutes of easy rowing (light resistance, focus on form).
- Intervals: 5 × 1‑minute rows at moderate pace, 1‑minute easy recovery between.
- Cool‑down: 3 minutes of slow rowing, followed by static stretches (hamstring, hip flexor, thoracic spine).
Complementary exercises
Pair rowing with targeted core work to maximize back support:
- Dead bugs – 2 sets of 10 reps per side.
- Bird‑dogs – 2 sets of 8 reps per side.
- Cat‑cow stretch – 1 minute, moving slowly.
Choosing the Right Rowing Machine
Types of resistance
- Air rowers: Mimic the feel of a boat moving through water. Resistance increases with stroke speed, which can be a double‑edged sword for beginners.
- Magnetic rowers: Offer smoother, quieter operation and consistent resistance regardless of speed—ideal for low‑impact rehab.
- Water rowers: Provide a realistic “swish” sound and natural resistance curve, but can be heavier and pricier.
Key features for a back‑friendly rower
- Adjustable foot straps and seat rails.
- Comfortable, padded seat with a slight tilt.
- Easy‑to‑read performance monitor (stroke rate, distance, split).
- Quiet operation (especially important if you’re in an apartment).
Budget recommendations
Below $500: Concept2 Model D (used) or Sunny Health & Fitness Magnetic Rower. Mid‑range $500‑$1000: Concept2 Model D (new) or WaterRower Club. Premium $1000+: Hydrow or NordicTrack RW900. All have solid reviews for ergonomics and durability.
When to Seek Professional Help
Red flags
If you experience any of the following, pause rowing and consult a medical professional:
- Sharp, shooting pain down the leg (possible sciatica).
- Numbness or tingling in the buttocks or legs.
- Pain that worsens despite proper form and low resistance.
- Recent disc herniation or spinal surgery without clearance.
What a physical therapist can do
A PT can assess your movement patterns, suggest specific mobility drills, and customize a rowing program that respects your injury history. Many therapists also use EMG biofeedback to teach you how to engage the right core muscles.
Conclusion: Rowing as a Back‑Friendly Cardio Choice
When done with attention to form, a rowing machine can be a powerful ally against lower back pain. It strengthens the core, improves posture, and delivers a low‑impact cardio workout that keeps the spine happy. Start with low resistance, focus on the sequence of legs‑hips‑arms, and pair your sessions with stretching and core‑activation exercises. Listen to your body, and don’t hesitate to get professional guidance if pain persists.
Give it a try—your back (and your fitness goals) will thank you.
Frequently Asked Questions
Can rowing worsen existing lower back pain?
If you row with poor form—especially rounding the lower back—it can aggravate pain. Start with light resistance and focus on a neutral spine to avoid worsening symptoms.
How long should a beginner with back pain row each session?
Begin with 10‑15 minutes, three times a week. Gradually add 2‑5 minutes as your comfort and strength improve, never exceeding 30 minutes until you’re pain‑free.
Is a magnetic rower better than an air rower for back issues?
Magnetic rowers provide smoother, consistent resistance and are quieter, which can make it easier to maintain controlled movements—often a safer choice for beginners with back concerns.
Do I need a warm‑up before rowing?
Yes. A 3‑minute easy row or dynamic stretches (leg swings, torso rotations) prepares the muscles and reduces the risk of strain.
Can I combine rowing with other cardio if I have lower back pain?
Absolutely. Low‑impact options like swimming, cycling, or elliptical can complement rowing, giving variety while still protecting the spine.
What post‑row stretches help the lower back?
Try a seated forward fold, child’s pose, and a supine knee‑to‑chest stretch. Hold each for 20‑30 seconds to release tension in the hamstrings and lumbar area.