How to Make a Handle Bar Holder for Treadmill
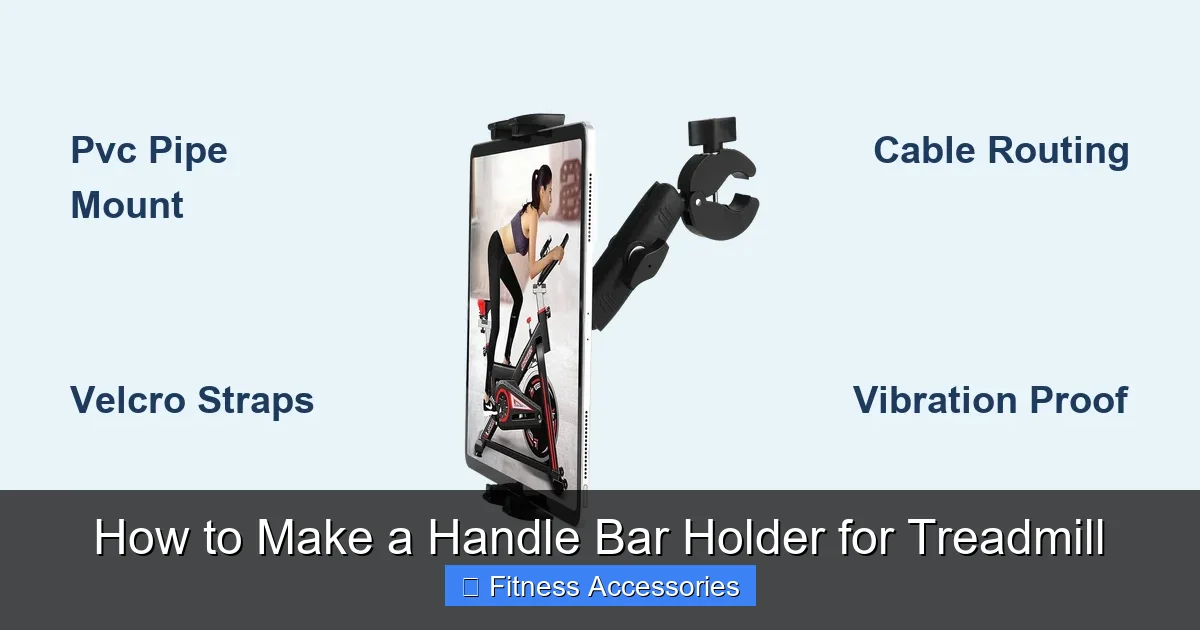
Tired of your treadmill’s console or accessories having nowhere to go? Building your own handle bar holder for treadmill is a simple, cost-effective DIY project. This guide provides everything you need, from a parts list to detailed assembly instructions, ensuring a secure and functional storage solution for your home gym.
Key Takeaways
- Safety First: A poorly secured holder is a hazard. Always test stability thoroughly before placing weight on it.
- Material Matters: Schedule 40 PVC is the best beginner-friendly option—it’s strong, cheap, and easy to work with.
- Measure Twice, Cut Once: Precise measurements of your treadmill’s bar diameter and your desired holder dimensions are critical for a perfect fit.
- Tool Checklist: You likely only need a saw, drill, sandpaper, and zip ties or clamps—no specialized workshop required.
- Customization is Key: The beauty of DIY is tailoring the holder’s size, shape, and added features (like hooks or padding) to your specific gear.
- It’s About Function: The primary goal is secure, accessible storage for your remote, towel, water bottle, or phone during your workout.
📑 Table of Contents
- Introduction: Your Treadmill Deserves Better Organization
- Why Build Your Own? The Advantages of a DIY Holder
- Planning and Design: Measuring Your Treadmill
- Step-by-Step Build: From Pipe to Perfect Holder
- Installation and Safety: The Final Checklist
- Beyond the Basics: Advanced Customization Ideas
- Conclusion: Your Workout, Your Rules
Introduction: Your Treadmill Deserves Better Organization
Let’s set the scene. You’re in the zone on your treadmill, heart rate up, podcast blasting, when you need to adjust the speed. You fumble for the remote, but it’s on the floor. Your towel slips off the end of the bar. Your water bottle teeters precariously. Annoying, right? The built-in cupholders on many treadmills are either too small, too flimsy, or in an awkward spot. The space around the handlebars is prime real estate, left frustratingly bare.
Instead of buying a generic, overpriced accessory that might not fit your specific model, you can take matters into your own hands. Making a custom handle bar holder for treadmill is an incredibly rewarding weekend project. It’s not about being a master carpenter; it’s about solving a problem with clever, simple design. This guide will walk you through every single step, from looking at your treadmill with a new eye to admiring your finished, perfectly functional creation. We’ll focus on a supremely adaptable method using PVC pipe, a material that’s as forgiving as it is strong. Get ready to transform that wasted space into your workout’s command center.
Why Build Your Own? The Advantages of a DIY Holder
Perfect Fit for Your Unique Setup
Every treadmill model has a slightly different handlebar diameter, shape, and surrounding space. A one-size-fits-all store-bought solution often involves compromises—it might be too wide, too narrow, or require awkward straps. When you build it yourself, you measure your treadmill’s exact bar circumference. You design the holder’s inner diameter to slip on snugly. You decide if it needs a wide shelf for a tablet or a dedicated hook for your headphones. This is custom-fit storage, tailored precisely to your machine and your habits.

Visual guide about How to Make a Handle Bar Holder for Treadmill
Image source: i.ytimg.com
Unbeatable Cost Efficiency
A quick search for “treadmill accessory holder” can yield options costing $30, $50, or even $100. The materials for a robust PVC handle bar holder for treadmill will likely cost you less than $10. A few feet of pipe, a couple of fittings, some screws, and you’re in business. For the price of a fancy coffee, you get a permanent, durable solution.
Total Creative Control
Maybe you want a simple ring. Maybe you want a multi-tiered shelf. Maybe you want to integrate a foam roller holder or a spot for your resistance bands. When you’re the builder, the only limit is your imagination (and basic physics). You can paint it to match your gym’s aesthetic, add soft foam padding to protect your equipment, or design it to be easily removable. This level of personalization is simply not available off the shelf.
Planning and Design: Measuring Your Treadmill
Before you buy a single piece of material, you need to become an expert on your treadmill’s handlebar. This is the most important step. Rushing this leads to a holder that doesn’t fit, wobbles, or can’t support weight.
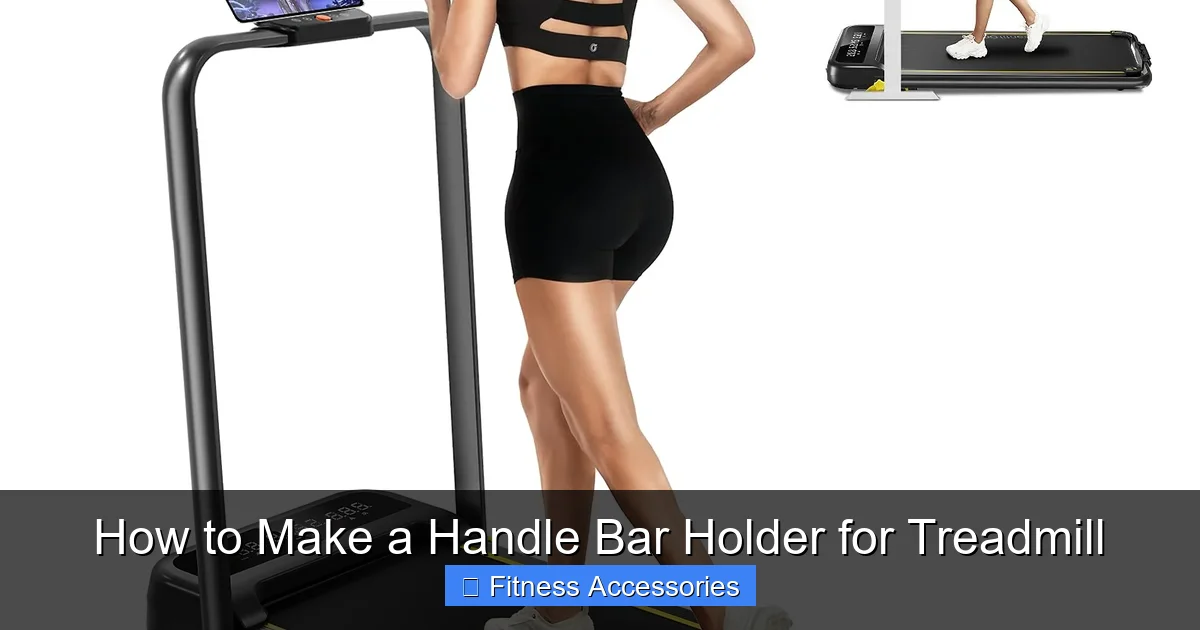
Visual guide about How to Make a Handle Bar Holder for Treadmill
Image source: images-na.ssl-images-amazon.com
Step 1: The Critical Diameter Measurement
Grab a flexible tape measure or a piece of string and a ruler. Wrap it around the section of the handlebar where you want the holder to sit. This is usually the straight, horizontal portion. Take the circumference measurement in inches. Now, do the math: Diameter = Circumference ÷ π (3.14159). For example, a circumference of 6.28 inches gives a diameter of 2 inches. Write this number down. This is your inner diameter for the PVC pipe ring. You’ll want a slightly looser fit (maybe 1/8” to 1/4” larger) to make it easy to slip on and off, but not so loose it spins freely.
Step 2: Defining the Function
Look at your current workout chaos. What do you need to store?
- Remote Control: A small notch or clip on the side of the ring is perfect.
- Water Bottle/Towel: You’ll need a flat surface or a dedicated loop. Consider a shelf that extends out from the ring.
- Phone/Tablet: This requires a sturdy, flat platform. You might design a wider “T” or “L” shaped top.
- Headphones: A simple hook protruding from the ring solves this.
Sketch this on paper. A simple circle with a small tab for a remote is the easiest. A circle with a flat platform on top is more complex but very useful.
Step 3: Material Choice: PVC vs. Wood vs. Metal
For 95% of home users, Schedule 40 PVC pipe is the champion. It’s lightweight, doesn’t require power tools for basic cuts (a hacksaw or PVC cutter works), is rust-proof, and is incredibly cheap. Wood (like pine) can work but is heavier and may require more tools for clean joints. Metal (conduit) is strong but harder to cut and bend without specialized tools. Stick with PVC for your first build. You’ll need:
- 1” or 1-1/4” diameter Schedule 40 PVC pipe (length depends on your design)
- Appropriate PVC fittings (90° elbows, T-fittings, couplings)
- PVC cement (optional, for a permanent bond; zip ties are great for a removable version)
- Self-tapping screws (to attach shelves/platforms)
- Sandpaper
- Spray paint (optional, for aesthetics)
Step-by-Step Build: From Pipe to Perfect Holder
Let’s build a versatile, two-part holder: a main ring that slips onto the bar, and a small shelf/platform on top for a phone or water bottle. This design is stable and useful.
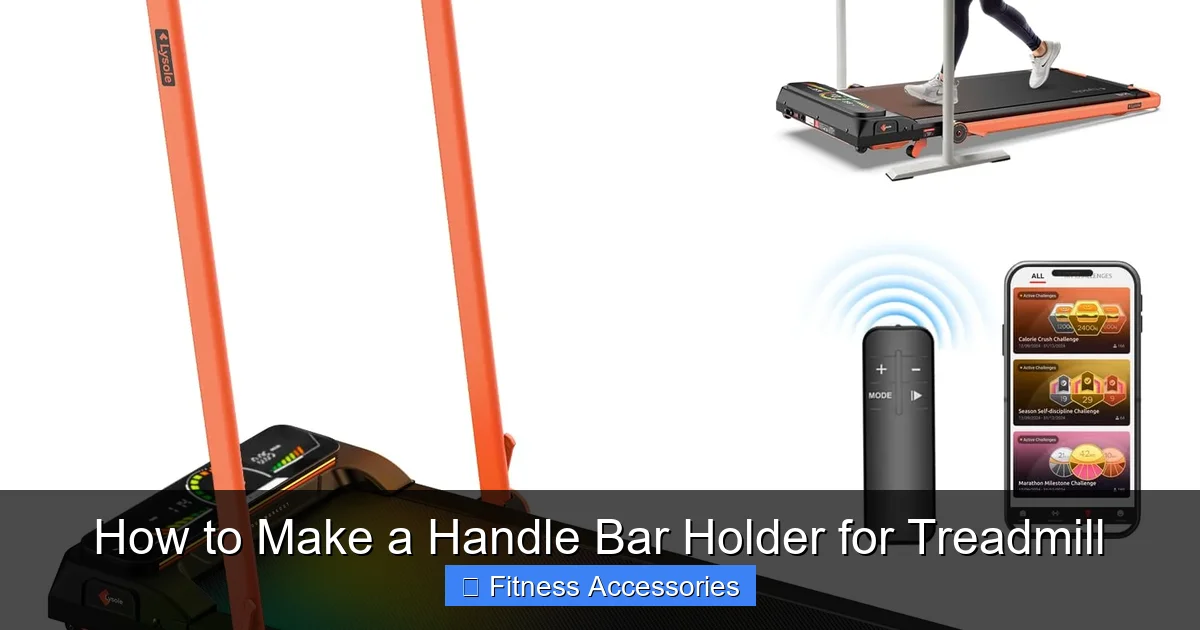
Visual guide about How to Make a Handle Bar Holder for Treadmill
Image source: images-na.ssl-images-amazon.com
Phase 1: Cutting and Prepping
Using your calculated inner diameter, determine the length of pipe needed for the main ring. The formula is: Ring Length = Desired Inner Diameter x π. For a 2-inch inner diameter ring, you need a piece of pipe about 6.28 inches long. Cut this piece squarely with a hacksaw or PVC pipe cutter. Deburr the cut ends with sandpaper—this prevents cracking and makes assembly smoother.
For the shelf, cut a piece of pipe to your desired width (e.g., 6-8 inches) for the front lip. You’ll also need two short side supports (3-4 inches each).
Phase 2: Assembly (The Non-Permanent Way)
We recommend using heavy-duty zip ties (also called cable ties) for assembly. This makes the holder removable for cleaning or treadmill maintenance and avoids the mess of PVC cement.
- Form the Ring: Bring the ends of your cut pipe piece together to form a circle. Use 3-4 large zip ties (12” or 18” ones are ideal) to tightly bind the seam. Pull them as tight as humanly possible. Trim the excess tie ends.
- Create the Shelf Frame: Using a T-fitting, attach your shelf front piece to the top of the ring. The T-fitting’s stem should point upward. On either side of this T, attach an elbow fitting, pointing outward and slightly upward (about a 45° angle). Into these elbows, insert your two side support pieces. You now have a basic “U” shaped frame sitting on top of the ring.
- Add the Platform: For the actual shelf surface, you have options. A thin piece of plywood or plastic (like a cutting board) cut to size is perfect. Drill pilot holes and screw it down through the top of the T-fitting and the side supports. Alternatively, you can use more PVC pipe to create a grid-like surface, but a solid board is simpler and more stable for items like phones.
Phase 3: Finishing Touches and Customization
Sand the entire assembly smooth, especially any cut edges. Now is the time for paint. Spray paint designed for plastic gives a professional finish and lets you color-code your gym. Apply light, even coats.
Add your functional extras:
- Remote Clip: Glue or zip-tie a small plastic binder clip to the side of the ring.
- Grip Padding: Wrap the inner circumference of the ring with thin foam pipe insulation or adhesive-backed felt. This protects your treadmill’s paint from scratches and adds friction to prevent spinning.
- Hook: Install a small screw-in hook (like for keys) on the front of the shelf for headphones.
- Bungee Cord Security: For extra security on the ring, drill two small holes opposite each other and thread a short bungee cord through. Stretch it around the handlebar underneath the ring to lock it in place.
Installation and Safety: The Final Checklist
Your handle bar holder for treadmill is built and painted. Now, the critical moment.
The Dry Fit and Stability Test
Before you put anything on it, slip the ring onto your treadmill’s handlebar. It should fit snugly but require a little bit of pressure to get on. It should not easily rotate. Give it a firm side-to-side wiggle. There should be minimal play. If it’s too loose, you can add a layer of rubber or foam inside the ring. If it’s too tight, very carefully sand a tiny bit from the inside.
Load Testing—Do Not Skip This
This is non-negotiable. Start with a light weight, like your water bottle. Place it on the shelf. Jog at a very slow speed (2.0 mph). Observe. Does the holder shift, twist, or wobble? Listen for any creaking from the PVC joints. Increase the speed incrementally. Test with your heaviest item you plan to store (a full gallon water bottle, a large phone in a bulky case). If at any point it feels unstable, stop. You may need to tighten your zip ties further, add more cross-bracing with small PVC pieces, or reconsider the load capacity.
Long-Term Maintenance
PVC can become brittle over years of sun exposure (if your gym is sunny). Give your holder a visual inspection monthly. Check for cracks, especially at stress points like the zip tie seams and joint corners. The beauty of the zip-tie method is you can easily replace a single broken section. Keep your treadmill’s handlebar clean under the ring to prevent grime buildup that could cause slipping.
Beyond the Basics: Advanced Customization Ideas
Once you’ve mastered the basic ring-and-shelf, level up your handle bar holder for treadmill game.
Multi-Tiered Systems
Use multiple T-fittings stacked vertically to create two shelves. Top shelf for your phone/tablet, lower shelf for your water bottle and remote. Just be mindful of the overall height so it doesn’t interfere with your arm swing.
Integrated Resistance Band Storage
Drill several small holes (about 1/4”) through the side supports of your shelf frame. Cut short pieces of PVC pipe (2-3 inches) and glue them vertically into these holes. You now have perfect pegs to wind your resistance bands around, keeping them tidy and tangle-free.
The Removable Solution
Design your entire holder to be tool-free removable. Use large, locking plastic hinges (available at hardware stores) instead of permanent joints. This lets you pop the whole unit off in seconds when you need to fold the treadmill or do maintenance, and just as easily snap it back on when you’re ready to run.
Aesthetic Upgrades
Don’t just paint it a solid color. Use painter’s tape to create stripes or geometric patterns. Apply a coat of clear matte polyurethane over the paint for extra durability and a slightly grippier surface. You can even glue on small rubber feet or furniture pads to the bottom of the shelf to dampen any vibration noise.
Conclusion: Your Workout, Your Rules
Building a handle bar holder for treadmill is more than just a storage hack; it’s a declaration of ownership over your fitness space. It’s the satisfaction of using a tool you made with your own hands, a tool that perfectly fits your routine. You’ve traded frustration for function, clutter for clarity, and a generic problem for a personalized solution. That remote is always within reach. Your towel is secure. Your phone is propped up safely. You can focus on what truly matters: your pace, your form, your goals. So grab that tape measure, pick up some PVC, and start building. Your most organized, efficient, and satisfying workout awaits. Remember to prioritize safety in every measurement and test, and enjoy the pride of a job well done every single time you clip that remote into its custom-made home.
Frequently Asked Questions
Is PVC pipe strong enough to hold heavy items like a full water bottle or tablet?
Yes, Schedule 40 PVC is surprisingly sturdy for its weight. A well-designed ring with proper bracing (using T-fittings and elbows) can easily hold 5-10 pounds without issue. The key is distributing the weight and ensuring the ring itself is a tight, stable fit on the handlebar.
What if my treadmill handlebar has an unusual shape or is very thick?
You can adapt the design. For a thick bar, simply use larger diameter PVC pipe (like 1-1/2” or 2”). For an unusual shape (e.g., oval or with a bulge), you may need to use a flexible material like stiff rubber or even modify the PVC by carefully heating it with a hairdryer to bend it into shape before joining the ends.
Can I make this holder without any power tools?
Absolutely. A manual hacksaw or a proper PVC pipe cutter is all you need to make clean cuts. A hand drill can be used for pilot holes if adding screws. For a completely tool-free version, rely on zip ties and PVC fittings that press-fit together, though a little sandpaper helps the process.
Will this project damage my treadmill’s finish?
Not if you do it correctly. The inner ring should have a protective layer of foam pipe insulation or felt padding. This creates a soft barrier between the plastic and your treadmill’s painted metal. Always ensure the holder is clean and free of grit before installing it to prevent scratches.
How do I ensure the holder doesn’t slip or spin during use?
>First, achieve a tight friction fit by making the ring’s inner diameter only slightly larger than your handlebar’s. Second, add the aforementioned inner padding for grip. Third, consider a security bungee cord that loops under the ring and around the bar, or a small set screw that gently presses against the bar (use a plastic washer to avoid scratching).
What’s the biggest mistake beginners make when building this?
Underestimating the importance of the initial measurement and stability test. A ring that’s even slightly too big will spin, making everything on it useless and potentially dangerous. Always measure the handlebar circumference twice, calculate the diameter, and add only minimal extra space for a snug fit. Then, rigorously load-test at low speed before trusting it with your belongings at full sprint.