Absolutely, you can turn your bicycle into a stationary bike. It’s a highly cost-effective and space-saving way to create a home cycling setup using your existing bike. You’ll primarily need a trainer or roller stand, with options ranging from basic to smart-connected. While it requires some initial setup and consideration for tire wear and stability, the flexibility and familiarity of using your own bike make it an excellent solution for indoor training, especially when space or budget is limited.
So, you’ve got a great bike sitting in the garage or hallway, and the weather outside is frightful. Or maybe you’re committed to a winter training plan but don’t have the space or cash for a bulky, expensive spin bike. The question bubbles up: Can I turn my bicycle into a stationary bike? The resounding, joyful answer is: Yes, you absolutely can! In fact, cyclists have been doing this for decades. Transforming your trusty two-wheeler into a reliable indoor training workhorse is not only possible but often preferable. It bridges the gap between your outdoor passion and your indoor necessity, all without sacrificing your budget or living space. This guide will walk you through every method, piece of gear, and consideration to make your indoor cycling dreams a reality.
Key Takeaways
- It’s Completely Feasible: Converting a standard bicycle into a stationary trainer is a standard, well-established practice for cyclists using trainer stands or rollers.
- Multiple Methods Exist: You can choose from magnetic/fluid trainers, wheel-on rollers, direct-drive smart trainers, or even DIY resistance band setups, each with different price points and experiences.
- Major Benefits are Cost & Space: This approach saves significant money compared to buying a dedicated stationary bike and has a much smaller storage footprint when not in use.
- Your Bike Becomes the Interface: You maintain the exact saddle, handlebar position, and pedal stroke of your own bike, which can be more comfortable and transfer better to outdoor riding.
- Considerations Include Wear and Noise: You will wear out a trainer-specific tire faster, and some trainer types (especially basic magnetic ones) can be noisy. Stability can also vary.
- Safety and Stability are Paramount: Proper setup on a level, non-slip surface and using a front wheel riser block are non-negotiable for a safe and realistic riding position.
- Technology Integration is Possible: Many modern trainers support apps like Zwift, TrainerRoad, and Rouvy, turning your bike into an immersive, data-driven training machine.
📑 Table of Contents
- The Core Concept: How Stationary Bike Conversion Works
- Method 1: Wheel-On Trainers (The Most Common Path)
- Method 2: Rollers (The Skill-Building Classic)
- Method 3: Direct-Drive Smart Trainers (The Premium, No-Wear Option)
- Method 4: DIY and Low-Tech Hacks (The Budget Experiment)
- Critical Considerations & Pro Tips for a Successful Setup
- Conclusion: Your Bike, Your Gym
The Core Concept: How Stationary Bike Conversion Works
At its heart, turning a bicycle stationary means creating a mechanism that resists the rear wheel’s rotation while keeping the bike upright and stable. You aren’t building a new machine from scratch; you’re adding a single, critical component to your existing one. The bike remains the cockpit—saddle, handlebars, pedals, and drivetrain all stay exactly as they are. The magic happens at the rear axle, where a specialized stand or device applies variable resistance. This simple concept unlocks a world of training possibilities. The process is so intuitive that once set up, converting your bike from “road ready” to “trainer ready” can often take under a minute.
The Essential Role of the Trainer or Roller
The device you choose is the heart of your conversion. It’s the interface between your bike’s rear wheel and the floor. These devices come in several distinct families, each offering a different feel, price point, and feature set. Understanding these categories is the first step to making the right choice for your goals, whether that’s a casual spin, structured interval training, or immersive virtual racing.
Method 1: Wheel-On Trainers (The Most Common Path)
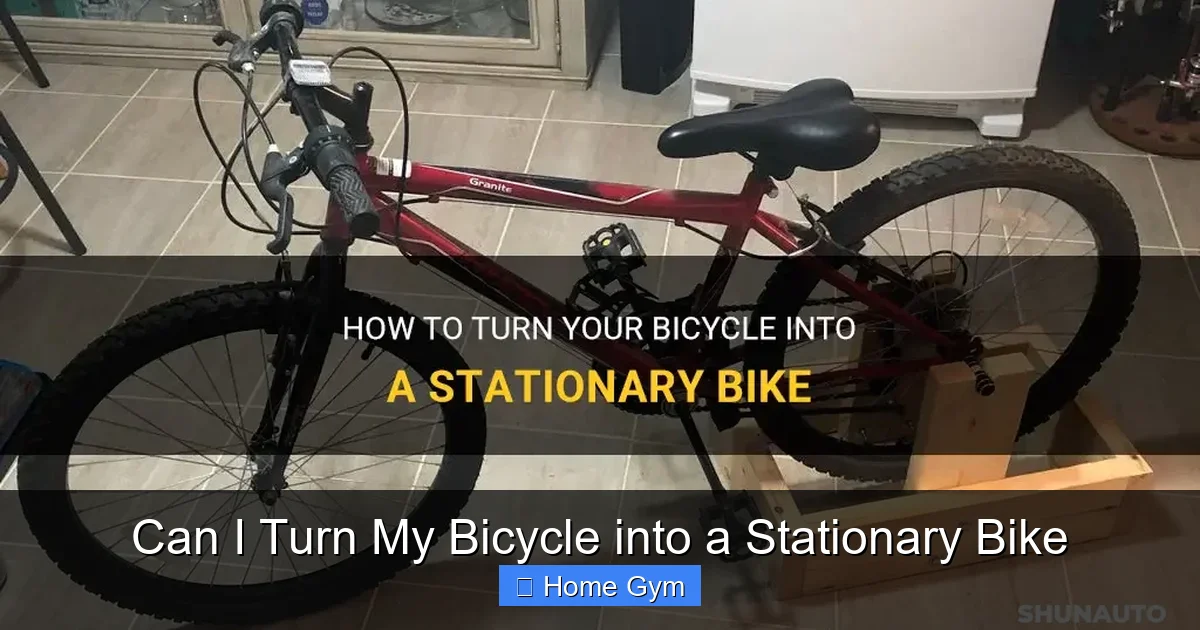
This is the classic, most accessible method. As the name suggests, a wheel-on trainer holds your bike’s rear wheel off the ground and presses it against a resistance unit. Your bike’s own wheel spins against the trainer’s drum.
Visual guide about Can I Turn My Bicycle into a Stationary Bike
Image source: shunauto.com
How They Work & Setup
The trainer has a sturdy frame that sits on the floor. A skewer or quick-release mechanism clamps onto your bike’s rear axle, securing the bike. You then lower a resistance unit (a cylinder with internal fins or magnets) so it makes contact with your rear tire. A front wheel support block, often called a “riser,” is placed under the front wheel to level the bike and simulate a realistic riding geometry, preventing you from feeling like you’re constantly riding downhill.
Types of Resistance
- Magnetic: Uses magnets to create drag. Affordable, but can be noisy and offer a less road-like feel. Resistance is often manually adjusted via a lever or shifter on the handlebar.
- Fluid: A fluid-filled chamber provides resistance. Smoother and quieter than magnetic, with a more progressive feel that mimics real-world gradients well. A popular mid-range choice.
- Fan/Wind: Uses a fan blade to create air resistance. Very loud, but provides a road-like “whoosh” and resistance that increases exponentially with speed. Rare in modern consumer models.
- Electronic/Smart: The resistance unit contains an electromagnet controlled by a computer. This allows for automatic, app-controlled resistance changes, making it perfect for structured workouts and apps like Zwift. These are the premium wheel-on options.
Pros and Cons of Wheel-On Trainers
- Pros: Generally more affordable (except top-tier smart models). Easy to install and remove. Works with almost any bike (though some axle standards need adapters). Good for casual to serious training.
- Cons: Creates wear on your rear tire (a dedicated “trainer tire” is highly recommended, which is harder compound). Can introduce a slight “dead spot” in the pedal stroke. Noise levels vary (fluid and smart are quietest). The bike’s frame isn’t stressed, but the skewer and axle take significant force.
Method 2: Rollers (The Skill-Building Classic)
Rollers are a different beast entirely. Instead of clamping the bike, they consist of three cylindrical drums (usually two rear, one front) on a frame. Your bike’s wheels sit on these drums, and you balance the bike yourself. There’s no physical clamp; you must ride to stay on.

Visual guide about Can I Turn My Bicycle into a Stationary Bike
Image source: biketoworkday.us
How They Work & The Learning Curve
Rollers demand and instantly build exceptional balance, core stability, and smooth pedaling technique. Since the bike is free to move, you have to actively keep it centered. It’s a full-body workout that closely mimics the feeling of outdoor riding. Starting requires holding onto a stable surface (like a wall or doorway) to get up to speed and mount, then letting go. It takes practice—don’t be discouraged if you fall off a few times!
Types of Rollers
- Basic Rollers: Simple, non-folding aluminum or steel cylinders. Very affordable, great for warm-ups and fundamental skill work.
- Resistance Rollers: Have a built-in fan or magnetic unit inside the drums to add difficulty. More engaging for longer sessions.
- Folding/Giant Rollers: The front drum is very long, making balance easier and allowing for more body movement (like standing). Great for high-intensity work.
- Smart Rollers: Integrated with power meters and resistance control via apps. The elite option for roller training.
Pros and Cons of Rollers
- Pros: Unmatched improvement in pedaling smoothness and bike handling. No tire wear from friction (just normal road wear). Very quiet (especially basic models). Excellent for warm-ups and cool-downs. The bike feels completely natural.
- Cons: Significant skill barrier. Not ideal for high-intensity interval training (HIIT) where you need to push hard while seated, as balance becomes critical. Can be dangerous if you lose balance—always have a clear exit path. Not suitable for all fitness levels initially.
Method 3: Direct-Drive Smart Trainers (The Premium, No-Wear Option)
This is the modern gold standard for serious indoor cyclists. A direct-drive trainer replaces your bike’s rear wheel entirely. You remove the wheel and attach the bike’s frame directly to the trainer via the dropout slots. The trainer has its own heavy, internally geared cassette and resistance unit.
Visual guide about Can I Turn My Bicycle into a Stationary Bike
Image source: biketoworkday.us
How They Work & Setup
You completely demount your rear wheel and secure the bike’s frame to the trainer’s “fork.” The trainer’s cassette engages your chain directly. There is no contact with your wheel, so zero tire wear occurs. These are almost universally “smart” trainers, meaning they connect via ANT+ or Bluetooth to apps and can automatically adjust resistance.
Key Features & Why They’re Popular
- Zero Tire Wear: Your expensive road or MTB tires stay pristine for the road.
- Superior Accuracy & Resistance: They offer incredibly smooth, road-like resistance with massive power curves. The heaviest models provide over 2000 watts of resistance and simulate grades up to 20%.
- Quiet Operation: Generally the quietest option on the market.
- Stability: The bike is clamped at two points (dropouts), making it extremely stable for out-of-saddle sprinting and hard efforts.
- Integrated Power: Most have highly accurate, built-in power meters, which is essential for training with power.
Pros and Cons of Direct-Drive Trainers
- Pros: No tire wear. Best-in-class performance and realism. Extremely quiet. Perfect for all-out efforts. Often includes power measurement.
- Cons: Expensive (typically $800-$2000+). Heavier and less portable. Requires a dedicated space—they are not easily moved. You need to swap your wheel in and out if you want to ride outside, which can be a hassle.
Method 4: DIY and Low-Tech Hacks (The Budget Experiment)
Before you invest in any gear, you might wonder about truly makeshift solutions. While not recommended for regular, serious training, a few low-tech ideas exist for absolute minimal use.
Resistance Bands
You can loop a strong resistance band around your rear tire and the front fork or seat tube. As you pedal, the band stretches, providing increasing resistance. This is highly unstable, unrealistic, and potentially unsafe. It’s more of a novelty than a training tool and should only be considered for very light, short sessions if you have no other option.
The “Friction” Method (Not Recommended)
Theoretically, you could place a yoga mat or thick towel against the rear tire and press it with a weight or your foot. This is incredibly dangerous—it will cause massive tire wear, create unpredictable resistance, and could cause a skid or damage the tire. Avoid this method entirely.
The Verdict on DIY
For anything beyond a 5-minute novelty experiment, a purpose-built trainer is the only safe and effective path. The low cost of entry-level magnetic trainers makes the DIY route not worth the risk or frustration.
Critical Considerations & Pro Tips for a Successful Setup
You’ve chosen your method. Now, let’s ensure your conversion is safe, effective, and enjoyable. Overlooking these details can turn a great setup into a frustrating or damaging experience.
The Non-Negotiable Front Wheel Riser
Regardless of the trainer type (except some direct-drive models that level the bike internally), you must use a front wheel support block. Without it, your bike’s front end will be pointed downward. This forces your body into an awkward, leaned-forward position, strains your neck and shoulders, and can cause you to slide forward off the saddle. A simple plastic block or even a sturdy book can work in a pinch, but a dedicated trainer block is cheap and stable.
Tire Wear and the Trainer Tire
Wheel-on trainers create a friction point that will destroy a standard road tire in weeks. Invest in a dedicated trainer tire. These are made from a harder rubber compound that resists heat buildup and wears much slower. Brands like Continental, Schwalbe, and Vittoria make excellent options. Keep it properly inflated to the trainer’s recommended pressure (often higher than your road pressure).
Noise, Vibration, and Your Floor
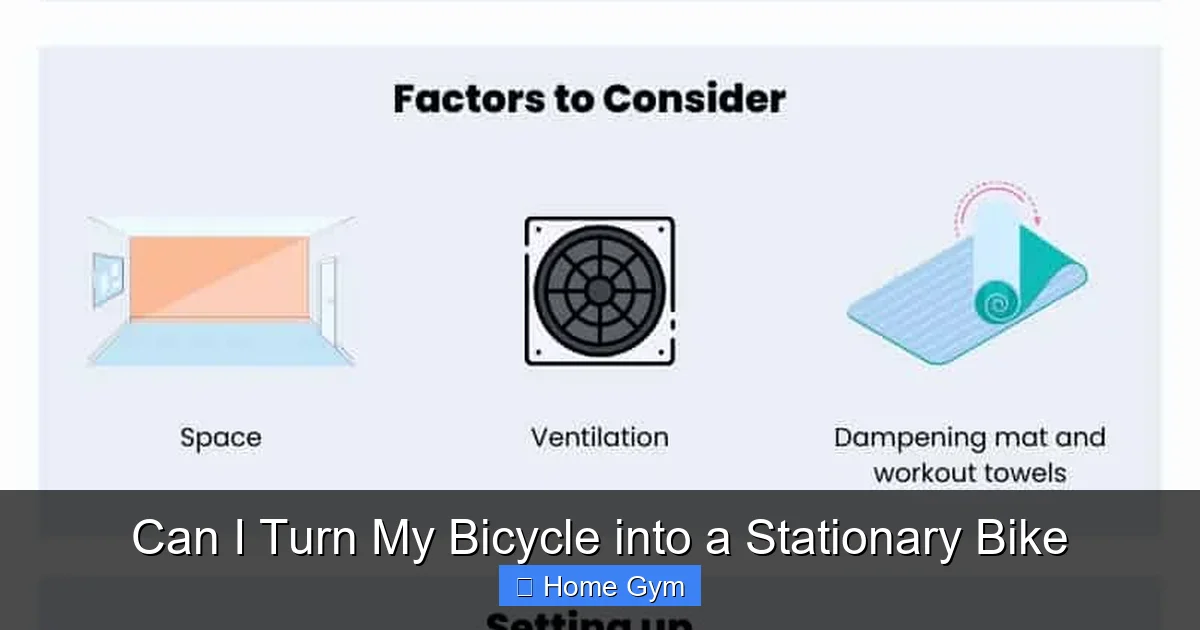
Trainers can transmit vibration and noise. A good quality trainer mat is essential. It protects your floor from sweat and scratches, dampens vibration (which can travel through apartment floors), and contains any small tire debris. For upstairs apartments, a thick interlocking gym mat or a specialized trainer pad with sound insulation can be a neighbor-saving investment.
Bike Fit and Comfort
Your outdoor bike fit is optimized for hours in the saddle with varying hand positions. Indoors, you’re locked into one position for the entire session. Pay attention to saddle tilt (level is usually best), and consider adding a bar-end plug or aero bar extensions to give your hands more position options. A small front-mounted fan is also a game-changer for comfort and performance.
Data, Apps, and the “Smart” Revolution
If you get a smart trainer (wheel-on or direct-drive), you unlock a universe of training apps. Zwift lets you ride in virtual worlds with others. TrainerRoad and The Sufferfest offer structured, science-based training plans. Rouvy and Fulgaz provide real-world video rides. Most apps require a subscription ($10-$20/month) but the motivation and structure they provide are worth their weight in gold. Even non-smart trainers can use speed/cadence sensors with apps like RGT Cycling or Kinomap to estimate power and resistance.
Conclusion: Your Bike, Your Gym
Turning your bicycle into a stationary bike isn’t just a clever hack; it’s a legitimate, powerful, and versatile training solution. You leverage the perfect fit of your own bike, save a considerable amount of money, and reclaim space in your home. Whether you choose the affordable simplicity of a basic magnetic trainer, the skill-building challenge of rollers, or the immersive, high-tech power of a direct-drive smart trainer, the path to effective indoor cycling is clear. The key is matching the method to your goals, budget, and space. So, clear a corner, grab your bike, and get ready to ride through any season. The road (or the virtual world) is waiting.
Frequently Asked Questions
Will using a trainer damage my bicycle?
Not if used correctly. The main wear point is the rear tire on wheel-on trainers, which is why a dedicated trainer tire is recommended. The forces are applied at the axle and rear triangle, which are designed to handle significant stress. Ensure your quick-release or thru-axle is properly tightened and use the correct adapter if needed. Regular maintenance, like checking bolt tightness and chain lubrication, is still required.
Are roller trainers harder to use than standard trainers?
Yes, significantly. Rollers require active balance and core engagement to stay on, which is a skill that takes practice. Standard wheel-on or direct-drive trainers clamp the bike in place, allowing you to focus solely on pedaling effort. Beginners should start with a standard trainer to build fitness before tackling rollers for skill development.
How much noise does a bicycle trainer make?
It varies dramatically by type. Basic magnetic trainers can be quite loud, with a noticeable whirring and hum. Fluid and direct-drive smart trainers are much quieter, often described as a low hum or whoosh. Rollers are generally the quietest, especially basic ones. Always check manufacturer specs for decibel ratings and read user reviews focusing on noise comments. A good mat also reduces sound transmission.
Do I need special tires or accessories for my bike trainer?
For wheel-on trainers, yes, a dedicated trainer tire is highly recommended to prevent rapid wear of your expensive road tires. You’ll also need a front wheel riser block. For direct-drive trainers, you remove the rear wheel, so no special tire is needed, but you must have a compatible cassette on the trainer. For all setups, a trainer mat is a smart purchase to protect floors and reduce noise/vibration.
Can I use my mountain bike with a rear suspension on a trainer?
You can, but it’s not ideal. The rear suspension will move and bob as you pedal, which wastes energy and can feel unstable. Many modern full-suspension bikes have a “lockout” feature for the rear shock—use it. For the best, most efficient power transfer, a rigid hardtail or a road bike is superior on a trainer. If using a full-suspension bike, ensure it’s securely clamped and be prepared for a slightly “soft” pedal feel.
Is it cheaper to buy a trainer or a dedicated spin bike?
Vastly cheaper to buy a trainer. A decent entry-level wheel-on smart trainer starts around $300-$400. A good quality dedicated spin bike (like a Peloton or NordicTrack) starts at $1,500 and goes well over $3,000. Even a premium direct-drive smart trainer ($1,200-$2,000) is often less expensive than a top-tier spin bike, and you get to use your own, perfectly fitted bicycle. The cost savings are the single biggest advantage of conversion.