How to Put Barbell on Shoulders Without a Rack
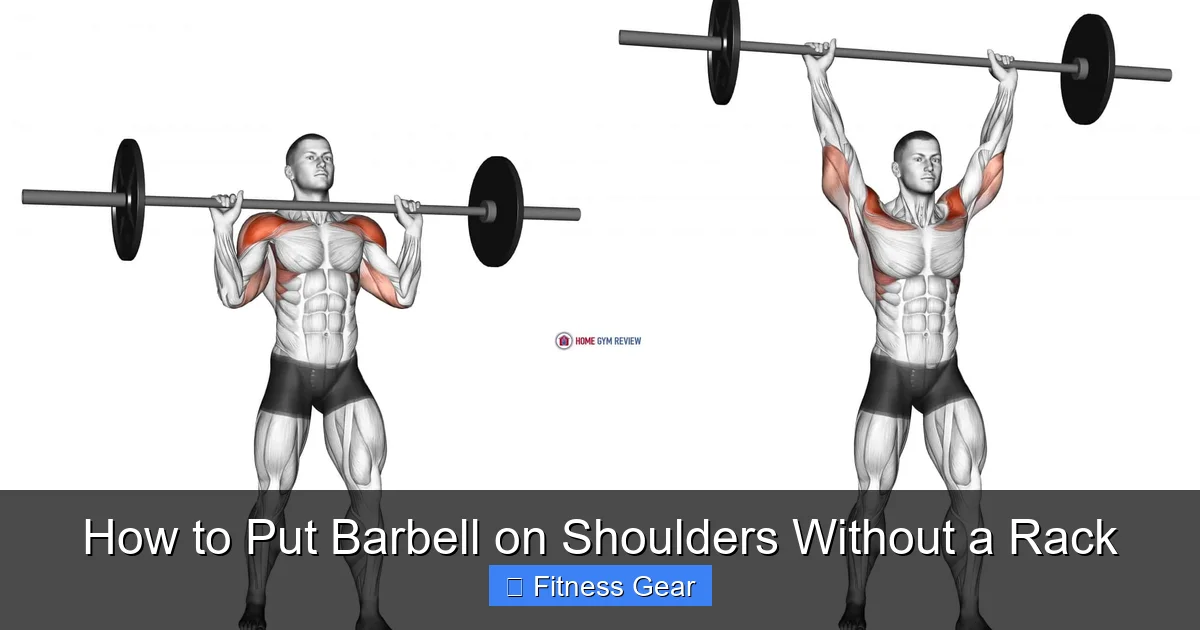
Putting a barbell on your shoulders without a rack is doable and safe when you follow the right steps. Use proper setup, grip, and body mechanics, and you’ll lift confidently even in limited spaces.
Key Takeaways
- Safety first: Master the “floor press” and “clean‑and‑press” moves before attempting heavy loads.
- Grip matters: A mixed or hook grip gives better control when loading the bar from the floor.
- Body positioning: Keep hips low, back tight, and eyes forward to maintain balance.
- Use spotters or pads: A sturdy bench, squat pads, or a partner can replace a rack safely.
- Progress gradually: Start with an empty bar, add weight slowly, and listen to your body.
- Alternative lifts: Front squats, goblet squats, and dumbbell presses can mimic the movement if needed.
- Practice the unload: Learn how to set the bar back down safely to avoid injury.
📑 Table of Contents
- Introduction: Why You Might Need to Load a Barbell Without a Rack
- 1. Preparing the Space and Equipment
- 2. The Floor‑Press (Dead‑Lift‑to‑Shoulder) Method
- 3. The Bench‑Press‑Style Method
- 4. Using a Squat Pad or “Power Rack Substitute”
- 5. The “Partner Load” Technique
- 6. Progressive Loading and Skill Development
- Conclusion: Confidence Comes From Mastery
Introduction: Why You Might Need to Load a Barbell Without a Rack
Imagine you’re at home, in a small garage gym, or even at a friend’s place. The rack you normally rely on is missing, broken, or simply too far away. Does that mean you have to skip your squat or overhead press for the day? Absolutely not. Learning how to put a barbell on your shoulders without a rack not only saves you a workout, it also builds confidence and improves your overall bar handling skills.
In this guide we’ll walk you through the safest, most practical methods to get that bar onto your shoulders, keep it there for a solid lift, and then set it down again—all without a traditional rack. The techniques are friendly for beginners and still useful for seasoned lifters who want a backup plan.
1. Preparing the Space and Equipment
Clear a Safe Working Area
First things first: make sure you have a clean, flat surface. A rubber gym mat or a piece of plywood works well. Remove any loose objects, cords, or furniture that could cause a stumble.
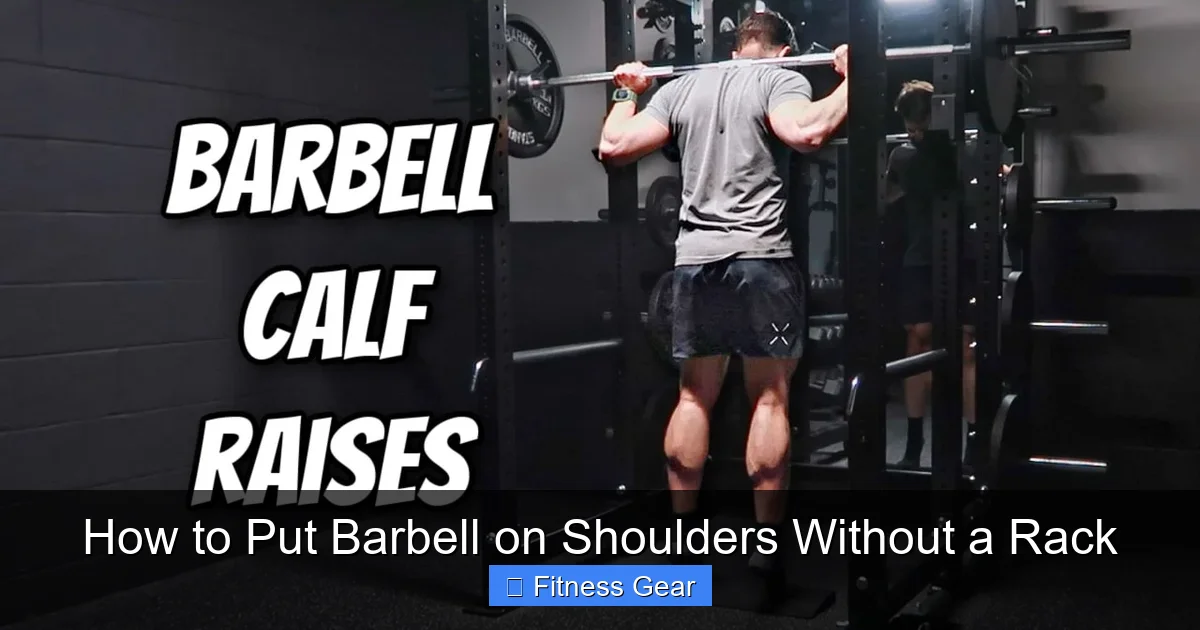
Visual guide about How to Put Barbell on Shoulders Without a Rack
Image source: bodybuildingmealplan.com
Gather the Right Tools
- Barbell: Start with a standard Olympic bar (20 kg/45 lb) or a lighter training bar.
- Weight plates: Have them nearby so you can add weight gradually.
- Floor pads or squat pads: These protect your spine and the bar when it rests on the floor.
- Bench or sturdy platform (optional): A flat bench can act as a makeshift rack for the “bench‑press‑style” method.
- Spotter (if possible): A friend can hand you plates, steady the bar, and watch for safety.
Warm‑Up and Mobility
Spend 5‑10 minutes warming up your hips, shoulders, and core. Simple moves like leg swings, arm circles, and bodyweight air squats get blood flowing and reduce the risk of strain when you lift the bar.
2. The Floor‑Press (Dead‑Lift‑to‑Shoulder) Method
This is the most common technique for loading the bar onto your shoulders without a rack. It mimics the first part of a clean, but you stop once the bar rests on your shoulders.
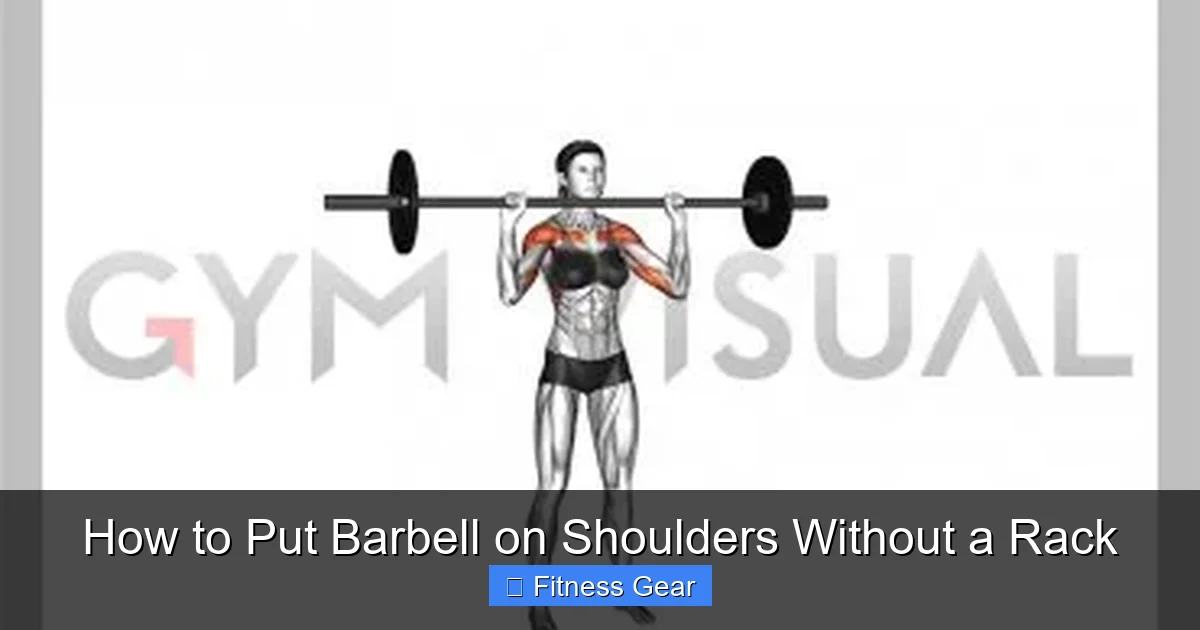
Visual guide about How to Put Barbell on Shoulders Without a Rack
Image source: gymvisual.com
Step‑by‑Step Execution
- Set the bar on the floor: Place the bar directly over the middle of your feet. The plates should be evenly distributed.
- Adopt a hip‑hinge stance: Feet shoulder‑width apart, toes slightly turned out, shins vertical.
- Grip the bar: Use a mixed grip (one palm over, one palm under) or a double‑overhand hook grip. Hands should be just outside the plates.
- Engage the core: Take a deep breath, brace your abs, and keep your chest up.
- Pull the bar: Drive through the heels, extend the hips, and stand up tall. The bar will travel in a straight line close to your body.
- Roll the bar onto your shoulders: As the bar reaches thigh height, slightly bend the knees, lean forward a touch, and let the bar settle onto the front of your shoulders (the “rack position”). Keep elbows high and wrists neutral.
- Set your stance for the lift: Once the bar is secure, step back, adjust foot placement for the squat or press, and begin the main movement.
Tips for a Smooth Roll
- Keep the bar close to your body; a wide path makes the roll harder.
- Practice with an empty bar first to feel the motion.
- Maintain a neutral spine; avoid rounding your lower back.
- If the bar feels unstable, widen your grip slightly.
Common Mistakes to Avoid
- Using a “dead‑stop” lift (starting from a pause on the floor) without a proper hip drive—this puts stress on the lower back.
- Letting the bar bounce off the floor; it should roll smoothly.
- Dropping the elbows too low; high elbows keep the bar stable on the shoulders.
3. The Bench‑Press‑Style Method
If you have a sturdy bench, you can use it as a temporary rack. This method is especially handy for overhead presses or front squats.
Visual guide about How to Put Barbell on Shoulders Without a Rack
Image source: c8.alamy.com
How to Set Up
- Place the bench perpendicular to the bar so the bar rests across the bench’s edge.
- Slide the bar so the plates are on either side of the bench, not over the edge.
- Stand behind the bench, grip the bar, and lift it off the bench using a clean motion.
- As you stand, roll the bar onto your shoulders just like in the floor‑press method.
Safety Considerations
- Make sure the bench is on a stable surface; wobbling benches can tip.
- Check that the bench’s edge can support the plate weight without cracking.
- Have a spotter hold the far end of the bar while you lift off.
4. Using a Squat Pad or “Power Rack Substitute”
Squat pads are thick, rubberized cushions designed to protect your shoulders and the floor. They can also serve as a low “rack” when placed on the ground.
Steps to Use a Squat Pad
- Lay the squat pad on the floor with the raised side facing up.
- Position the bar on top of the pad, centered.
- Step into the bar, grip it, and perform a mini‑clean: lift the bar a few inches, then roll it onto the pad’s raised surface.
- From the pad, stand up and roll the bar onto your shoulders.
Advantages
- Reduces pressure on the spine while the bar rests.
- Provides a visual cue for proper bar placement.
- Easy to move and store.
5. The “Partner Load” Technique
When you have a workout buddy, you can turn the loading process into a cooperative effort. This method is great for heavier loads where you might need extra help.
Procedure
- Place the empty bar on the floor and have your partner hold one end.
- Load plates onto the bar while you stand ready to lift.
- When the bar is loaded, both of you grab the bar—one with a standard grip, the other with a supportive hand.
- Perform a coordinated clean: the lifter drives the bar upward while the partner helps keep it level.
- Roll the bar onto the shoulders and set the partner’s hands free.
Key Tips
- Communicate clearly (“ready, set, lift”).
- Keep the partner’s hands low to avoid interfering with the roll.
- Practice with light weight before attempting heavy loads.
6. Progressive Loading and Skill Development
Even if you master the technique, it’s wise to progress slowly. Here’s a simple plan to build confidence:
Week‑by‑Week Progression
- Week 1: Practice the roll with an empty bar. Perform 5‑6 reps each session.
- Week 2‑3: Add 5 kg (10 lb) plates on each side. Focus on smoothness, not heavy reps.
- Week 4‑5: Increase to 10 kg (20 lb) plates per side. Perform 3‑4 sets of 3‑5 reps.
- Week 6+: Introduce your regular squat or press weight, but keep a spotter nearby.
Drills to Reinforce Technique
- Dead‑lift to shoulder hold: Lift the bar from the floor, pause at thigh height, then roll onto shoulders and hold for 5 seconds.
- Box‑step clean: Place a low box (6‑8 in) in front of you, lift the bar to the box, then step onto it and roll onto shoulders.
- Bar‑bell march: With the bar on your shoulders, march in place for 30 seconds to test stability.
Conclusion: Confidence Comes From Mastery
Knowing how to put a barbell on your shoulders without a rack turns a potential setback into a simple, manageable task. By preparing a safe space, choosing a method that fits your equipment, and practicing consistently, you’ll lift confidently whether you’re in a full‑size gym or a cramped home setup. Remember, safety always wins—use spotters, keep your core tight, and progress gradually. With these tools in your arsenal, the barbell will never be out of reach.
Frequently Asked Questions
Can I use any type of barbell for these methods?
Yes, standard Olympic bars work best, but a lighter training bar is ideal for beginners. Avoid extremely thin or specialty bars that may not roll smoothly.
Is it safe to load heavy plates without a rack?
It can be safe if you follow the step‑by‑step technique, keep the weight manageable, and have a spotter or sturdy pads. Always start light and increase gradually.
What if I don’t have a squat pad or bench?
You can use a thick yoga mat, folded towels, or a sturdy piece of plywood as a temporary surface. The key is to have something that cushions the bar and keeps it stable.
How do I unload the bar safely after my set?
Reverse the loading process: lower the bar back to the floor or pad in a controlled manner, keeping the core braced. If using a partner, let them help guide the bar down.
Will these techniques affect my form for squats or presses?
When done correctly, they mimic the same starting position as a rack. However, always double‑check your posture and elbow height before each lift.
Are there alternative exercises if I’m uncomfortable with the bar on my shoulders?
Yes—front squats, goblet squats, dumbbell presses, or kettlebell overhead presses can provide similar stimulus while you build confidence with the bar.