Putting air in tubeless mountain bike tires is a different process than traditional clincher tires due to the airtight bead and liquid sealant. It requires ensuring the bead is properly seated against the rim, often needing a burst of high-volume air, before adding and distributing sealant. Mastering this skill is essential for enjoying the core benefits of tubeless setups: lower pressures for more grip, fewer flats, and a smoother ride. This guide walks you through every step, from the necessary tools to expert troubleshooting tips.
Key Takeaways
- Tubeless tires require an airtight seal between the tire bead and the rim bed, which is different from using an inner tube.
- The initial “seat the bead” step often demands a quick, high-volume blast of air, which a standard floor pump may not provide.
- Liquid sealant is a mandatory component; it seals small punctures and helps maintain the air-tight seal at the bead.
- Always check and adjust your tire pressure based on your weight, terrain, and tire volume for optimal performance and safety.
- Regular maintenance, including topping up sealant every 2-3 months and checking for bead seating, is crucial for long-term reliability.
- Using soapy water or dedicated bead fluid is a highly effective trick to help the stubborn bead slide into its final seated position.
- If a tire repeatedly loses air, the most common culprits are an unseated bead, a damaged rim tape/valve, or a sidewall tear, not a “leak” in the traditional sense.
📑 Table of Contents
- Introduction: The Tubeless Revolution and Your First Hurdle
- Why Airing Up Tubeless Tires Is Different (The Science of the Seal)
- Essential Tools and Preparation: Setting Yourself Up for Success
- Step-by-Step: The Complete Inflation and Sealing Process
- Troubleshooting: When the Bead Won’t Seat or Air Escapes
- Maintenance and Long-Term Care: Keeping Your System Perfect
- Conclusion: Embracing the Freedom of Tubeless
Introduction: The Tubeless Revolution and Your First Hurdle
So, you’ve joined the tubeless revolution. Congratulations! You’re about to experience fewer flats, the ability to run lower pressures for insane traction, and a smoother, faster ride. But then you hit the first, and seemingly most intimidating, wall: how the heck do you actually put air in these things? It’s not as simple as screwing on a pump and inflating. The process feels foreign, often frustrating, and can make you question your life choices as you huff and puff on a floor pump that seems to do nothing.
First, take a deep breath. Putting air in tubeless mountain bike tires is a learnable skill, not magic. The confusion stems from the fundamental difference: a tubeless system must create and maintain an airtight seal between the flexible tire bead and the rim’s bead seat, without an inner tube to do the job. This guide will demystify every single step, from the tools in your garage to the professional tricks that make the process effortless. We’ll turn that frustration into a routine 5-minute task.
Why Airing Up Tubeless Tires Is Different (The Science of the Seal)
To understand the process, you need to grasp the core concept. A traditional tube-type tire has an inner tube filled with air. The tube presses against the inside of the tire and the rim, creating the seal. The tire bead’s job is mostly to hold the tire onto the rim. In a tubeless system, the tire bead itself must press airtight against a specially designed rim bed. This is the “bead seat.” There is no inner tube to take the shape of the rim.

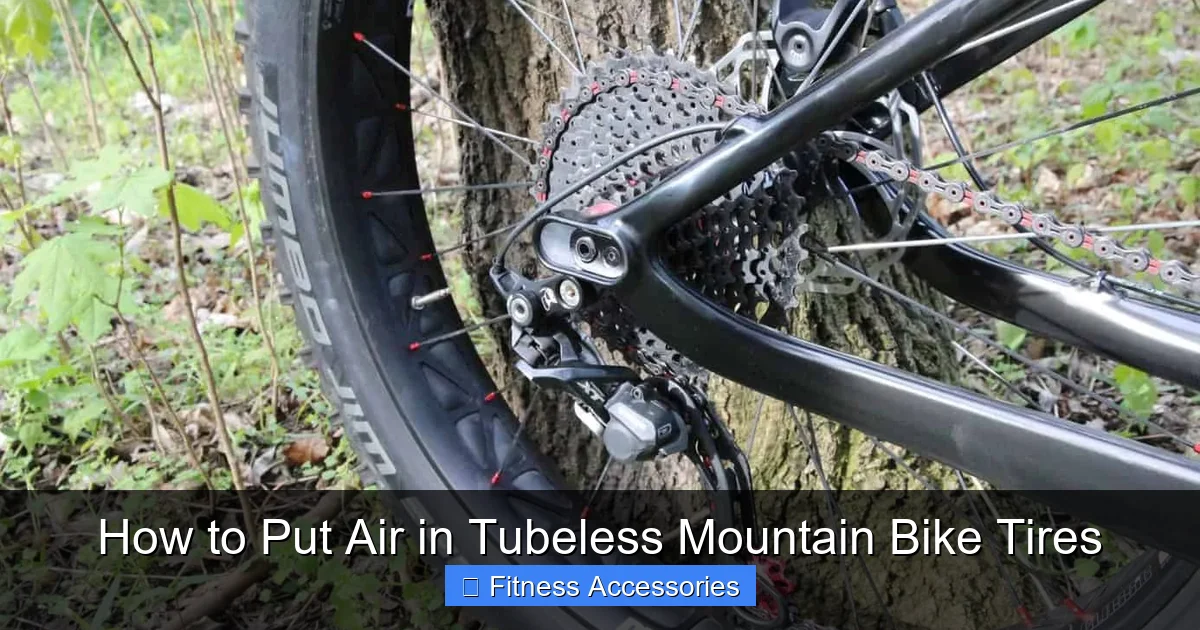
Visual guide about How to Put Air in Tubeless Mountain Bike Tires
Image source: mountainbikesride.com
The Critical Role of the Bead
The tire bead is a wire or Kevlar-reinforced cable that runs along the tire’s inner edge. For tubeless, it must be perfectly seated—meaning it’s snapped into the rim’s concave bead seat—from the entire 360-degree circumference. If even a small section is unseated, air will escape through that gap. The initial inflation is all about forcing this stiff bead into that precise position. Once seated, the air pressure inside pushes the bead outward against the rim, maintaining the seal.
Sealant: The Hero and the Glue
This is where liquid tire sealant comes in. It’s not just for plugging thorns and staples. Its first and most vital job is to fill the microscopic gaps between the tire bead and the rim bed. As you inflate and the bead seats, the sealant gets pushed into these tiny imperfections, creating a gasket-like seal. It also coats the inside of the tire, ready to seal future punctures. Without sufficient, well-distributed sealant, even a perfectly seated bead can slowly leak air.
Essential Tools and Preparation: Setting Yourself Up for Success
Going into this unprepared is the #1 cause of frustration. Having the right tools makes the difference between a 2-minute job and a 30-minute battle. Let’s build your tubeless inflation toolkit.
Visual guide about How to Put Air in Tubeless Mountain Bike Tires
Image source: mountainbikesride.com
The Inflation Source: Your Biggest Decision
This is the most important tool choice. The goal is to deliver a high volume of air very quickly to “pop” the bead into place.
- Dedicated Tubeless Floor Pump (Recommended): Pumps like the Lezyne Digital Floor Drive or Topeak DuoSphere have a massive air chamber that you fill first, then release in one powerful burst. This is the gold standard for home mechanics. It’s efficient, portable, and reliable.
- Air Compressor: The ultimate tool. A small shop compressor or even a high-volume portable one (like those from Specialized or Schrader) makes bead seating trivial. The constant, high-pressure airflow seats the bead instantly. The downside is cost, noise, and needing a power source.
- CO2 Inflator & Cartridges: A fantastic, portable backup. A single large 16g cartridge can often seat a stubborn bead. It’s perfect for trailside fixes but is a one-shot deal and can be expensive per use.
- Standard Floor Pump (The Hard Way): You can do it, but it’s tough. You must pump extremely fast to build volume, which is physically demanding. It often works on easier-to-seat tires but will fail on tight-fitting, new tires. If this is all you have, be prepared for a workout and read the “Bead Seating Tricks” section carefully.
Other Necessities: Sealant, Valves, and Cleanliness
Beyond your air source, you need:
- Tubeless Sealant: Stan’s NoTubes, Orange Seal, Slime, or your tire manufacturer’s brand. Have at least 2-4 oz on hand for initial installation and top-ups.
- Tubeless-Compatible Valve: A Presta valve with a rubber base and a locknut. Ensure the rubber base is in good condition and the locknut is tightened snugly against the rim.
- Rim Tape: Must be tubeless-specific (e.g., Stan’s Yellow Tape, Velox Extreme). It’s wider and more adhesive than standard tape to seal the rim bed spoke holes.
- Isopropyl Alcohol & Rag: For cleaning the rim bed and tire bead. Any dirt or old sealant residue is a seal killer.
- Tire Levers & Optional Tools: For initial tire removal. A bead jack can be a lifesaver for extremely tight tires but is not usually needed for standard MTB setups.
Step-by-Step: The Complete Inflation and Sealing Process
Now, let’s get our hands dirty. Follow these steps in order. Rushing or skipping a step is the surest path to a leaky tire.
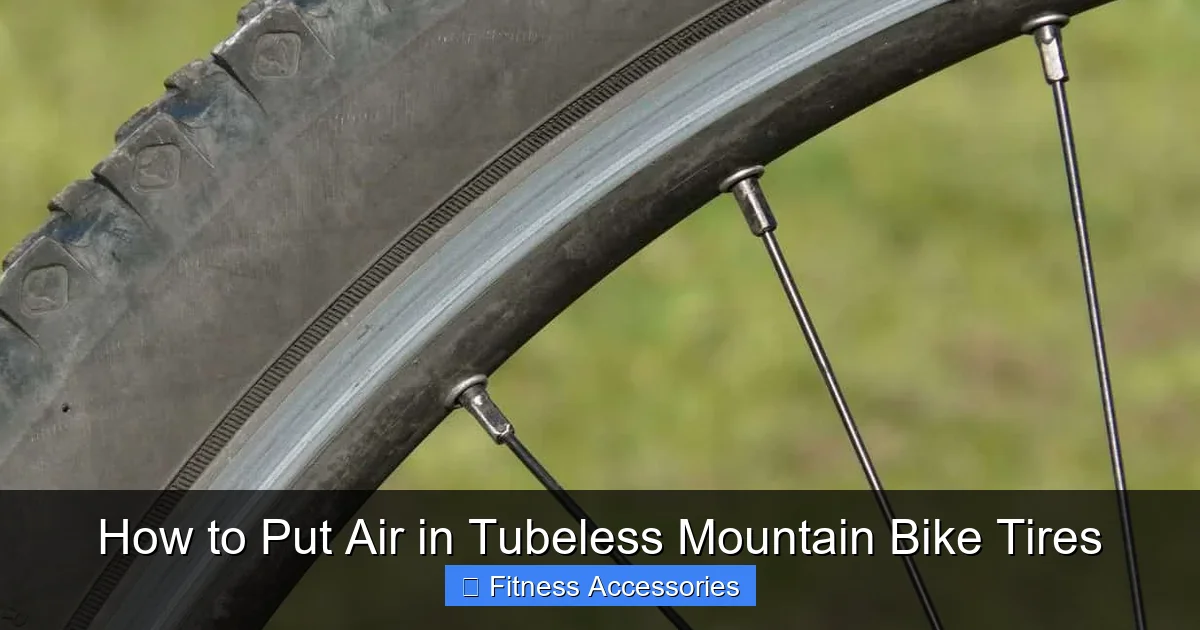
Visual guide about How to Put Air in Tubeless Mountain Bike Tires
Image source: mountainbikesride.com
Step 1: Prep the Rim and Tire (The Foundation of a Good Seal)
This is non-negotiable. A contaminated surface will not seal.
- If the tire is already on the rim, deflate it completely and break the bead on one side to access the rim bed.
- Remove the valve core from your tubeless valve. This allows for faster air flow and easier sealant addition later.
- Thoroughly clean the rim bed with isopropyl alcohol and a clean lint-free rag. Remove all old sealant, dirt, and grease. Inspect for any sharp burrs or damage.
- Check your rim tape. It should be applied smoothly, centered, and cover all spoke holes. Press down on it, especially around the valve hole, to ensure no gaps.
- Clean the tire bead (the part that sits on the rim). Wipe it down with a rag. A tiny bit of alcohol can help remove mold release agents from new tires.
Step 2: Mount the Tire and Add Sealant
Get one bead of the tire fully seated into the rim. This is usually the easier side. Then, for the second (final) bead:
- Work the second bead onto the rim, leaving a 6-12 inch section unseated. This is your “working window.”
- Shake your sealant bottle vigorously. Pour the recommended amount (typically 2-4 oz for an MTB tire) directly into the tire through the gap. You can also inject it via the valve after inflation, but adding it now ensures it gets right to the bead interface.
- Now, work the final bead section onto the rim. It will be very tight. Use your palms, not levers, to avoid pinching the sealant out. The goal is to get the entire bead *onto* the rim, not necessarily *seated* in the bead seat yet. It will look like a lump or a saggy section.
Step 3: The Moment of Truth – Seating the Bead
This is the critical step where you use your air source.
- Quickly screw your pump/inflator onto the valve.
- Deliver a rapid, high-volume burst of air. You should hear a distinct, loud “POP” or “BANG” as the bead snaps into the rim’s bead seat. You might hear this pop in 2-3 places around the tire as it seats sequentially. If using a compressor, you’ll see the tire suddenly firm up and the bead line become perfectly round and flush with the rim.
- If the bead doesn’t seat on the first try, don’t panic. Depress the valve core (or use your pump’s release) to let all air out. Rotate the wheel so the unseated section is at the bottom (gravity helps). Try applying a soapy water solution (a drop of dish soap in water) to the bead area—this acts as a lubricant. Then try the high-volume blast again.
- Once you hear the pop(s), immediately stop inflating. Over-inflating at this stage can damage the tire or rim.
Step 4: Distribute Sealant and Set Final Pressure
The tire is now holding air, but the sealant needs to coat everything.
- Shake and rotate the wheel vigorously. Spin it, flip it, bounce it. You want the liquid sealant to coat the entire interior surface, especially the bead area. You’ll hear it sloshing.
- After a good 30-60 seconds of shaking, re-inflate to your target riding pressure (e.g., 20-25 PSI for a 2.4″ tire, depending on rider weight). Use a reliable pressure gauge.
- Give the wheel another spin and check for any air leaks at the bead or valve. Listen for a steady hiss. If you hear one, deflate, shake more, and re-inflate. Often, a second shake and top-up of air solves it.
- Finally, reinstall the valve core (if you removed it) and tighten the locknut snugly against the rim.
Step 5: The “Leak Test” and First Ride
Don’t assume it’s perfect. Let the wheel sit for 10-15 minutes and re-check the pressure. A drop of 1-2 PSI is normal as the sealant settles and seals the final micropores. A drop of more than 5 PSI suggests a problem.
For your first ride, carry a high-volume pump or CO2. Ride for 10-15 minutes, then re-check pressure. The heat and flexing from riding often helps the sealant find and seal the last tiny leaks. Top up pressure as needed.
Troubleshooting: When the Bead Won’t Seat or Air Escapes
Even with perfect prep, sometimes things go wrong. Here’s your diagnostic guide.
“My tire won’t seat! The bead just won’t pop!”
This is the most common issue. The bead is on the rim but not in the bead seat.
- Solution: Ensure you are using a true high-volume air source. A standard pump’s airflow is too slow; the air leaks out around the bead before pressure builds. Use a tubeless-specific pump or compressor. Apply more soapy water to the bead. Check that the tire and rim are compatible (some older or very tight combinations are notoriously difficult). A bead jack is a specialized tool that mechanically pushes the bead into the seat; it’s a guaranteed fix for the most stubborn tires.
“It holds air for a minute, then slowly goes flat.”
This is almost always a sealant issue or a very slow leak at the bead.
- Solution: The sealant may not have fully coated the bead. Deflate, shake vigorously for a full minute, and re-inflate to pressure. If it persists, you may have a porous rim tape (use proper tubeless tape) or a tiny pinhole in the sidewall from a manufacturing defect. The sealant should plug this, but if it’s large, the tire may be faulty.
“Air is leaking from the valve stem.”
The valve is a common failure point.
- Solution: Ensure the valve’s rubber base is undamaged and seated perfectly in the rim hole. Tighten the locknut firmly. If leaking persists, the valve may be defective—replace it. Also, check that the valve hole in the rim tape is cleanly cut and the tape seals well around it.
“I hear a loud hissing from the sidewall/tread.”
This indicates a puncture that the sealant is actively sealing. You’ll see a white dried sealant “booger” at the site.
- Solution: This is normal and is the system working! The tire may lose a few PSI initially. Re-inflate to pressure. If the leak is large (e.g., from a big cut), the sealant may not hold, and you’ll need a boot or a tube as a temporary fix.
Maintenance and Long-Term Care: Keeping Your System Perfect
Tubeless is low-maintenance, not no-maintenance. A few minutes every few months keeps it flawless.
Sealant Top-Ups and Replacement
Sealant dries out and gets depleted. Check your sealant level every 2-3 months. Shake the wheel and listen for sloshing. If it sounds thin or you can’t hear it, it’s time to add more. To add sealant without breaking the bead, inject it through the valve stem using a syringe. Remove the valve core, inject the sealant, then re-inflate and shake vigorously to distribute. A full flush and replacement is recommended every 6-12 months, depending on climate (hot/dry climates dry it out faster).
Pressure Checks and Adjustments
Tire pressure is not “set and forget.” It changes with temperature, altitude, and sealant loss. Get into the habit of checking your pressure before every ride. Use a digital pressure gauge for accuracy. Adjust based on conditions: lower for wet/muddy grip, higher for rocky, high-speed descents.
Storage and Seasonal Care
If storing a bike long-term (>1 month), deflate the tires to 5-10 PSI to relieve stress on the bead and rim. Store in a cool, dry place. Before riding a stored bike, check sealant levels and re-inflate. In winter, sealant can thicken; store bottles indoors and shake well before use.
Conclusion: Embracing the Freedom of Tubeless
Mastering the art of putting air in your tubeless mountain bike tires unlocks the full potential of this incredible technology. It transforms from a daunting chore into a quick, satisfying ritual. Remember the core principles: a clean interface, a high-volume air blast to seat the bead, and the magic of sealant. The first few times will be a learning curve, but soon you’ll be seating beads on the trail with a CO2 cartridge like a pro.
Embrace the process. The rewards are immense: the confidence to attack technical rock gardens at 18 PSI, the joy of riding past thorn patches without a worry, and the slight weight savings. You’ve invested in a better system; now you’ve got the knowledge to maintain it. So go ahead, get that tire seated, hear that beautiful *POP*, and enjoy the ride. Your future self, bombing down a singletrack with a smile, will thank you.
Frequently Asked Questions
Can I use a regular hand pump to seat a tubeless tire bead?
You can try, but it’s often very difficult or impossible with a standard high-pressure pump. You need a high-volume pump that moves a lot of air quickly to force the bead into the rim seat before the air escapes around it. A dedicated tubeless floor pump with a large chamber or a compressor is strongly recommended.
How much sealant should I put in my tire?
A general rule is 2-4 ounces (60-120ml) for a standard 27.5″ or 29″ mountain bike tire. Wider tires (2.6″+) or tires known to be leaky may need the higher end. Always check your tire and rim manufacturer’s recommendation. It’s better to start with a little more than less, as excess sealant will be flung out during the first ride.
What if my tubeless tire keeps losing a little air overnight?
A slow loss of 1-3 PSI over 24 hours can be normal as the sealant fully coats and seals the microscopic pores in the tire casing and bead. If it loses more than 5 PSI, re-check the bead seating (listen for leaks), ensure the valve is tight, and verify the rim tape is intact. A complete loss usually means an unseated bead or a significant puncture.
Do I need to remove the tire to add more sealant?
No, you do not. The easiest method is to remove the valve core from your tubeless valve. Using a syringe (often sold with sealant kits), inject the desired amount of sealant directly through the valve stem. Then re-inflate the tire and shake it vigorously to distribute the new sealant throughout the tire.
Why is my tubeless tire so hard to get on the rim?
Tubeless tires often have a tighter, more precise fit than tube-type tires to ensure an airtight seal. This makes them stiff and difficult to stretch over the rim. Use plenty of soapy water on the bead, work the tire with your palms (not levers), and ensure the first bead is fully seated in the rim’s center channel before trying to mount the second side.
How often should I replace the sealant in my tubeless tires?
Sealant should be inspected and topped up every 2-3 months. A complete flush and replacement is typically recommended every 6-12 months. Factors like hot/dry climates, frequent riding, or using a sealant that dries out faster will shorten this interval. If you hear less sloshing or notice a drop in pressure-holding ability, it’s time for fresh sealant.