Can I Change the Seat on My Exercise Bike
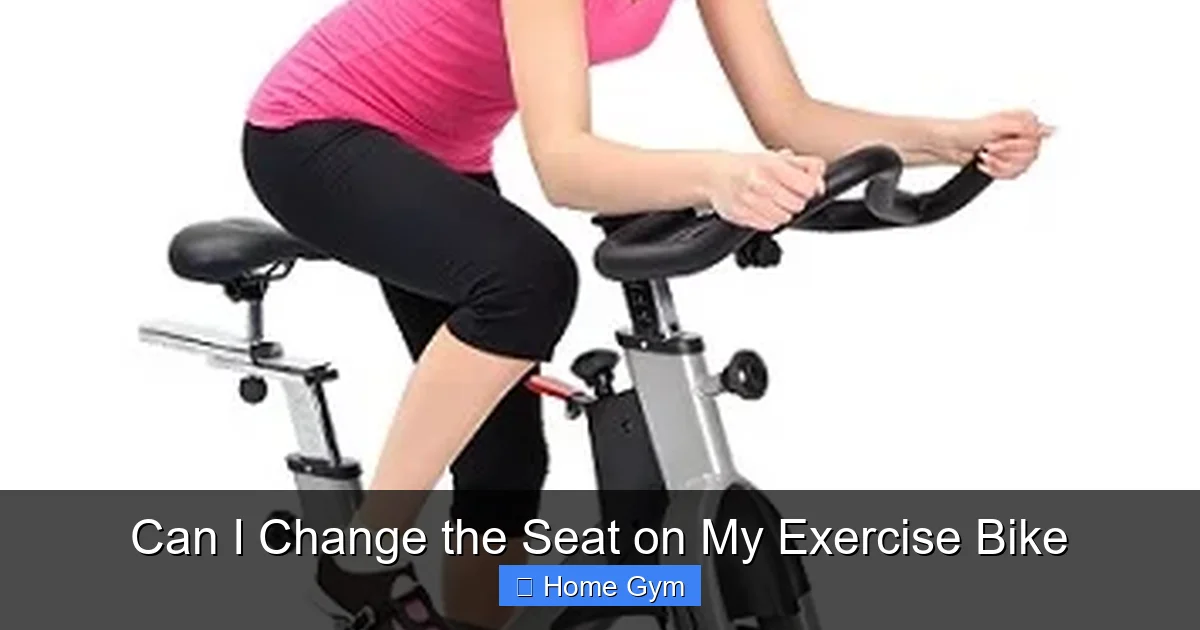
Absolutely, you can change the seat on your exercise bike. Most bikes use a standard rail system, allowing you to swap the saddle for a more comfortable or performance-oriented model. The process typically requires basic tools like an adjustable wrench or Allen key. You can also use seat post adapters for unique fittings. Proper measurement and adjustment are key to avoiding discomfort and ensuring a safe, effective workout. This guide walks you through every step, from checking compatibility to final fine-tuning.
Key Takeaways
- Compatibility is Key: Most exercise bike seats attach via standard 7mm or 8mm rails, but always measure your seat post’s rail width and clamp style before buying a new saddle.
- Basic Tools Suffice: You usually only need an adjustable wrench, a set of Allen keys (hex wrenches), and possibly a rubber mallet for stubborn posts.
- Measure Twice, Buy Once: Measure your current seat’s rail width (distance between the rails) and your seat post diameter to guarantee a perfect fit with a new saddle or adapter.
- Adjustment is Part of the Process: After installation, fine-tune the seat’s fore/aft position, tilt, and height to match your body’s biomechanics for comfort and injury prevention.
- Adapters Solve Problems: If your bike has a proprietary or oversized seat post, a seat post adapter can convert it to a standard rail system, vastly expanding your saddle options.
- Comfort is Subjective: There’s no “best” seat for everyone. Your ideal saddle depends on your sit bone width, riding style (upright vs. aggressive), and personal preference.
- Warranty Considerations: Changing the seat yourself typically does not void your bike’s overall warranty, but always check your manual. Damage caused during installation would not be covered.
📑 Table of Contents
- Why Would You Want to Change Your Exercise Bike Seat?
- Understanding Your Bike’s Seat Post and Clamp System
- Tools You’ll Need for the Job
- A Step-by-Step Guide to Swapping Your Exercise Bike Seat
- Troubleshooting Common Post-Installation Issues
- Beyond the Saddle: Alternative Comfort Solutions
- Conclusion: Your Comfort is Non-Negotiable
Why Would You Want to Change Your Exercise Bike Seat?
Let’s be honest. That stock saddle on your exercise bike? It’s often the first thing to become a source of dread. What was supposed to be a joyful, health-boosting ride turns into a 30-minute session of shifting, squirming, and counting the minutes until it’s over. This isn’t just a minor annoyance; persistent discomfort is a major reason people abandon their home gym routines. The good news is this problem has a straightforward, often inexpensive, solution: you can change the seat on your exercise bike.
The factory-installed seat is designed as a one-size-fits-all compromise. It’s cheap to manufacture and fits a wide range of body types in the showroom. But your body is unique. Your sit bone (ischial tuberosity) width, your preferred riding posture (upright for comfort vs. leaned forward for intensity), and even your personal sensitivity all dictate what feels supportive versus what feels like a torture device. Swapping to a seat that matches your anatomy can transform your workout from a painful chore into a genuinely enjoyable, sustainable part of your day. It’s one of the most impactful upgrades you can make to any piece of home gym equipment.
The “One-Size-Fits-None” Reality of Stock Saddles
Manufacturers have to balance cost, durability, and universality. The result is often a broad, heavily padded saddle. While this seems comfortable at first glance, excessive padding can actually cause more problems. It can compress in the wrong places, leading to soft tissue pressure and numbness. The shape is rarely optimized for any specific riding style. Recumbent bike seats are a different beast altogether—more like a chair—but even those can benefit from lumbar support upgrades or cushion replacements. Understanding that the stock seat is a starting point, not a final destination, is the first step toward a better ride.
Understanding Your Bike’s Seat Post and Clamp System
Before you even think about buying a new seat, you need to become a brief expert on the connection point between your bike and your saddle. This is the seat post and its clamp. The vast majority of adult exercise bikes—from affordable models to high-end Peloton or NordicTrack—use a system that is compatible with the vast world of aftermarket bicycle saddles. However, there are a few key variations you must identify.

Visual guide about Can I Change the Seat on My Exercise Bike
Image source: contents.mediadecathlon.com
The Standard Rail System (The Good News)
This is what you’ll find on most bikes. The saddle has two parallel metal rails running its length. These rails slide into a clamp (often called a “saddle clamp” or “seat post clamp”) that is attached to the top of the seat post. The clamp has two bolts that, when tightened, squeeze the rails securely. The critical measurement here is the distance between these two rails. The industry standard is approximately 44mm to 52mm. This is the measurement you need to match when buying a new saddle or an adapter.
To check yours, simply turn the seat upside down and measure the gap between the two metal rails with a ruler or caliper. It’s usually stamped on the underside of the saddle itself. Common designations are “standard,” “road,” or “mountain,” but the rail width is the true determining factor.
Proprietary or Integrated Systems (The Challenge)
Some bikes, particularly certain models from brands like Schwinn or older Sunny Health & Fitness models, use a proprietary system. This might mean the seat post itself is a large, non-standard diameter that doesn’t accept a standard clamp, or the seat is permanently affixed to a proprietary post. Don’t panic. This is where seat post adapters become your best friend. These are sleeves that slide over your existing oversized post and provide a standard 44mm-52mm rail clamp at the top. You simply remove the old seat/post assembly and install the adapter, then attach any standard bicycle saddle.
Another, less common system is the “micro-adjust” or “rail-less” system, where the saddle attaches directly to a proprietary bracket on the post. For these, your best bet is often to contact the manufacturer for a replacement seat or to search for a third-party adapter specifically designed for your bike model.
Measuring Your Seat Post Diameter
This is the second crucial measurement, especially if you need an adapter. You need to know the diameter of the tube that inserts into your bike’s frame. Remove the seat post by loosening the main clamp (the big bolt or quick-release lever at the point where the post enters the frame). Use a caliper for precision, or wrap a piece of string around the post, mark the circumference, and divide by pi (3.14). Common diameters are 25.4mm (1-inch), 27.2mm, 30.9mm, and 31.6mm. Adapters are sold for these specific diameters to convert them to a standard saddle clamp.
Tools You’ll Need for the Job
This is a simple DIY project that requires no specialized mechanic skills, but having the right tools on hand makes it smooth and prevents stripped bolts. Assemble these before you start:
Visual guide about Can I Change the Seat on My Exercise Bike
Image source: m.media-amazon.com
- Adjustable Wrench or Socket Set: The main seat post clamp bolt (the one that holds the post in the frame) and the saddle rail clamp bolts are often 13mm, 14mm, or 15mm. An adjustable wrench is perfect. Some bikes use a bolt with a hexagonal head that requires an Allen key (hex wrench).
- Allen Key Set (Hex Wrenches): Many modern bikes, especially those with a more “performance” aesthetic, use Allen bolts for the saddle clamp. Common sizes are 4mm, 5mm, and 6mm. Having a set ensures you have the exact fit.
- Rubber Mallet: A gentle tap with a rubber mallet can be incredibly helpful for coaxing a stuck seat post out of the frame without damaging it. A regular hammer can work if you’re very careful, but wrap the post in a cloth first.
- Grease (Optional but Recommended): A small dab of bicycle grease or even petroleum jelly on the seat post before reinserting it can prevent annoying squeaks and make future adjustments easier.
- Rag and Cleaner: To wipe down the seat post and the inside of the frame’s seat tube. A clean surface ensures smooth movement and accurate height adjustment.
A Step-by-Step Guide to Swapping Your Exercise Bike Seat
With your new saddle (and possibly a seat post adapter) in hand and your tools ready, it’s time for the main event. Follow these steps in order for a successful swap.
Visual guide about Can I Change the Seat on My Exercise Bike
Image source: fitnessgid.com
Step 1: Remove the Old Seat
First, loosen the main seat post clamp. This is the large bolt or quick-release lever located where the seat post emerges from the bike’s frame. Loosen it just enough so the post can slide up and down freely. Now, look at the underside of the saddle. You’ll see two bolts (or a single bolt with a plate) clamping the saddle rails to the top of the seat post. Using your appropriate wrench or Allen keys, loosen these bolts completely. You may need to hold the saddle steady as the last bit of tension releases. Carefully lift the old saddle off the post. If it’s stuck, a gentle wiggle or a light tap with the rubber mallet on the saddle’s nose can help.
Step 2: Prepare the Seat Post (and Install Adapter if Needed)
With the saddle off, you can now fully remove the seat post from the frame. Pull it straight up. Take this opportunity to wipe it down. If your bike requires a seat post adapter, this is the moment to install it. Slide the adapter over the top of your existing seat post. It should be a tight, friction fit. You may need to tap it gently with the mallet until it’s flush with the top of the post. The adapter now provides a standard rail clamp at its top.
Step 3: Attach the New Saddle
Take your new saddle and position it on the post (or adapter). Most saddles have a slight curve. The general rule is to have the widest part of the saddle (the “breadloaf” shape) aligned with your sit bones. For an upright riding position (typical on recumbents and many upright bikes), you often want the saddle nose pointing slightly upward. For a more aggressive, forward-leaning position (like on a spin bike), the nose is often level or even tilted down slightly to allow for proper hip hinge movement. Don’t tighten the rail clamp bolts fully yet. Just get them snug enough to hold the saddle in place while you make coarse adjustments.
Step 4: Set the Height and Preliminary Position
Now, reinsert the seat post (with adapter and saddle attached) into the bike’s frame. A common starting point for height is to sit on the saddle with your foot on the pedal at its lowest point. Your leg should have a very slight bend (about 25-30 degrees) at the knee. This prevents hyperextension and rocking hips. Once you’ve found a rough height, tighten the main seat post clamp firmly. Get on the bike and check the fore/aft position. When your pedals are horizontal, a plumb line dropped from your knee cap should fall directly over the pedal axle. This is a good neutral starting point. Adjust the saddle forward or backward on the rails to achieve this, then retighten the rail clamp bolts.
Step 5: Fine-Tune the Tilt and Final Tightening
Sit on the bike in your normal riding position. Does your weight feel centered on the saddle? Do you feel pressure on the perineum (soft tissue) or on the sit bones? A very slight tilt adjustment can make a world of difference. Use a small torpedo level on the saddle’s rails to ensure you’re making accurate, repeatable adjustments. A level saddle is a great starting point. If you need to tilt, do so in tiny increments (1-2 degrees at a time). Once perfectly positioned, torque the rail clamp bolts down securely. If your bolts have washers, ensure they’re seated correctly. Give the saddle a firm wiggle to confirm it’s immobile.
Troubleshooting Common Post-Installation Issues
You’ve done the swap, but something feels off. Don’t immediately blame the new saddle. These are the most common issues and their fixes.
“My New Seat Hurts My Sit Bones!”
This is the most frequent complaint. It usually means the saddle is too narrow for your sit bone width, or you’re sitting on the wrong part of it. A saddle that’s too narrow will concentrate all your weight on two small points. Measure your sit bone width (many shops have tools, or you can sit on a piece of corrugated cardboard and measure the indentations). Look for saddles categorized as “wide” or specifically listing a width matching your measurement. Also, ensure you’re sitting all the way back on the saddle’s “wings” and not perched on the narrow nose.
“I’m Experiencing Numbness or Tingling.”
This indicates pressure on the perineal area, which can reduce blood flow and nerve function. The culprit is usually a saddle with a prominent central bump, excessive nose-down tilt, or a saddle that’s simply too long, forcing you to slide forward. First, ensure the saddle is completely level. Second, check that you’re not sliding forward; your sit bones should be on the rear part of the saddle. If the problem persists, you need a saddle with a cutout or relief channel in the center. These are designed specifically to alleviate this pressure. Performance saddles almost always have them.
“The Seat Post Won’t Stay Tight / It Creaks.”
If the seat post slides down during your ride, the clamp bolt isn’t providing enough force. Tighten it more. If it’s a quick-release lever, ensure it’s closed with enough pressure that you have to use significant force to open it. If it still slips, the inside of the seat tube or the post itself may be smooth and polished from wear. A small piece of emery cloth can lightly scuff the post to create friction. For creaking, clean both the post and the inside of the frame tube thoroughly. A tiny amount of grease on the post (not on the clamp surfaces!) can eliminate metal-on-metal squeaks.
“My Knees Hurt After the Change.”
This is a biomechanics issue, not necessarily a seat problem. The saddle’s fore/aft position dramatically affects knee strain. If your knees hurt, especially in the patellar tendon, the saddle is likely too far forward. If the pain is behind the knee (hamstring tendon), it’s probably too far back. Return to the “plumb line from knee cap over pedal axle” rule when the crank is horizontal. Make micro-adjustments of just a few millimeters at a time until the pain subsides. Also, double-check your saddle height.
Beyond the Saddle: Alternative Comfort Solutions
Maybe a full saddle swap isn’t for you. Maybe your bike’s seat post is truly non-standard and adapters seem daunting. Or perhaps you want a quick, reversible fix. Here are excellent alternatives:
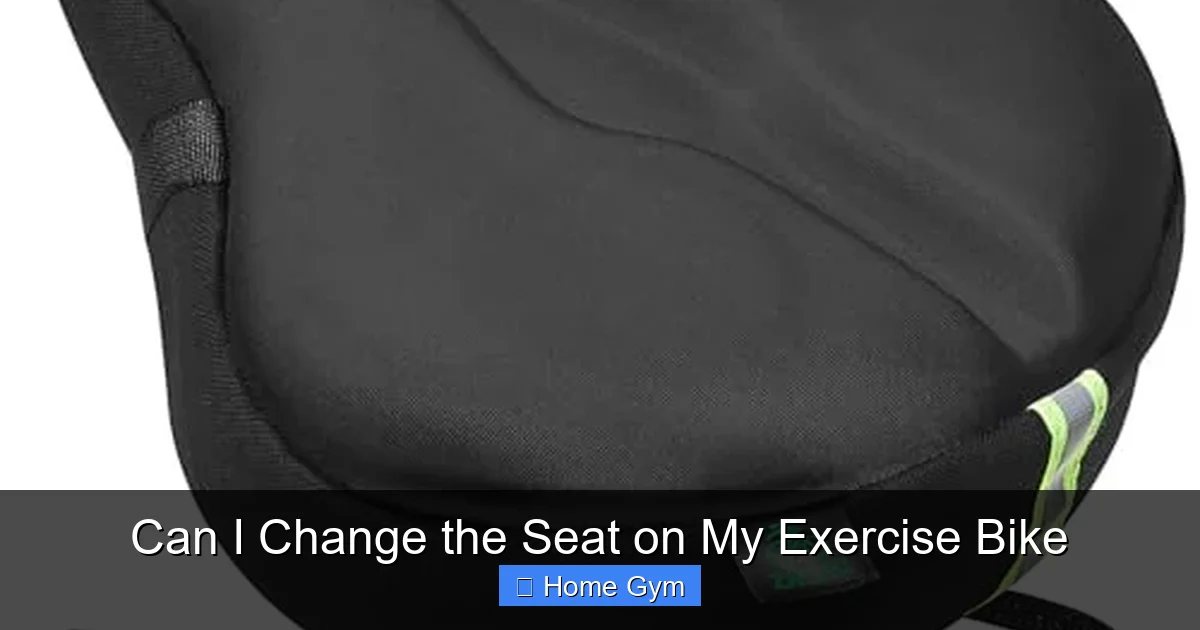
- Gel or Foam Seat Covers: These slip over your existing saddle and are secured with straps or elastic. They add a layer of cushioning and can be a great temporary solution. Quality varies widely; a thin, dense gel is often better than a thick, mushy foam.
- Padded Cycling Shorts: This is the pro move. The best padding (chamois) is integrated into shorts that fit snugly, moving with your body. A good pair of cycling shorts can make even a mediocre saddle tolerable. Look for brands with multi-density foam and anatomical shaping.
- Seat Post Suspension: Some seat posts have a built-in spring or elastomer suspension system. These can absorb shock from hard pedaling or a bumpy floor, reducing pressure on your sit bones. They are a direct replacement for your stock post and come in various diameters.
- Recumbent Bike Lumbar Cushions:
If you have a recumbent bike and the issue is lower back support, not seat width, a simple lumbar roll or a specially designed recumbent backrest cushion can make a huge difference.
Conclusion: Your Comfort is Non-Negotiable
So, can you change the seat on your exercise bike? The resounding answer is yes. For the vast majority of riders, it’s a feasible, affordable, and highly effective DIY project. The key is knowledge: measure your rails and post diameter, understand the clamp system, and buy the right components. A comfortable saddle isn’t a luxury; it’s a fundamental requirement for consistent, injury-free exercise. That nagging pain in your rear isn’t a sign you’re working hard; it’s a sign your equipment isn’t working for you. By taking control of this one component, you remove the biggest barrier to enjoying your workouts and build a sustainable habit that will serve your health for years to come. Don’t suffer in silence. Measure, shop for a saddle that matches your anatomy, and take 20 minutes to make the swap. Your future self, gliding comfortably through a 45-minute ride, will thank you.
Frequently Asked Questions
Do I need special tools to change my exercise bike seat?
No, you typically only need basic tools like an adjustable wrench or a set of Allen keys (hex wrenches). The bolts are standard sizes. A rubber mallet can be helpful for stubborn seat posts but is not always necessary.
How do I know if a new bike saddle will fit my exercise bike?
You need to measure two things: the distance between your current saddle’s rails (usually 44-52mm for a standard fit) and the diameter of your seat post (common sizes are 25.4mm, 27.2mm, 30.9mm). If your post is oversized, you’ll need a seat post adapter to make it compatible with standard saddles.
What’s the best way to adjust the new seat position?
Start with height: when seated with the pedal at its lowest, your knee should have a slight bend. For fore/aft position, a plumb line from your kneecap should pass over the pedal axle when the cranks are horizontal. The saddle should be level or with a very slight downward tilt (1-2 degrees) at the nose for most riders.
My new seat feels worse than the old one. What should I do?
First, give it a few rides to adjust. Then, re-check your measurements and adjustments. Ensure the saddle is level and that you’re sitting on the wide rear part, not the narrow nose. If sit bone pain persists, the saddle is likely too narrow. If you feel numbness, it may lack a central cutout or is tilted nose-down too far.
Will changing the seat void my exercise bike’s warranty?
Generally, no. Changing the seat is considered a user-maintenance item and does not void the overall warranty. However, any damage you cause to the bike (e.g., stripping the seat post clamp) during installation would not be covered. Always consult your owner’s manual for specific terms.
What type of saddle is best for indoor cycling/spinning?
For aggressive, forward-leaning spinning positions, look for a narrow, performance-oriented saddle with a pronounced cutout or relief channel. These are designed to allow full leg movement without soft tissue pressure. Wider, more cushioned saddles are better suited for upright, endurance-style riding or for those with specific sit bone width needs.