How to Carry a Gym Bag on a Bike
Carrying a gym bag on a bike is essential for fit cyclists, but doing it wrong leads to unsafe sway, damaged gear, and a ruined ride. The solution isn’t just about strapping something on; it’s about choosing the right bag for your bike and workout, securing it with proper mounting systems, and protecting your contents from the elements. This guide cuts through the clutter, comparing backpacks, panniers, frame bags, and cargo straps to help you find your perfect, stable setup for a secure and comfortable commute to the gym.
You’ve just crushed a tough workout. Your muscles are pumped, you’re feeling great, and you’re ready to ride your bike home. But then you remember: your gym bag is a bulky, asymmetrical mess of sweaty shoes, a water bottle, and a lock. How do you get it home safely without turning your bike into a dangerous, swaying hazard? This is the universal dilemma for the bike-to-gym commuter. Carrying a gym bag on a bike isn’t just about convenience; it’s about safety, bike handling, and protecting your investment in both your fitness gear and your bicycle. Forget just tossing it on the rack or slinging a pack over your shoulders. The right system transforms your commute from a precarious balancing act into a seamless, efficient part of your active lifestyle. This guide will walk you through every consideration, from bag selection to mounting tricks, ensuring your gear arrives as fresh as you leave the gym.
Key Takeaways
- Prioritize Safety and Stability: An unstable load shifts your bike’s center of gravity, affecting handling and braking. Secure mounting is non-negotiable for safe cycling.
- Match Your Bag to Your Bike & Routine: A commuter hybrid bike handles a rear pannier differently than a road bike handles a frame bag. Consider your bike’s mounting points and typical gear volume.
- Backpacks Offer Convenience but Trade Comfort: While simple, heavy backpacks cause sweat and strain. For regular use, dedicated bike-mounted systems are superior.
- Waterproofing is a Must, Not a Maybe: Sweat, rain, and road spray are guaranteed. Use dry bags, waterproof panniers, or liner bags to protect electronics and clothes.
- Secure Every Item Inside the Bag: Loose items inside a bag will bang, rattle, and shift. Use internal compression straps and separate pouches for shoes and toiletries.
- Test Ride Before You Commit: Always do a short, loaded test ride. Check for heel strike, bag sway, and interference with shifting/braking before your real commute.
📑 Table of Contents
- Why Proper Bike Bag Carrying Matters: Beyond Simple Convenience
- Choosing the Right Carrier: Backpacks, Panniers, Frame Bags & More
- Mastering the Mount: Installation and Secure Attachment Techniques
- Packing Like a Pro: Organizing Your Gym Gear for the Ride
- Weatherproofing and Road Spray Defense
- Safety and Etiquette: The Final Checks Before You Ride
- Conclusion: Your Perfect Commute Awaits
Why Proper Bike Bag Carrying Matters: Beyond Simple Convenience
At first glance, it seems simple: put the bag on the bike and go. But improper carrying has real consequences. The most immediate issue is safety. A poorly secured bag can swing side-to-side, especially in corners or when crossing rumble strips. This unpredictable movement can snag on your wheel, throw off your balance, or even cause a crash. It also affects your bike’s handling and stability. Extra weight high on your back (via a backpack) raises your center of gravity, making the bike feel twitchy. Weight low and centered on the bike (via panniers) maintains stability but must be balanced to avoid pulling the bike to one side.
The Hidden Costs of a Bad Setup
Then there’s gear protection. Your gym bag is a repository for damp towels, sweaty clothes, and potentially wet shoes. Without proper waterproofing, this moisture will seep into your bag and then onto your bike frame, potentially causing rust or corrosion on bolts and components. Electronics like phones, headphones, or fitness trackers are at extreme risk. Furthermore, a bouncing bag leads to premature wear and tear on both the bag itself (seams tearing, zippers breaking) and your bike’s rack or mounting points due to constant vibration and stress. Finally, there’s pure comfort and efficiency. A heavy, hot backpack on a warm day makes for a miserable, sweaty ride. A well-designed bike-mounted system distributes weight and keeps your back free.
Choosing the Right Carrier: Backpacks, Panniers, Frame Bags & More
The first step is selecting your primary carrying method. Each has a distinct profile of pros and cons that align with different bike types, load sizes, and personal preferences. Let’s break down the main contenders.
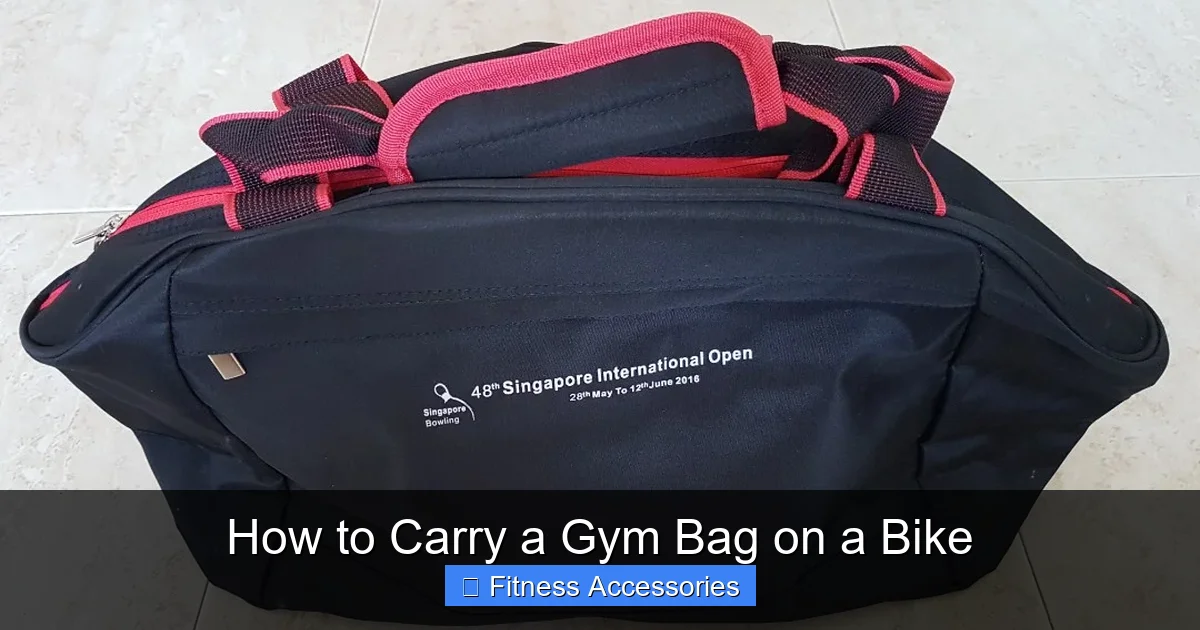
Visual guide about How to Carry a Gym Bag on a Bike
Image source: media.karousell.com
Backpacks: The Ubiquitous but Flawed Option
The gym backpack is the default for many. It requires no modifications to your bike and you can take it everywhere, not just on rides. However, for cycling, it’s often the least optimal choice. The weight sits high on your spine and shoulders, leading to back and neck strain on longer rides. It also traps body heat, creating a significant sweat zone. The bag itself can slide around if not tightly cinched, and the shoulder straps can interfere with your handlebar movement or get caught when dismounting. It’s best reserved for very short commutes (under 10 minutes) or when you absolutely cannot install any hardware on your bike.
Rear Rack & Panniers: The Gold Standard for Stability
This is the most professional and stable solution. A sturdy rear rack mounted to your bike’s frame provides a solid platform. Panniers are dedicated, often waterproof bags that attach securely to the rack via a universal clip or hook system. They keep weight low and centered, dramatically improving bike handling. They also keep your back cool and dry. The main drawbacks are cost (a good rack and pair of panniers is an investment) and the fact that you must leave the bags on the bike or carry them by a handle once you arrive. They are ideal for regular commuters with consistent loads and bikes that have rack mounts (most hybrids, touring, and gravel bikes).
Frame Bags & Top Tube Bags: For Light, Essential Loads
These bags mount directly to your bike’s frame triangle or top tube using velcro or straps. They are excellent for smaller, essential items—your phone, wallet, keys, a protein bar, and a small towel. They keep weight extremely low and centered, affecting handling minimally. However, they lack the volume for a full gym kit with shoes and a change of clothes. They are perfect as a complement to another system (e.g., shoes in a pannier, essentials in a frame bag) or for minimalists who only carry a towel and water bottle.
Cargo Straps & Net Systems: The Improviser’s Friend
For those who don’t want to buy a dedicated rack or pannier, heavy-duty elastic cords (like those used for cargo nets) or cam buckle straps can be used to cinch a regular duffel bag or backpack directly to a rear rack or even across the top tube. The key is multiple attachment points to prevent any shifting. This is a low-cost, flexible solution but is less secure and weatherproof than a system designed for cycling. The bag must be very robust to withstand constant scrubbing against the strap.
Mastering the Mount: Installation and Secure Attachment Techniques
Choosing your carrier is only half the battle. Proper installation and securing techniques are what make the system truly safe and effective.
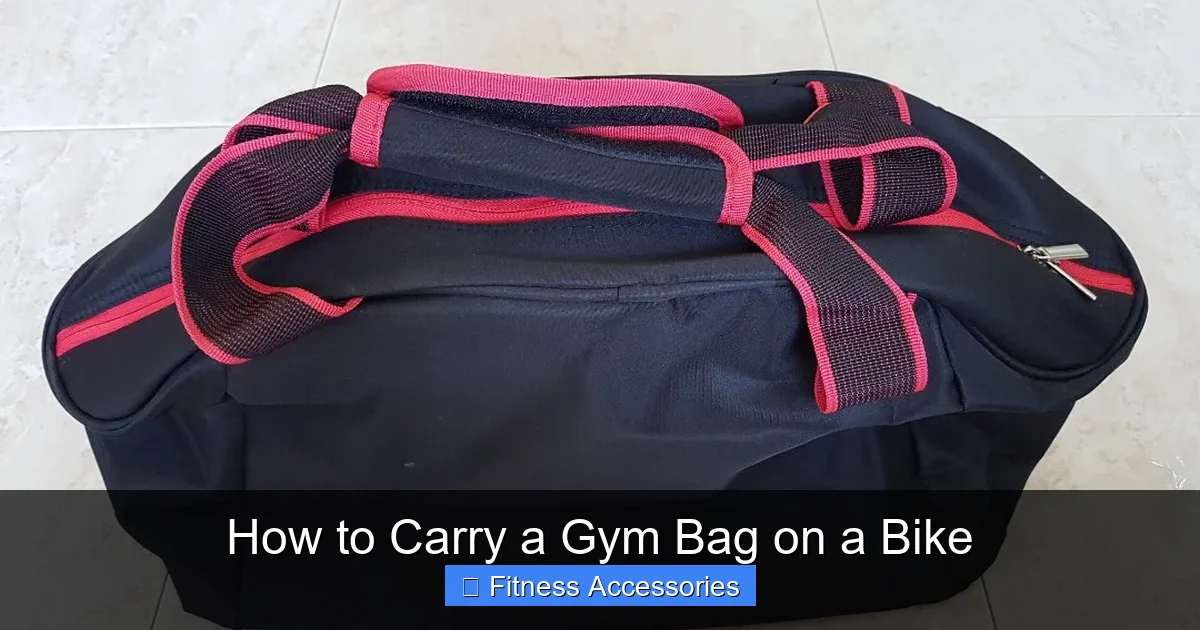
Visual guide about How to Carry a Gym Bag on a Bike
Image source: media.karousell.com
Rack Installation: The Foundation of Stability
If you opt for a rear rack, installation is critical. Most modern bikes have threaded eyelets on the seat stays and chain stays for rack mounting. Ensure the rack is compatible with your wheel size (e.g., 700c or 27.5″) and tire width. Use high-quality stainless steel bolts and washers to prevent corrosion. Torque the bolts to the manufacturer’s specification—too loose and the rack can wobble or fail; too tight and you risk cracking the frame’s aluminum or carbon fiber. For bikes without eyelets (many modern road and mountain bikes), you need a seatpost clamp rack or a frame-mounted clamp system. These are generally less rigid and have lower weight limits, so they are best for light loads only.
Pannier Attachment: Locking It Down
Quality panniers attach via a two-part system: a rigid “bracket” or “hook” that clips onto the top of the rack rail, and a lower strap or hook that secures to the bottom rail or a dedicated rack eyelet. Always engage both the top and bottom attachments. The top hook prevents forward rotation, while the lower strap prevents rearward swing. When loading, place the heaviest items closest to the bike frame and distribute weight evenly between left and right bags if using two. For a single-bag setup (common for gym bags), place it on the left side (non-drivetrain side) to avoid any interference with your chain or derailleur if it shifts slightly.
Securing a Duffel or Backpack to a Rack
When using a non-cycling bag, you must create a secure, non-shifting load. First, center the bag on the rack. Use at least two, preferably three or four, cam buckle straps. Run one strap over the top of the bag, down the front of the rack, and buckle it. Run another over the top, down the back. If your bag has handles or loops, thread straps through them for a more secure grip. The goal is to compress the bag against the rack so it cannot bounce or move independently. Check the straps after your first few miles, as they may settle and need retightening.
Heel Strike: The Common Foot-Pedal Pitfall
This is a critical issue, especially on smaller frames or with larger panniers. “Heel strike” occurs when your heel hits the rear pannier while pedaling, causing bruising, scuffing your bag, and forcing an inefficient pedaling stroke. To test for this: with the bike on a stand or held upright, sit on the saddle and pedal your cranks backwards. Observe the path of your heels. If they clear the bag’s outer edge by less than an inch, you have a problem. Solutions include using a shorter pannier (often marketed as “city” or “commuter” size), moving the rack slightly further back if possible (some racks have adjustable front mounts), or simply switching to a frame bag or top tube bag for your main load and carrying only a small item on the rack.
Packing Like a Pro: Organizing Your Gym Gear for the Ride
What’s inside your bag matters as much as how the bag is attached. Poor packing leads to noise, damage, and imbalanced weight.
Visual guide about How to Carry a Gym Bag on a Bike
Image source: media.karousell.com
The Hierarchy of Packing: Heavy & Bulky at the Bottom, Close to the Frame
Think of your bag like a suitcase for a fragile cargo plane. Place the heaviest, densest items (your shoes, filled water bottle, lock) at the bottom of the bag, closest to the bike frame and the rack. This lowers the overall center of gravity. Put medium-weight items (clothes, towel) in the middle. Place light, bulky, or fragile items (a foam roller, toiletries bag) on top. This “pyramid” method prevents the heavy things from crushing your electronics and keeps the load compact and stable.
Separate, Contain, and Compress
Do not just throw everything in. Use internal stuff sacks or compression bags for clothes. This compresses volume and creates a single, neat unit that won’t shift. Have a dedicated, zippered wet/sweat bag (a simple waterproof stuff sack works) for your post-workout clothes and towel. This contains odors and moisture. Your shoes should be in their own compartment or a separate shoe bag to prevent them from grinding against other items. Use the bag’s internal straps and dividers to your advantage.
The All-Important Dry Bag Layer
Even “waterproof” panniers can have seams that leak under prolonged spray or if submerged. The ultimate protection is a roll-top dry bag placed inside your pannier or duffel. Pack all your gear into this dry bag, roll the top down three times, and buckle it. This creates a guaranteed waterproof barrier. For a backpack, a full dry bag liner is your best friend. It’s a small investment that saves your phone, headphones, and fresh clothes from a soaked demise.
Weatherproofing and Road Spray Defense
Your bike is exposed to the elements in a way a car or walking is not. Road spray from puddles, drizzle, and even your own sweat dripping down from the bag above must be managed.
Assess Your Bag’s Inherent Water Resistance
Check your bag’s fabric and construction. Is it made of coated nylon or polyester with taped seams? Does it have a storm flap over the main zipper? Many “water-resistant” bags will fail in a sustained downpour. For all-weather commuting, you need a truly waterproof bag (often with a roll-top closure) or you must use the internal dry bag strategy mentioned above. Don’t trust a simple coating.
Strategic Placement to Minimize Spray
Where you mount the bag influences how much road spray it receives. A rear pannier will get a constant mist from the rear wheel, especially on wet roads. A frame bag is mostly shielded by the front wheel and your legs. A top tube bag is the most exposed. Consider this when deciding what goes where. Store your most moisture-sensitive items (phone, wallet) in the driest location possible, ideally within a ziplock bag inside your main dry compartment as a final failsafe.
Post-Ride Care: Don’t Let Salt and Grime Linger
After riding in wet or salty conditions, don’t just zip the bag shut and forget it. Damp gym clothes are a breeding ground for mildew and stink. Empty the bag completely as soon as you arrive. Wipe down the exterior with a damp cloth to remove road grime and salt, which can degrade fabric and zippers over time. Turn the bag inside out if possible and let it air dry thoroughly before repacking. This simple habit extends the life of your bag and keeps it fresh.
Safety and Etiquette: The Final Checks Before You Ride
Your loaded bike is now a different machine. A pre-ride checklist is essential.
The Pre-Ride Safety Sweep
With the bag loaded and secured, perform this routine: 1) Squeeze Test: Grab the bag and try to wiggle it. There should be no perceptible movement. 2) Clearance Check: Spin the pedals backwards to confirm no heel strike. 3) Brake & Shift Test: Squeeze both brake levers and shift through all gears. Ensure no cables or the bag itself is interfering with the brakes or derailleur movement. 4) Kickstand Check: If using a kickstand, ensure the bag isn’t preventing it from deploying fully or is putting excessive weight on it. 5) Visibility: Is the bag covering your rear reflector or taillight? If so, you must add a clip-on light or reflective gear to the bag itself.
Riding with a Load: Adjust Your Style
A loaded bike handles differently. It will be slightly slower to accelerate and take longer to stop. The extra weight, if properly secured low, can actually make the bike feel more planted in straight lines but slightly less nimble in tight corners. Brake earlier and more smoothly. Be mindful of crosswinds, as the larger side profile can catch more wind. Avoid sudden, aggressive steering inputs. Your goal is predictability and smoothness.
Gym Bag Etiquette at Your Destination
When you arrive at the gym, don’t just leave your bag strapped to your bike in a high-traffic area if you can avoid it. If the gym has a bike rack, use it. If you must leave it on the bike, ensure it’s locked to the bike frame (not just the rack) with a sturdy lock, and position it so it’s not obstructing pathways. A sleek, low-profile pannier looks less like a target than a floppy duffel. The goal is to be considerate of others and protect your property.
Conclusion: Your Perfect Commute Awaits
Figuring out how to carry a gym bag on a bike is a rite of passage for the cyclist who values fitness and efficiency. It moves you from the “toss it on and hope for the best” phase into a realm of thoughtful preparation and seamless integration. The investment in a proper rear rack and a set of waterproof panniers pays dividends in daily comfort, bike safety, and gear longevity. For the minimalist, a smartly packed frame bag paired with a dry sack for shoes is a brilliant solution. The core principles remain constant: secure the load, protect the contents, and prioritize stability. By applying the methods in this guide—choosing the right tool for your bike, mastering the mount, packing with intention, and performing your safety checks—you transform that gym commute from a logistical headache into the most rewarding part of your day. You arrive at the gym ready to train, and you ride home with your accomplishments and your gear, safe and sound. Now, go enjoy that ride.
Frequently Asked Questions
Can I just use a regular backpack for my bike commute?
You can for very short trips, but it’s not ideal. Backpacks shift weight to your shoulders and back, causing discomfort and sweat. They can also sway and interfere with handlebar movement. For regular cycling, a rack and pannier system is far safer and more comfortable.
What’s the best way to carry smelly, sweaty gym clothes?
>Use a dedicated, waterproof stuff sack or compression bag inside your main carrier. This contains odors and moisture, preventing them from soaking your other items or the bag itself. Empty and air out this separate bag as soon as you get home.
How do I stop my rear pannier from hitting my heel while pedaling?
>This is “heel strike.” First, ensure your rack is mounted correctly and as far back as possible. Second, choose a pannier specifically designed for smaller frames or commuting (often shorter in length). Third, consider moving your main load to a frame bag and using a very small rear bag only for a lock and shoes.
Are cargo straps a reliable way to carry a duffel bag?
>They can be, if used correctly. You need multiple high-quality cam buckle straps to compress the bag tightly against the rack in at least two places (top and bottom). The duffel must be very durable to withstand friction. It’s a good temporary or budget solution but is less secure and weatherproof than a dedicated pannier.
Do I need to worry about my bag damaging my bike’s paint?
>Yes, especially if using straps directly on the frame or a bag that shifts. Always use a rack or frame bag with padded straps. If using straps, place soft cloth padding between the strap and the frame at contact points. Regularly check for any rubbing marks.
What’s the single most important piece of advice for carrying a gym bag on a bike?
>Always do a test ride with your fully loaded bag before relying on it for a real commute. Check for sway, heel strike, brake/shift interference, and overall feel. A 5-minute test ride around the block will reveal problems you can’t spot while stationary.