Why Do I Keep Tripping Over My Jump Rope
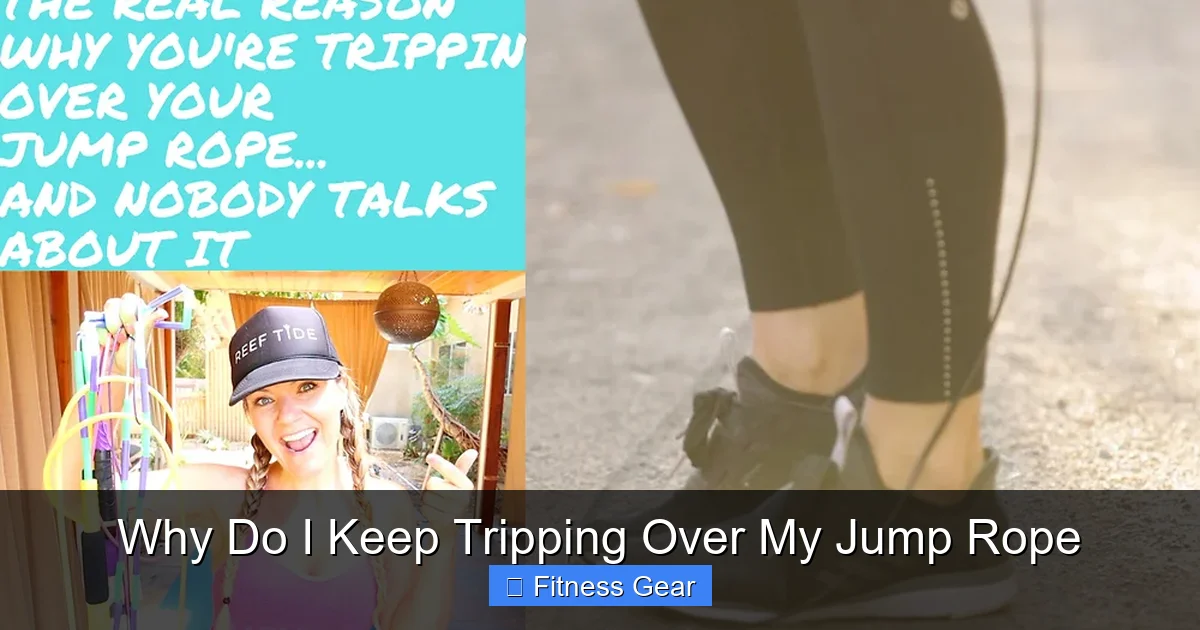
Ever wonder why you keep tripping over your jump rope? It’s usually a mix of technique, rope choice, and body awareness. This guide breaks down the common culprits and offers easy, actionable steps so you can jump confidently every time.
Key Takeaways
- Proper grip matters: Holding the handles correctly prevents rope swing and mis‑timing.
- Rope length is crucial: Too long or too short rope throws off your rhythm and causes trips.
- Footwork fundamentals: Mastering basic jumps and landing techniques reduces wobble.
- Surface selection: Jumping on the right floor material minimizes rope drag and sudden catches.
- Core and posture: A strong core and upright posture keep the rope’s path consistent.
- Progressive training: Start slow, build speed gradually, and use drills to reinforce good habits.
- Equipment maintenance: Regularly check for wear, replace worn ropes, and keep handles tight.
📑 Table of Contents
- Introduction: The Frustration of the Unwanted Trip
- 1. The Basics: Grip, Hand Position, and Rope Control
- 2. Finding the Perfect Rope Length
- 3. Footwork Fundamentals: Landing, Timing, and Balance
- 4. Choosing the Right Surface
- 5. Progressive Training: Drills to Build Muscle Memory
- 6. Maintaining Your Gear: When to Replace and How to Care
- Conclusion: Jump Confidently, Trip No More
Introduction: The Frustration of the Unwanted Trip
Jump rope is one of the simplest, most effective cardio tools out there. It burns calories, improves coordination, and can be done anywhere. Yet, many of us—beginners and seasoned jumpers alike—find ourselves constantly tripping over the very rope we’re trying to master. The question “Why do I keep tripping over my jump rope?” pops up in forums, gyms, and living rooms across the globe.
Before you throw the rope away in defeat, take a breath. The answer is rarely a single issue. It’s usually a blend of technique, equipment, and environment. In this article we’ll walk through each factor, explain why it matters, and give you clear, actionable steps to stop the stumbles for good.
1. The Basics: Grip, Hand Position, and Rope Control
1.1 How to Hold the Handles Correctly
The first thing most people overlook is the way they hold the rope handles. A loose grip lets the rope swing wildly, while a too‑tight grip can cause the rope to “bounce” off the handles and snag your feet.

Visual guide about Why Do I Keep Tripping Over My Jump Rope
Image source: thesprucepets.com
- Relaxed but firm: Imagine holding a bird—firm enough that it won’t fly away, gentle enough that you don’t crush it.
- Thumbs on top, fingers wrapped around: This position gives you a natural pivot point for wrist rotation.
- Wrist alignment: Keep your wrists in line with your forearms; avoid bending them outward.
1.2 Wrist Rotation vs. Arm Swing
Most of the rope’s movement should come from the wrists, not the elbows or shoulders. When you swing your arms, the rope path becomes erratic and more likely to hit the ground at the wrong spot, leading to trips.
Tip: Practice “wrist circles” without the rope. Rotate each wrist in small circles for 30 seconds, then try swinging the rope using only that motion.
1.3 Controlling Rope Speed
Speed is a common culprit. Jumping too fast before you’ve mastered timing creates a “lag” where the rope hits the ground before your feet are ready. Conversely, going too slow can cause the rope to linger on the ground, increasing the chance of catching your shoe.
Start with a moderate speed—about 120–130 rotations per minute (RPM). Use a metronome or a playlist with a steady beat (around 150–170 BPM) to keep your rhythm consistent.
2. Finding the Perfect Rope Length
2.1 How to Measure Your Rope
The right rope length is the foundation of a smooth jump. Here’s a quick method:
Visual guide about Why Do I Keep Tripping Over My Jump Rope
Image source: i2.wp.com
- Stand on the middle of the rope with both feet together.
- Pull the handles straight up along your sides.
- The handles should reach somewhere between your armpits and the top of your chest.
If the handles are too high, the rope will arc too far forward and hit your feet. If they’re too low, the rope will slap the ground, making timing harder.
2.2 Adjusting Different Types of Ropes
• Speed ropes (beaded or cable): Usually have a built-in adjustment screw. Turn clockwise to shorten, counter‑clockwise to lengthen.
• Weighted ropes: May require cutting the rope and re‑tying a knot. Measure twice before you cut.
• PVC or rubber ropes: Often have a simple “slide‑and‑lock” mechanism.
2.3 When Length Isn’t the Issue
Even with a perfectly sized rope, you might still trip if the rope twists on itself. Check for kinks, and make sure the rope lies flat before each session.
3. Footwork Fundamentals: Landing, Timing, and Balance
3.1 The Basic Two‑Foot Jump
The foundation of all jump‑rope tricks is the two‑foot hop. Keep your knees slightly bent, land on the balls of your feet, and keep the impact soft.

Visual guide about Why Do I Keep Tripping Over My Jump Rope
Image source: vetadvises.com
Practice drill: Perform 30 seconds of basic hops, then rest 15 seconds. Repeat for five rounds.
3.2 Single‑Leg and Alternating Foot Jumps
These variations help improve coordination and reduce the chance of the rope hitting a stationary foot.
- Single‑leg hops: Switch legs every 10 seconds. Keep the opposite foot slightly lifted to avoid accidental contact.
- Alternating (running) jumps: Mimic a light jog. This forces you to lift each foot quickly, decreasing rope‑foot collisions.
3.3 Proper Landing Technique
Landing flat or on the heels creates a “slap” that throws the rope upward, making it harder to time the next swing. Focus on landing softly on the forefoot, then immediately spring up for the next rotation.
3.4 Core Engagement and Posture
A strong core keeps your torso stable, which in turn keeps the rope’s path straight. Engage your abdominal muscles lightly—think “pull your belly button toward your spine.” Keep your shoulders relaxed and down, not hunched.
4. Choosing the Right Surface
4.1 Ideal Flooring Materials
Not all floors are created equal. Here’s a quick guide:
- Wooden floors or gym mats: Provide a smooth, slightly forgiving surface. Ideal for most ropes.
- Concrete: Too hard; the rope may bounce unpredictably and increase joint stress.
- Carpet: Can cause the rope to snag, especially if the fibers are long.
- Outdoor surfaces (grass, asphalt): Grass can be uneven, and asphalt can be rough. Use a high‑speed, lightweight rope if you must jump outside.
4.2 Using a Jump Rope Mat
Investing in a thin, non‑slip jump rope mat adds cushioning and protects both the floor and your joints. It also gives a consistent surface, reducing rope‑catch incidents.
4.3 Weather and Temperature Effects
Cold weather can make PVC ropes stiff, causing them to snap back quickly and catch your feet. Warm environments make ropes more pliable, which can slow the swing. Adjust your speed accordingly, or switch to a rope material suited for the temperature.
5. Progressive Training: Drills to Build Muscle Memory
5.1 The “Shadow Jump” Drill
Without a rope, mimic the motion for 1‑minute intervals. Focus on wrist rotation, foot timing, and posture. This isolates the movement pattern and helps you feel the correct rhythm.
5.2 The “Half‑Speed” Drill
Set a metronome to half your usual tempo. Jump at this slower pace until you can complete 2‑minute sets without tripping. Then gradually increase the tempo by 5‑10 BPM each session.
5.3 The “Box” Drill for Coordination
Imagine a box on the floor. Jump forward, right, backward, and left—one side per rope rotation. This forces you to change direction and improves spatial awareness, reducing accidental foot‑rope contact.
5.4 Video Analysis
Record yourself from the side and front. Watch for these common errors:
- Rope catching the shoe on the outside of the foot.
- Excessive knee bend causing the rope to hit the ground too early.
- Hands drifting too far forward or backward.
Make one small adjustment per session; over time the improvements compound.
6. Maintaining Your Gear: When to Replace and How to Care
6.1 Signs of Rope Wear
Look for fraying, kinks, or uneven thickness. A worn rope can twist mid‑air, creating a “hook” that snags your foot.
6.2 Cleaning and Storage Tips
Wipe the rope with a dry cloth after each use. Store it loosely coiled, not tightly wound, to avoid permanent bends.
6.3 Upgrading Your Rope
If you’re consistently tripping despite perfect technique, consider a rope that matches your skill level:
- Beginner: Light PVC rope, 2‑mm diameter, easy to control.
- Intermediate: Speed cable with coated handles for smoother rotation.
- Advanced: Weighted beaded rope for added momentum and timing feedback.
Conclusion: Jump Confidently, Trip No More
Understanding why you keep tripping over your jump rope is the first step toward smoother, safer sessions. By adjusting your grip, selecting the proper rope length, mastering footwork, choosing the right surface, training progressively, and keeping your gear in top shape, you’ll eliminate most of the common trip triggers.
Remember, jump rope is as much about rhythm and body awareness as it is about cardio. Treat each practice session like a dance—listen to the beat, feel the rope, and let your body move in harmony. With the tips above, you’ll soon be gliding over the rope instead of stumbling into it.
Frequently Asked Questions
Why does my rope keep hitting my shoes?
Most often the rope is too long or your wrist rotation is too wide. Adjust the length so the handles reach your armpits and keep the wrist motion compact.
Can the type of floor cause me to trip?
Yes. Hard, uneven, or very sticky surfaces can change the rope’s swing arc. A smooth wooden floor or a jump‑rope mat provides the most consistent performance.
How often should I replace my jump rope?
When you notice fraying, kinks, or loss of smooth rotation—usually every 3‑6 months for heavy daily use, or sooner if the rope shows visible damage.
Is it better to jump on my toes or heels?
Land on the balls of your feet (the toes) with a slight knee bend. This reduces impact and keeps the rope’s path steady.
What speed should a beginner aim for?
Start around 120‑130 RPM (about 150‑170 beats per minute). Focus on control before trying to increase speed.
Do weighted ropes help prevent trips?
Weighted ropes add momentum, which can make timing easier for some users, but they also require stronger wrists. Try a light rope first and graduate to weighted once your technique is solid.