Using a stationary bike for weight loss is a highly effective, low-impact strategy accessible to all fitness levels. Success hinges on combining consistent, structured workouts—like high-intensity intervals—with a sustainable calorie deficit. This guide provides the exact plans, nutritional tips, and mindset shifts needed to transform your cycling sessions into a powerful fat-burning machine.
Key Takeaways
- Consistency Over Intensity: Regular, moderate workouts are more sustainable and effective for long-term weight loss than sporadic, extreme sessions.
- HIIT is a Game-Changer: Incorporating High-Intensity Interval Training (HIIT) on your bike maximizes calorie burn during and after your workout (the afterburn effect).
- Nutrition is Non-Negotiable: You cannot out-cycle a bad diet. Weight loss requires a consistent calorie deficit, primarily managed through diet.
- Track Everything: Monitor your workouts (duration, intensity), food intake, and measurements. Data reveals what’s working and keeps you accountable.
- Form and Setup Prevent Injury: Proper bike fit and pedaling technique are crucial for avoiding pain and allowing you to exercise longer and more frequently.
- Progressive Overload is Key: To keep losing weight, you must gradually increase the challenge—via resistance, speed, or duration—to prevent plateaus.
[FEATURED_IMAGE_PLACEHOLDER]
📑 Table of Contents
- Your Journey to a Lighter You Starts Here
- Why the Stationary Bike is a Weight Loss Powerhouse
- Setting Up for Success: Your Bike Fit and Form Fundamentals
- Designing Your Weight Loss Workouts: The Blueprint
- Beyond the Pedals: Nutrition, the Other Half of the Equation
- Tracking Progress and Avoiding Plateaus
- Advanced Strategies and Common Mistakes
- The Mental Game: Building Habits That Last
- Conclusion: Your Pedal-Powered Future Awaits
Your Journey to a Lighter You Starts Here
So, you’ve got a stationary bike. Maybe it’s gathering dust in the corner, or maybe you use it casually while watching TV. But what if I told you that this unassuming piece of equipment could be your most powerful ally in losing weight and transforming your health? Forget expensive gym memberships, intimidating weight rooms, or high-impact workouts that punish your joints. Learning how to use a stationary bike to lose weight effectively is about strategy, not just sweating. It’s a accessible, convenient, and incredibly efficient path to fat loss, suitable for beginners and fitness veterans alike. This guide will walk you through every single step, from setting up your bike correctly to designing workouts that melt calories, all while building sustainable habits that last a lifetime.
The beauty of the stationary bike lies in its simplicity and control. You can adjust resistance to mimic a gentle flat road or a brutal hill climb with the turn of a dial. You can cycle in the comfort of your home, in any weather, while listening to a podcast or your favorite music. But to move from casual pedaling to serious weight loss, you need a plan. This isn’t about spending hours on the saddle; it’s about making the time you spend there count. We’ll break down the science of calorie burning, the art of workout design, and the critical role of nutrition. Get ready to shift your mindset from “I have to exercise” to “I get to power my body toward my goals.”
Why the Stationary Bike is a Weight Loss Powerhouse
Low Impact, High Reward
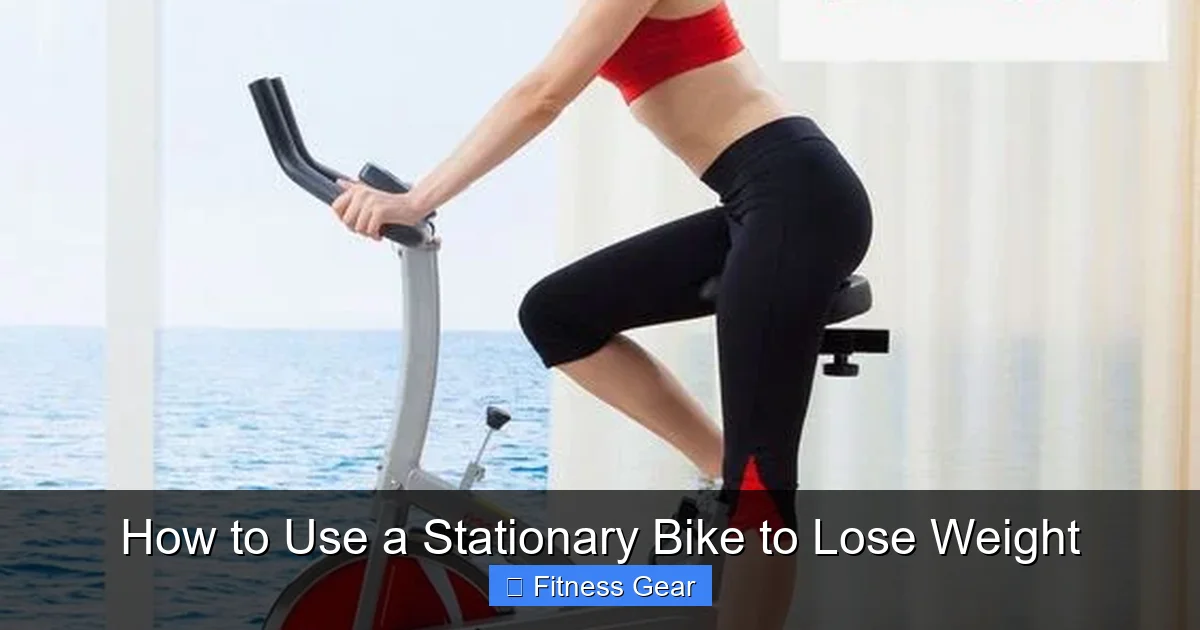
Let’s address the first question: why choose a bike? The number one reason is its low-impact nature. Running, jumping, and even some strength exercises place significant stress on your ankles, knees, hips, and spine. If you have existing joint issues, are carrying excess weight, or are just starting out, that impact can lead to pain and injury, derailing your progress before it even begins. A stationary bike removes that jarring impact. Your joints move through a smooth, controlled range of motion. This means you can exercise more frequently, recover faster between sessions, and build endurance without the constant ache. For sustainable weight loss, the ability to be consistent is everything, and the bike offers a clear path to that consistency.
Visual guide about How to Use a Stationary Bike to Lose Weight
Image source: s-media-cache-ak0.pinimg.com
Torching Calories with Control
A stationary bike is a fantastic calorie burner. A person weighing 155 pounds can burn approximately 260 calories in 30 minutes of moderate cycling. But here’s the secret: you have total control over that number. By increasing resistance (making it harder to pedal) or your pedaling speed (RPMs), you can dramatically spike your heart rate and energy expenditure. This control is empowering. You can design a gentle recovery ride one day and a brutal, sweat-drenched climb the next. Furthermore, cycling primarily works your largest muscle groups—the quadriceps, hamstrings, and glutes. The more muscle you engage, the more calories you burn, both during and after your workout.
The Afterburn Effect (EPOC)
This is where things get really exciting for weight loss. Exercise Post-Exercise Oxygen Consumption (EPOC), often called the “afterburn effect,” is the increase in metabolic rate your body experiences after a workout as it works to recover and return to its resting state. High-intensity efforts, like sprint intervals on your bike, create a much larger EPOC than steady-state cardio. This means your body continues to burn extra calories at an elevated rate for hours after you’ve finished your session and cooled down. By strategically incorporating high-intensity work into your bike routines, you’re essentially turning your body into a 24-hour fat-burning furnace.
Setting Up for Success: Your Bike Fit and Form Fundamentals
The Golden Rules of Bike Setup
Before you pedal a single stroke, proper setup is non-negotiable. An ill-fitted bike leads to discomfort, inefficiency, and potential injury, all of which will sabotage your weight loss goals. Here’s your quick setup checklist:

Visual guide about How to Use a Stationary Bike to Lose Weight
Image source: trikeadviser.com
- Seat Height: Sit on the bike and place your heel on the pedal at its lowest point. Your leg should be completely straight. When you switch to the ball of your foot on the pedal (your normal pedaling position), there will be a slight, comfortable bend in your knee—about a 25-30 degree angle.
- Seat Position (Fore/Aft): Sit on the bike and place your feet at the 3 and 9 o’clock positions (horizontal). The knee cap should be directly over the ball of your foot (the pedal axle). This prevents knee strain.
- Handlebar Height: For beginners or those with back issues, start with the handlebars higher than the seat for a more upright, comfortable posture. As you get more advanced and want to engage your core more, you can lower them slightly. Never compromise a neutral spine for aerodynamics.
- Distance to Handlebars: You should never have to overextend to reach the bars. Your elbows should have a soft bend. If you feel like you’re stretching, move the seat forward or the handlebars closer.
Perfecting Your Pedaling Technique
It’s not just about pushing down. Think of your pedal stroke as a complete circle—a “pull, push, sweep” motion.
- The Push (Downstroke): Apply power through the ball of your foot as you push down. This is the strongest part of your stroke.
- The Sweep (Backstroke): As the pedal comes up and behind you, think about “sweeping” your foot back and up, as if you’re scraping mud off your shoe. This engages your hamstrings and glutes.
- The Pull (Upstroke): Actively pull the pedal up and over the top. This is where clipless pedals or toe cages help immensely, as they allow you to pull up as well as push down, creating a smooth, powerful circle.
Focusing on this full-circle stroke maximizes power, engages more muscles (burning more calories), and reduces the “mashing” feeling that leads to knee pain. Aim for a cadence (RPM) of 80-100 for most of your rides; this is an efficient, joint-friendly range.
Designing Your Weight Loss Workouts: The Blueprint
Workout Structure 101: Warm-Up, Main Set, Cool-Down
Every single session should follow this template. It’s the framework for safety, performance, and results.
Visual guide about How to Use a Stationary Bike to Lose Weight
Image source: i.ytimg.com
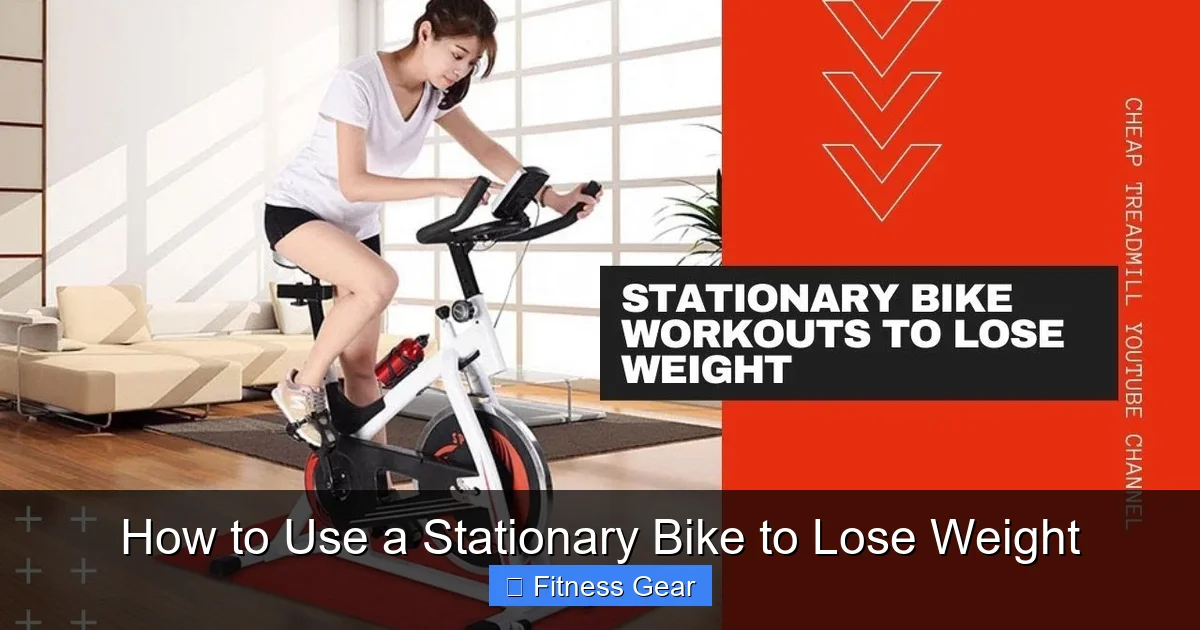
- Warm-Up (5-10 minutes): Never skip this. Start with very light resistance and a slow cadence (60-70 RPM) to increase blood flow to your muscles, lubricate your joints, and mentally prepare. Gradually increase your heart rate.
- Main Set (20-45 minutes): This is where the magic happens. This is where you apply the specific workout structures we’ll detail below.
- Cool-Down (5-10 minutes): Gradually reduce your resistance and speed to bring your heart rate down. This prevents blood from pooling in your legs and reduces post-workout soreness. Follow this with 5-10 minutes of gentle stretching for your quads, hamstrings, calves, and hips.
Workout Archetype 1: Steady-State Endurance (The Foundation)
This is your “bread and butter” ride. You maintain a consistent, moderate intensity—where you can speak in short sentences but not sing—for an extended period. It builds aerobic capacity, teaches your body to use fat as fuel, and is excellent for building the habit of consistent movement. How to do it: Set a resistance that feels like a 6-7 out of 10 effort. Maintain a cadence of 80-90 RPM. Start with 20 minutes and gradually work up to 45-60 minutes. This is perfect for your “active recovery” days or as a primary workout when you’re feeling fatigued.
Workout Archetype 2: High-Intensity Interval Training (HIIT) (The Accelerator)
This is the heavyweight champion for calorie burn and EPOC. You alternate short bursts of all-out effort with periods of rest or low-intensity recovery. Sample Protocol: The 30/30: After your warm-up, alternate 30 seconds of sprinting (maximal effort, resistance high, cadence 90+ RPM) with 30 seconds of very easy pedaling (resistance almost zero). Repeat this cycle 10-20 times. That’s a potent 10-20 minute workout. As you get fitter, you can extend the work interval (45 sec on, 75 sec off) or increase the number of rounds. Limit HIIT to 2-3 times per week with at least one full rest day in between.
Workout Archetype 3: The Pyramid (The Endurance Builder)
This structure builds mental and physical toughness by gradually increasing then decreasing your effort. Sample Protocol: After warm-up, perform intervals where you increase the duration or resistance in a “pyramid” shape. Example: 1 min hard, 1 min easy; 2 min hard, 1 min easy; 3 min hard, 1 min easy; then back down: 2 min hard, 1 min easy; 1 min hard. The “hard” effort should be challenging but sustainable for the given time.
Beyond the Pedals: Nutrition, the Other Half of the Equation
You Cannot Out-Cycle a Bad Diet
Let’s be brutally clear: exercise creates the potential for weight loss by burning calories and building muscle. Diet creates the reality. If you cycle for 30 minutes and burn 300 calories, but then consume a 500-calorie “post-workout smoothie” and a bag of chips, you’ve actually moved backward. Weight loss is governed by the simple science of a calorie deficit—consuming fewer calories than your body burns. The bike is your tool for increasing your “calories out.” Nutrition is your tool for managing “calories in.” You must do both.
Practical Nutrition for the Cyclist
Forget restrictive diets. Focus on these pillars:
- Prioritize Protein: Protein is essential for repairing the muscle tissue you break down during cycling. It also promotes satiety (feeling full). Aim for a source of lean protein (chicken, fish, eggs, tofu, Greek yogurt, legumes) with every meal.
- Embrace Fiber: Vegetables, fruits, and whole grains fill you up with fewer calories and support digestive health. Fill half your plate with non-starchy veggies at lunch and dinner.
- Smart Carbs: Carbohydrates are your primary fuel for intense cycling. Don’t fear them; choose them wisely. Opt for complex carbs like oats, sweet potatoes, quinoa, and brown rice over white bread and sugary cereals. Time your carb intake around your workouts for energy and recovery.
- Hydrate, Hydrate, Hydrate: Even mild dehydration can impair performance and make you feel hungry when you’re actually thirsty. Drink water throughout the day, and consider an electrolyte drink for rides longer than 60 minutes or in extreme heat.
- Mindful Eating: Don’t eat mindlessly out of a bag. Plate your food. Chew thoroughly. Stop when you’re 80% full. This simple practice prevents overeating.
Tracking Progress and Avoiding Plateaus
What to Track (And What to Ignore)
The scale is a liar. It doesn’t distinguish between fat, muscle, and water. Relying solely on it can lead to frustration. Implement a multi-faceted tracking system:
- Take Measurements: Use a tape measure every 2-4 weeks to track your waist, hips, thighs, and arms. You’ll often see inches drop before the scale moves.
- Progress Photos: Take front, side, and back photos in the same lighting and clothing every month. The visual comparison is incredibly motivating.
- Workout Logs: Track your bike workouts: duration, average/resistance levels, average heart rate, and how you felt. The goal is to see performance improve—going longer, harder, or faster over time. This is a true sign of fitness gains.
- How Clothes Fit: This is the ultimate real-world metric. If your jeans are looser, you’re winning.
- Skip Daily Weigh-Ins: Weight fluctuates daily due to water retention, salt intake, and digestion. Weigh yourself once a week, first thing in the morning, and look at the trend over a month, not a day.
Smashing Through the Dreaded Plateau
Plateaus happen because your body adapts. The same 30-minute ride that was challenging last month is now easy. Your metabolism becomes more efficient. To break through, you must shock your system. This is where progressive overload comes in. Every 2-4 weeks, change one thing:
- Increase Duration: Add 5 minutes to your steady-state ride.
- Increase Intensity: Add a higher resistance level to your intervals or increase your cadence.
- Change the Stimulus: Swap a steady-state day for a HIIT day, or vice versa.
- Add Frequency: If you’ve been riding 3 days a week, try adding a 4th, very short (20-minute) active recovery ride.
- Re-assess Nutrition: As you lose weight, your calorie needs decrease. You may need to slightly adjust your intake downward to maintain the deficit.
Advanced Strategies and Common Mistakes
Level Up: Adding Resistance Training
While cycling is fantastic, it’s primarily a cardio and leg exercise. For optimal weight loss and body composition, you need muscle. Muscle tissue is metabolically active, meaning it burns calories even at rest. Incorporating 2-3 days of full-body strength training (using bodyweight, dumbbells, or resistance bands) alongside your cycling will preserve (and even build) lean muscle mass as you lose fat. This prevents the “skinny fat” look and boosts your resting metabolism. Think of strength training as the foundation and cycling as the calorie-burning engine.
Mistake #1: Spinning Your Wheels (Literally)
Many people set the resistance too low and pedal as fast as they can. This is “spinning.” It feels easy, makes a lot of noise, but burns relatively few calories and builds little strength. To lose weight, you need to work against resistance. Your goal is a powerful, controlled pedal stroke. If you can pedal at 100 RPM with no resistance and hold a full conversation, you’re not working hard enough. Add resistance until your quads are burning and your breathing is deep.
Mistake #2: Ignoring Recovery
More is not always better. Overtraining—doing intense workouts every single day without rest—leads to burnout, injury, and elevated cortisol (a stress hormone that can promote fat storage, especially around the belly). Your body gets stronger and burns fat during recovery, not during the workout itself. Ensure you have at least 1-2 full rest days per week. Active recovery (a very easy 20-minute spin) is fine, but your body needs days of true rest to repair and adapt.
Mistake #3: Not Fueling Properly for Workouts
Some people think exercising on an empty stomach maximizes fat burn. This is a half-truth. While fasted cardio can increase the *percentage* of fat used as fuel, the total calories burned may be lower, and your workout intensity will suffer. You’ll likely feel weak, dizzy, and cut your session short. The better strategy: eat a small, easily digestible carbohydrate-rich snack (like a banana or a piece of toast) 30-60 minutes before a workout. This fuels your performance, allowing you to work harder and burn more total calories. Then, refuel with a combination of protein and carbs within 60 minutes after.
The Mental Game: Building Habits That Last
From “Exercise” to “Lifestyle”
Weight loss isn’t a 12-week sprint; it’s a lifelong marathon. The moment you treat your bike workouts as a temporary punishment to “get thin,” you’ve already set yourself up to quit. Instead, reframe your mindset. You are not “exercising to lose weight.” You are strengthening your heart, clearing your mind, and honoring your body with movement. The weight loss is a wonderful side effect. Find ways to enjoy the process. Create a killer playlist. Listen to an audiobook. Set up your bike in front of a window with a view. Treat your workout time as sacred “me time” you don’t negotiate.
Schedule It and Protect It
You don’t “find time” for exercise; you make it. Look at your weekly calendar and literally block out 30-45 minutes, 3-4 times a week, as a non-negotiable appointment with your bike. Treat it with the same importance as a work meeting or a doctor’s appointment. On days when motivation is low (and it will be), your pre-made schedule is your anchor. Just show up. Often, the hardest part is putting on your shoes and getting on the bike. Once you start, momentum takes over.
Celebrate Non-Scale Victories (NSVs)
When the scale stubbornly refuses to move for a week or two, it’s easy to feel defeated. This is why tracking NSVs is critical. Celebrate the things the scale can’t measure: having more energy to play with your kids, climbing stairs without getting winded, fitting into an old pair of jeans, sleeping better, feeling stronger, receiving a compliment on your posture. These are the real, meaningful outcomes of your hard work. Write them down. Review them when you need a boost. They prove your body is changing, even if the numbers are slow to follow.
Conclusion: Your Pedal-Powered Future Awaits
Learning how to use a stationary bike to lose weight is one of the smartest, most sustainable investments you can make in your health. You now have the blueprint: set up your bike for comfort and power, structure your workouts with a mix of steady-state and HIIT, fuel your body with nutritious food, track your progress intelligently, and cultivate a resilient mindset. Remember, this is not about perfection. It’s about progress. Some days you’ll crush a HIIT session. Some days you’ll just do a gentle spin. Both are victories. The consistency of showing up, over weeks and months, is what will ultimately reshape your body and your life. The bike is ready. The path is clear. All that’s left is for you to take that first pedal stroke. Start today. Your future, healthier self is waiting at the finish line of every ride you complete.
Frequently Asked Questions
How long should I cycle on a stationary bike to lose weight?
Aim for 30-45 minutes per session, 3-5 times per week. For beginners, start with 20 minutes and gradually increase duration. The key is consistency and intensity—a shorter, high-intensity interval (HIIT) session can be as effective as a longer, steady ride.
Is 30 minutes on a stationary bike enough to lose weight?
Yes, 30 minutes can be sufficient if done with intention. A 30-minute HIIT workout can burn a significant number of calories and trigger a powerful afterburn effect. Combined with a healthy diet and consistent routine, 30-minute sessions are a very effective and manageable strategy for most people.
How many calories does a stationary bike actually burn?
The number varies by weight, intensity, and time. A 155-pound person burns approximately 260 calories in 30 minutes of moderate cycling. Vigorous cycling or HIIT can push that to 400+ calories in the same timeframe. Use a heart rate monitor or the bike’s console for a more personalized estimate.
Should I combine stationary biking with other exercises?
Absolutely. While biking alone can drive weight loss, adding 2-3 days of full-body strength training is highly recommended. This builds muscle, which boosts your resting metabolism and improves overall body composition. Light activities like walking on rest days also enhance recovery and daily calorie burn.
Is stationary biking safe for beginners or people with knee problems?
Yes, it’s one of the safest cardio options. The low-impact motion is gentle on joints. However, proper bike fit is critical to avoid knee strain. Ensure your seat height is correct (slight knee bend at the bottom of the stroke) and start with low resistance. If you have a specific injury, consult a doctor or physical therapist first.
How long will it take to see weight loss results from using a stationary bike?
With a consistent routine (3-4x/week) and a maintained calorie deficit, you can expect to see initial changes in energy and clothing fit within 2-4 weeks. Visible weight loss on the scale typically becomes apparent after 4-8 weeks. Remember, sustainable loss is 1-2 pounds per week. Focus on the process, not just the number.