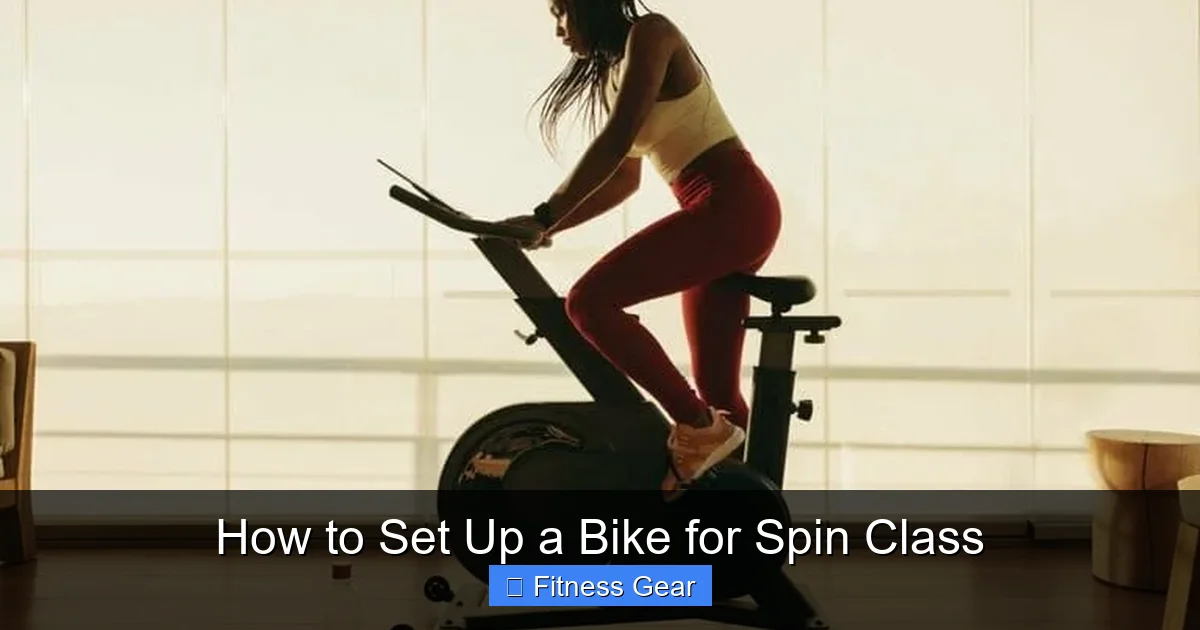
Setting up your spin bike correctly is the single most important thing you can do for a safe, effective, and comfortable workout. A proper setup prevents injury, eliminates pain, and allows you to generate more power. This guide walks you through every adjustment—from saddle height to handlebar position—with simple, foolproof methods. Follow these steps before every ride to transform your spin class experience.
Key Takeaways
- Seat height is foundational: Adjust it so your leg has a slight bend at the bottom of the pedal stroke, using the “heel method” for accuracy.
- Fore/aft saddle position affects knees and back: Position the saddle so your knee is directly over the pedal spindle when the crank is horizontal.
- Handlebar height is about comfort, not ego: Beginners should start with handlebars higher than the saddle to protect the lower back.
- Cleat positioning is critical for knee health: Align the cleat’s float with your natural foot angle to prevent twisting injuries.
- Resistance and RPM must work together: resistance provides the workout; RPM (cadence) determines the type of training. Never use high resistance with very low RPM.
- A final safety check is non-negotiable: Ensure all levers are locked, pedals are tight, and you have a slight bend in your elbows on the handlebars.
- Your setup will change: Reassess your bike fit every few weeks as your flexibility and strength improve.
📑 Table of Contents
- Why Your Spin Bike Setup Is Everything
- Step 1: Mastering Seat Height – The Foundation of Your Ride
- Step 2: Finding Your Perfect Saddle Position (Fore/Aft)
- Step 3: Setting Handlebar Height for a Strong, Safe Back
- Step 4: Pedals, Cleats, and Foot Placement – The Power Transfer Point
- Step 5: Resistance, RPM, and The Final “Feel” Check
- Step 6: Your Personal Spin Bike Setup Checklist
Why Your Spin Bike Setup Is Everything
You’ve booked your first spin class. You’ve got your moisture-wicking gear, your water bottle, and your determination. You walk into the studio, see the rows of sleek, intimidating bikes, and… now what? For many newcomers, the mystery of “how to set up a bike for spin class” is the biggest hurdle before the first pedal even turns. Getting this wrong isn’t just uncomfortable—it can lead to knee pain, back strain, numbness, and a complete loss of motivation. But get it right, and you unlock a workout that is powerful, efficient, and exhilarating.
Think of your spin bike as a precision tool. It has multiple points of adjustment for one reason: to fit *you*, not a generic body type. A certified spin instructor can give you a great initial setup, but your body is unique. Understanding the *why* and *how* behind each adjustment empowers you to fine-tune the bike to your anatomy every single time you ride. This isn’t a one-time task; it’s a fundamental skill of the sport. Let’s break it down, step-by-step, from the ground up.
Step 1: Mastering Seat Height – The Foundation of Your Ride
This is the most critical adjustment. An incorrect seat height is the #1 cause of knee pain in cycling. If the seat is too low, your knees will feel excessive pressure at the top of the pedal stroke. If it’s too high, your hips will rock side-to-side, straining your hamstrings and lower back. The goal is a slight bend in the knee when the pedal is at its lowest point.
Visual guide about How to Set Up a Bike for Spin Class
Image source: cdn.gearinstant.com
The Heel Method: Your New Best Friend
This is the simplest, most reliable method for beginners. Sit on the saddle and place your heel on the pedal. Pedal backwards slowly. Your leg should be completely straight with a locked knee when the pedal is at the very bottom (6 o’clock position). If you have to point your toes to reach, the seat is too high. If your knee is bent with your heel on the pedal, the seat is too low. Once you find that straight-leg position with your heel, move your foot to the proper position on the pedal (ball of the foot over the axle). This will give you the ideal 25-35 degree knee bend.
Pro Tip: Wear the shoes you’ll actually spin in when doing this adjustment. Cycling shoes have a stiffer sole and different stack height than regular sneakers, which can affect your leg extension.
What It Feels Like When It’s Right
With the correct height, you’ll generate power smoothly through the entire pedal stroke. At the bottom, there’s no jarring “thump” as your knee slams into extension. You feel stable, not like you’re stretching or squatting. If you’re watching a video of a pro cyclist, notice how their knee angle changes subtly but their hips remain stable on the saddle—that’s the goal.
Step 2: Finding Your Perfect Saddle Position (Fore/Aft)
Once your height is locked in, it’s time to slide the saddle forward and backward. This adjustment determines where your knee sits relative to the pedal axle and dramatically impacts your knee tracking and hip angle.

Visual guide about How to Set Up a Bike for Spin Class
Image source: cdn.gearinstant.com
The Knee Over Pedal Spindle (KOPS) Method
This is the industry standard for a neutral starting point. With the crank arms horizontal (pedals at 3 and 9 o’clock), drop a plumb line from the front of your kneecap. The line should pass directly through the pedal axle (the spindle). If the line falls behind the axle, slide the saddle forward. If it falls in front, slide it back. Most spin bikes have a millimeter scale on the seat rail—take note of your number so you can replicate it.
Listen to Your Body’s Feedback
The KOPS method is a guide, not a law. Your anatomy might require a slight tweak. If you feel a pulling sensation on the outside of your knee or hip, your saddle might be too far forward. If you feel pressure on the front of your knee or groin, it might be too far back. The ideal position allows your knee to track in a straight line over the middle of your foot throughout the pedal stroke. A common mistake is setting the saddle too far forward to “feel the burn” in the quads, which can lead to patellar tendonitis.
Step 3: Setting Handlebar Height for a Strong, Safe Back
This adjustment is primarily about spinal alignment and comfort, especially for your lower back. The temptation is to drop the handlebars low for a “hardcore” look, but for most people, especially beginners, this is a recipe for back pain.

Visual guide about How to Set Up a Bike for Spin Class
Image source: voiceofarticle.com
A Conservative Starting Point
Begin with the handlebars level with or even slightly *higher* than your saddle. This upright position reduces the angle of your torso, taking pressure off your lower back, shoulders, and wrists. As your core strength and hamstring flexibility improve, you can gradually lower the handlebars in small increments (1-2 inches at a time) to increase the aerodynamic position and engage your core more. Never sacrifice a neutral spine for a lower handlebar position. If you feel rounding in your lower back or strain in your shoulders, raise them immediately.
The Elbow Check
Once you’re in position, check your elbow bend. You should have a soft, comfortable bend (about 20-30 degrees). Locked elbows transfer all vibration and shock directly to your shoulder and neck joints, leading to fatigue and pain. Your grip should be relaxed; white knuckles mean you’re too tense and likely gripping too high on the bars.
Step 4: Pedals, Cleats, and Foot Placement – The Power Transfer Point
This is where your foot meets the machine. Proper setup here ensures all your leg power goes into the crank, not into lateral knee movement.
For Sneaker Riders (Flat Pedals)
Place the ball of your foot (the bony part behind your big toe) directly over the pedal axle. Your foot should be flat on the pedal, not pointing down. Your heel will naturally drop slightly as you pedal. This position gives you the best leverage and prevents your foot from slipping off during a hard push.
ForClipless/SPD Riders (Cleated Shoes)
This requires precision. Cleat position is highly individual but follows general principles. First, align the cleat so your foot points straight ahead when you’re in a neutral standing position. The key adjustment is lateral (side-to-side) and rotational (float). Your knee should track straight over your foot. If your knee caves in (valgus), move the cleat slightly outward on the shoe. If your knee points out (varus), move the cleat inward. Most modern cleats have some degree of “float” (side-to-side rotational movement)—use it! Don’t lock your foot in a position that feels unnatural. A slight, pain-free rotation as you pedal is healthy and reduces stress on the knee joint.
Critical Safety Note: Always practice clipping in and out on a stationary bike off the saddle before class starts. The motion is a heel-out pivot, not a toe-down pull. Getting stuck on a moving pedal is a common and dangerous beginner error.
Step 5: Resistance, RPM, and The Final “Feel” Check
With the physical adjustments done, it’s time to integrate the bike’s operational controls and take a final assessment spin.
Understanding the Knob/Levers
The large knob or lever on the frame is your resistance (brake). Turning it clockwise increases resistance, making it harder to pedal. The smaller lever or shifter on the handlebars controls your gear or RPM target on some advanced bikes. On most studio bikes, you control your cadence (RPM) with your own leg speed against a set resistance. A good instructor will call out both: “Add two turns of resistance, maintain 80 RPM!”
The 5-Minute Test Ride
Before class starts, clip in and pedal at a moderate, sustainable pace (70-80 RPM) with light resistance. This is your chance to feel for any hot spots:
- Knees: Is there any sharp pain, pulling, or grinding? If yes, recheck saddle height/fore-aft.
- Lower Back: Is it rounded or strained? If yes, raise the handlebars or shorten your reach (some bikes have adjustable stem length).
- Hands/Wrists: Are they numb or sore? If yes, you’re likely bearing too much weight on them. Shift your weight back into the saddle and ensure a soft elbow bend.
- Hips: Are they rocking side-to-side? If yes, your seat is almost certainly too high.
Make micro-adjustments now. It’s perfectly acceptable to get off the bike and tweak your saddle a millimeter or two forward or back during this test period.
Step 6: Your Personal Spin Bike Setup Checklist
To make this foolproof, create a mental or written checklist to run through every single time you mount a new bike in class. Studios have variations, and your settings can drift.
The Pre-Ride Protocol
- Seat Height: Heel method → foot on pedal → check knee bend.
- Seat Fore/Aft: KOPS method → knee over spindle.
- Handlebar Height: Start high, adjust for neutral spine.
- Pedals/Cleats: Ball of foot over axle / cleats aligned for straight knee tracking.
- Safety Lock: Ensure the seat post and handlebar stem are fully tightened in their clamps. Give the saddle a firm wiggle—it should not move.
- Final Spin: 2 minutes of easy pedaling to confirm comfort.
Remember, your optimal setup is a living document. As you get stronger, more flexible, and lose weight, your ideal measurements might change. Re-measure yourself every month or so. Investing 90 seconds in a perfect setup before class saves you from weeks of recovery from an overuse injury. It’s the difference between dreading your workout and craving the burn of a perfectly powered pedal stroke. Now, go clip in and ride strong.
Frequently Asked Questions
My knees hurt during class, even after adjusting the seat height. What else could it be?
Check your saddle fore/aft position. If it’s too far forward, it strains the patellar tendon. Also, ensure your cleats (if using them) aren’t misaligned, causing your knee to track inward or outward. Finally, review your resistance and cadence—pushing a very high gear with a low RPM (“mashing”) is a major cause of knee pain.
Should I set my handlebars lower than my seat for a better core workout?
Only if you have a strong, engaged core and flexible hamstrings. For most riders, especially those with lower back issues, a higher handlebar position is safer and more sustainable. Lower the bars gradually in small increments as your core strength improves. If your lower back rounds or you feel strain, raise them immediately.
How do I know if my cleats are positioned correctly?
The primary rule is that your knee should track in a straight line over the middle of your foot throughout the pedal stroke. If your knee caves in, move the cleat outward on the shoe. If it points out, move it inward. Use the float in your cleats to allow a natural, slight rotation. There should be no sharp pain or grinding sensation in the knee joint.
What’s the biggest mistake people make when setting up a spin bike?
Setting the seat too low. It’s the most common error and leads directly to knee pain and inefficient power. The “heel method” is the easiest way to avoid this. Remember: straight leg with heel on pedal, then foot on pedal gives you the correct slight knee bend.
How often should I re-measure my bike setup?
At a minimum, reassess your settings at the start of every new 4-6 week training block. Also, re-check anytime you feel new pain or discomfort, have a significant change in flexibility, or lose/gain a noticeable amount of weight. Your body changes, and your bike should adapt with it.
I don’t have a measuring tape. Can I still set up the bike accurately?
Absolutely. Use your body as the tool. The “heel method” for height and the “knee over pedal spindle” visual check for fore/aft position require no tools. Use the bike’s existing markings (like numbers on the seat post) to remember your relative position for next time, even if you don’t know the exact centimeter measurement.