How to Remove Exercise Bike Crank Arm Without Puller
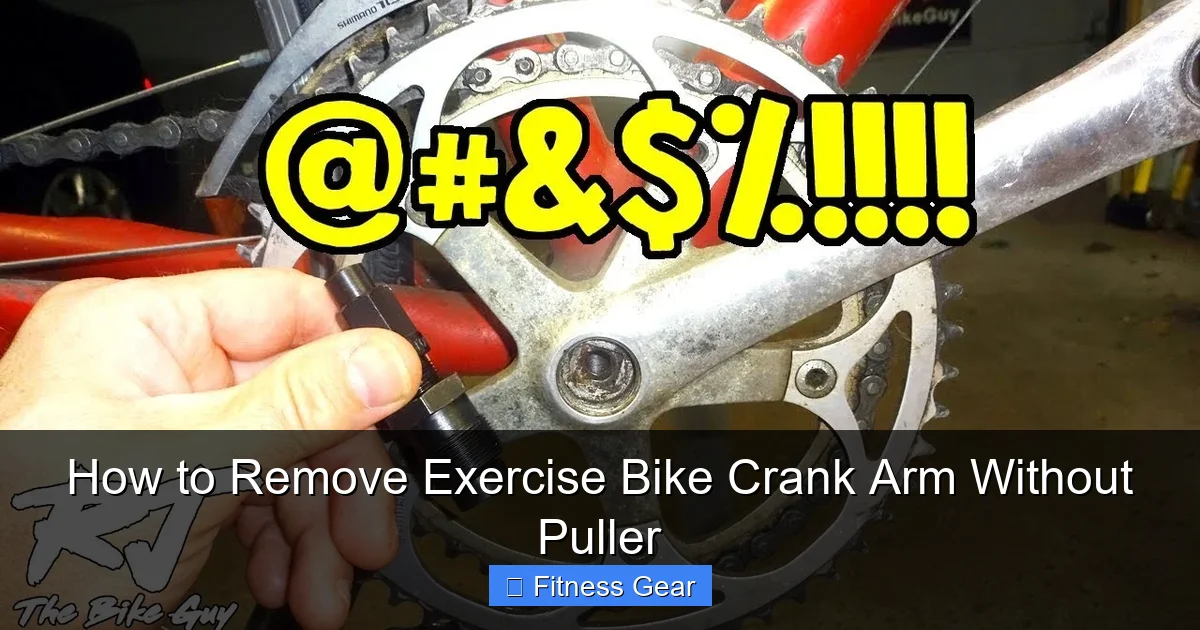
Removing an exercise bike crank arm without a specialized puller is a common DIY task for maintenance or upgrades. While the crank bolt is often the main fastener, the arm itself is pressed onto the square taper spindle and can be stubborn. Using basic tools like a hammer, a block of wood, and proper technique, you can safely dislodge it. The key is applying controlled, even force to the crank arm while protecting the bike’s finish and avoiding damage to the spindle threads. This method works for many common home fitness bikes, but always confirm your model’s design first.
Key Takeaways
- Identify Your Crank Type First: Most exercise bikes use a square taper crank arm secured by a bolt. Confirm this before attempting removal, as some newer models use splined or one-piece designs that require different approaches.
- The Right Tools Are Essential: You’ll need an appropriately sized hex/Allen key or socket for the crank bolt, a solid block of wood, a standard claw hammer, and penetrating oil like WD-40 for stuck parts.
- Technique Trumps Force: The goal is to use the hammer and wood to deliver a sharp, focused tap on the *backside* of the crank arm (near the pedal axle), not the spindle side, to drive it off the tapered shaft.
- Protect Your Bike’s Finish: Always place the wood block between the hammer and the crank arm to prevent cosmetic damage. Never strike the spindle, bolt, or chainring directly.
- Thread Direction Matters: The non-drive side (left) crank bolt is often reverse-threaded (lefty-loosey). The drive side (right) is standard. Knowing this prevents you from tightening a loose bolt further.
- Patience and Lubrication Are Key: If the crank doesn’t budge immediately, apply penetrating oil to the spindle interface and let it sit. Gentle, repeated taps are more effective and safer than a single, mighty blow.
- Know When to Stop: If the crank is immobile after several careful attempts, or if you hear grinding, stop. Forcing it can permanently damage the spindle, requiring expensive professional repair or part replacement.
📑 Table of Contents
Understanding Your Exercise Bike’s Crank Arm
Before you pick up a single tool, it’s crucial to understand what you’re looking at. The crank arm is that long lever arm on your exercise bike to which the pedal is attached. It’s the component that transfers the power from your legs, through the pedal, and into the bike’s drivetrain to spin the flywheel or resistance mechanism. Over time, this part can wear out, become creaky, or you might simply want to upgrade to a different pedal system. Whatever the reason, removal is a fundamental mechanical skill for any home bike owner.
Unlike a car’s wheel, which is held on by lug nuts, your bike’s crank arm is mounted on a tapered spindle. This is a clever engineering design: the spindle is slightly wider at the bottom (where it meets the bottom bracket) and narrower at the top. The inside of the crank arm is machined to match this exact taper. When you tighten the crank bolt, it pulls the arm tightly onto this tapered shaft, creating an incredibly secure, non-slip connection through friction and compression. This is fantastic for pedaling power, but it means the arm is “friction fit” and can be a real bear to get off without the proper puller tool that applies even, axial force.
Why Would You Need to Remove It?
Common reasons include: replacing a bent or cracked crank arm, installing new pedals (if the threads are stripped), upgrading to a different pedal system (like switching from standard to clipless), or performing a deep clean and lubrication of the bottom bracket area. Sometimes, a persistent clicking or creaking noise originates from this interface, and removing and reinstalling with fresh grease is the cure.
Essential Tools: What You Actually Need
The great news is that you likely already have everything required for this job in your toolbox. The “puller” in the traditional sense is a specialized two-armed tool that grips the crank arm and pushes against the spindle. We’re bypassing that with a simpler, impact-based method.

Visual guide about How to Remove Exercise Bike Crank Arm Without Puller
Image source: charlestonbikeshare.com
- Correct Size Hex Key (Allen Key) or Socket: This is non-negotiable. You must have the exact size that fits the crank bolt’s socket. Common sizes for exercise bikes are 5mm, 6mm, or 8mm. Using the wrong size will strip the bolt head, creating a much bigger problem. If your bike came with a toolkit, use that specific key.
- A Solid Block of Wood: A scrap piece of hardwood (like oak or maple) about 2×2 inches and 3-4 inches long is perfect. It must be dense and strong. Soft pine can splinter. This is your sacrificial barrier and force distributor.
- A Standard Claw Hammer: A classic, household claw hammer is ideal. Its weight (usually 8-16 oz) provides enough kinetic energy for a sharp tap. A rubber mallet can work but often lacks the necessary impact force.
- Penetrating Oil (e.g., WD-40, Liquid Wrench): For cranks that haven’t been removed in years, this is liquid gold. It seeps into the microscopic gaps between the metal-on-metal taper and breaks down corrosion and grime.
- Optional but Helpful: A large adjustable wrench or locking pliers (Vise-Grips) to hold the opposite crank arm steady, and a clean rag.
Safety First: Work Smart, Not Hard
Always position the bike securely. If it’s a heavy upright bike, make sure it’s on a level floor and won’t tip. For a spin bike or lighter bike, you can lay it carefully on its side on a soft blanket, but this risks scratching the frame. The best method is to keep it upright and work from the side. Wear safety glasses to protect against any metal shards or debris. Clear the area around the pedal so your hammer swing has no obstacles.
The Step-by-Step Removal Process: The Hammer and Block Method
This is the most reliable and widely applicable technique for removing a square taper crank arm without a puller. The principle is simple: instead of pulling, we use a sharp, focused impact to “shock” the arm loose from its tapered seat. The force is applied in the opposite direction of how it was tightened.

Visual guide about How to Remove Exercise Bike Crank Arm Without Puller
Image source: charlestonbikeshare.com
Step 1: Preparation and Penetration
Start by removing the pedal from the crank arm you’re working on. Use a pedal wrench (15mm is common) and remember: the right pedal tightens clockwise, the left pedal tightens counter-clockwise. Removing the pedal gives you clear access to the back of the crank arm. Next, locate the crank bolt. It’s usually recessed into the center of the crank arm. Use your correctly sized hex key or socket to loosen and remove this bolt completely. Turn it counter-clockwise (righty-tighty, lefty-loosey applies here as it’s a standard thread). On the non-drive side (left), it might be reverse-threaded, so turn clockwise to loosen. If it’s extremely tight, a long-handled wrench or applying your body weight can help. Once the bolt is out, set it aside safely.
Now, spray a liberal amount of penetrating oil around the seam where the crank arm meets the spindle. Let it soak for at least 10-15 minutes. This is critical for older, corroded bikes. You can gently tap the crank arm all around with the hammer to help the oil work its way in.
Step 2: Positioning for Impact
This is the most important visual step. You must strike the correct part of the crank arm. You will be hitting the “back” of the crank arm—the side opposite the chainrings and pedal axle. Imagine a line drawn through the center of the pedal axle. You want to hit the metal just behind that line, on the thickest, sturdiest part of the arm. Never, ever strike the spindle itself, the bolt hole, or the chainring side. Place your block of wood directly against this backside surface. The wood should be flat against the metal. Hold it firmly in place with one hand.
Step 3: Delivering the Tap
With your other hand, swing the hammer and strike the *end of the wooden block* squarely. Don’t be timid, but don’t swing for the fences either. A solid, controlled tap is the goal. You should hear and feel a distinct “THUD” and see a tiny, almost imperceptible movement of the crank arm. This is the sound of the friction bond breaking. If nothing happens, readjust your block to ensure it’s on a solid part of the arm and try again. Sometimes, rotating the crank arm 90 degrees and striking a different spot can help if one area is particularly seized.
Critical Tip: Your impact force must be directed axially—straight along the line of the spindle, pushing the arm off. Any glancing blow will be ineffective and could bend the crank arm. Ensure your hammer swing is straight and true.
Step 4: The “Walk-Off” Technique
After the first successful tap, the crank arm will likely be loose but still on the spindle. Do not try to pull it off by hand yet. Instead, re-position the wood block slightly further down the arm (towards the pedal axle) and deliver another firm tap. The arm should shift a bit more. You can now carefully, using your gloved hand, try to wiggle and twist the arm. It should have some play. Continue this process of tapping and wiggling, gradually “walking” the crank arm off the spindle. It will come off in stages. Be patient. Forcing it at this stage can snap the arm.
Alternative Methods and Troubleshooting Stuck Cranks
What if the hammer method isn’t working? Don’t resort to brute force that will ruin your bike. Try these alternatives.

Visual guide about How to Remove Exercise Bike Crank Arm Without Puller
Image source: everbiker.com
The “Pedal Method” (For Some Models)
On certain exercise bikes, especially some Sunny Health & Fitness or Schwinn models, the crank arm design might allow for a different approach. With the crank bolt removed, you can sometimes use the pedal axle itself as a lever. Place a long, sturdy pipe or handle of a wrench over the pedal axle (you may need to re-install the pedal loosely for this). Then, sharply pull upward on the pipe. The leverage can be enough to pop the arm free. Caution: This method risks bending the pedal axle if excessive force is used. Only attempt this if the spindle design looks robust and the arm is relatively short.
When Penetrating Oil and Heat Are Needed
For cranks that haven’t moved in a decade, oil alone may not be enough. After applying oil and letting it sit, you can try applying gentle, indirect heat to the spindle area (not the crank arm) with a hairdryer. The metal expands slightly, which can break the corrosion bond. Conversely, you can cool the crank arm with a bag of ice (wrapped in a cloth to prevent water damage). The arm contracts. This differential expansion/contraction can help. Never use an open flame.
What If It’s Still Stuck?
If, after 5-6 solid taps with proper positioning, there is absolutely no movement, stop. Forcing it risks rounding off the spindle taper, which means the new crank arm will never seat properly and will be dangerously loose. At this point, the correct tool—a crank puller—is the only safe solution. They are inexpensive (often $10-$20) and available at any bike shop or online. It’s a far better investment than a new bottom bracket or frame. Recognizing when a job is beyond DIY is a mark of a savvy mechanic.
Reinstallation: Doing It Right the First Time
Getting the old arm off is only half the battle. Putting the new or same arm back on correctly is vital for safety and performance.
Cleaning and Greasing
Before reinstalling, meticulously clean the spindle and the inside of the crank arm with a rag. Any old grease, dirt, or metal shavings will prevent a perfect fit. Apply a thin, even layer of high-quality bicycle grease or anti-seize compound to the spindle taper. Do not use thick grease; a light film is sufficient. This aids future removal and ensures even pressure.
The “Hand-Firm” Seating
Align the crank arm with the spindle. There is usually a flat spot on the spindle that matches a corresponding mark or flat inside the crank arm hole. Slide the arm on by hand, pushing it firmly until it stops. It should feel snug. It must be fully seated against the bottom bracket cup or the shoulder on the spindle. There should be no gap.
Tightening the Bolt to Spec
Insert the crank bolt and tighten it by hand first. Then, using your hex key or socket, tighten it firmly. You are not tightening a lug nut; you are drawing the arm onto the taper. The final torque specification is important. For most exercise bikes, tightening it as tight as you can reasonably get it with a standard Allen key (using body weight if needed) is sufficient. However, if you have a torque wrench, a common spec is 35-50 Newton-meters (Nm). The key is that it must be very tight. After tightening, give the crank arm a firm sideways tug. It should not move at all. Re-install the pedal, ensuring it’s also tightened to the proper torque (usually 30-40 Nm).
Conclusion: Confidence Through Knowledge
Removing an exercise bike crank arm without a puller is not a mythical trick—it’s a practical application of basic physics and tool use. By understanding the tapered fit, respecting the direction of force, and using simple impact with a wood buffer, you can conquer this common maintenance hurdle. The process reinforces a core principle of mechanical work: sometimes, the most elegant solution is the simplest one. You’ve saved yourself the cost and storage space of a single-use tool. You’ve gained a deeper familiarity with your fitness equipment. Remember to move slowly, protect your bike’s finish, and never override a stuck component. With patience and the right technique, you’ll have that old crank arm off, your new one on, and your bike ready for thousands more miles of sweat and progress—all before your next workout.
Frequently Asked Questions
Is it really safe to hit my bike with a hammer?
Yes, but only when done correctly. The hammer strikes a wooden block placed on the sturdy, rear-facing part of the crank arm. This method uses controlled impact to break the friction bond, not to deform metal. Never strike the spindle, bolt hole, or chainring side directly, as this will cause permanent damage.
What if I don’t have a hammer or the right size Allen key?
A makeshift hammer like a heavy wrench or a rubber mallet can work in a pinch, but a standard claw hammer is ideal due to its weight and swing. For the Allen key, using the wrong size is the fastest way to strip the bolt head. You must find the exact fit. Consider borrowing from a neighbor or purchasing an inexpensive set from a hardware store.
How do I know if my crank is a square taper or something else?
>Look at the area where the crank arm meets the bottom bracket spindle. A square taper will have a distinct square-shaped hole in the crank arm. Newer, higher-end bikes may use a splined interface (like ISIS or Octalink), which has multiple ridges and is larger. If it looks splined or oddly shaped, a puller or special tool is almost certainly required, and the hammer method will not work and could cause damage.
My crank arm is wobbly after I put it back on. What did I do wrong?
A wobbly crank is dangerous and indicates it wasn’t seated properly. The most common cause is not fully pressing the arm onto the spindle taper by hand before tightening the bolt. There must be zero gap between the crank arm and the bottom bracket cup. Another cause is overtightening a damaged or improperly greased spindle, or using a crank arm that is worn out and no longer fits the spindle tightly. Re-check the seating and clean/grease the interface thoroughly.
Which side’s crank bolt is reverse-threaded?
The non-drive side (left side, where the chain is not) crank bolt is almost always reverse-threaded (lefty-loosey). This prevents it from loosening while pedaling. The drive side (right side) is standard thread (righty-tighty). Always try to loosen the bolt on the side you’re working on by turning it towards the rear wheel first. If it doesn’t budge, you may have the direction wrong.
After I get the old crank off, do I need to grease the spindle?
Absolutely. Before installing the new or reconditioned crank arm, thoroughly clean the spindle and the crank’s bore. Apply a thin, even coat of bicycle grease or anti-seize compound to the spindle taper. This ensures a perfect, tight fit, makes future removal easier, and prevents galling or seizing from metal-on-metal contact.