How to Make a Jump Rope with Plastic Bags
Turn everyday trash into a fun fitness tool! This guide shows you how to craft a sturdy jump rope using only plastic bags, a few basic supplies, and a bit of creativity. Save money, reduce waste, and get jumping in no time.
Key Takeaways
- Low‑cost solution: You can build a functional jump rope for under $5 using recycled plastic bags.
- Eco‑friendly: Repurposing bags keeps them out of landfills and gives them a second life.
- Simple tools: All you need are scissors, tape, a ruler, and a sturdy handle (a wooden dowel or PVC pipe works great).
- Adjustable length: The rope can be cut to fit any height, from kids to adults.
- Durable finish: Proper sealing and twisting prevent fraying, so the rope lasts weeks of jumping.
- Customizable style: Add colors, glitter, or grip tape for a personal touch.
- Fitness benefits: Even a DIY rope provides cardio, coordination, and calorie‑burning benefits.
📑 Table of Contents
Introduction: From Waste to Workout
Ever stare at a pile of plastic bags and think, “What can I do with these?” Most of us toss them away, but they have hidden potential. With a little imagination, those thin, flexible sheets can become a jump rope—one of the simplest, most effective pieces of fitness gear.
Jump ropes are a powerhouse for cardio, agility, and coordination. They’re cheap, portable, and can be used indoors or outdoors. The best part? You don’t need to buy a pricey, brand‑name rope. By following this guide, you’ll learn how to make a jump rope with plastic bags that feels surprisingly sturdy and looks surprisingly cool.
What You’ll Need
Materials List
- 5–10 clean, dry plastic grocery bags (the thicker the better)
- 1 wooden dowel (≈ 1 ft long) or a PVC pipe for the handles
- Strong packing tape or duct tape
- Scissors
- Ruler or measuring tape
- Marker (optional, for measuring)
- Grip tape or rubber tubing (optional, for better hand feel)
Why These Items?
The plastic bags provide the flexible “rope” that can bend quickly. The dowel or PVC pipe gives you a solid grip that won’t twist in your hands. Tape holds everything together and prevents the plastic from unraveling during use.
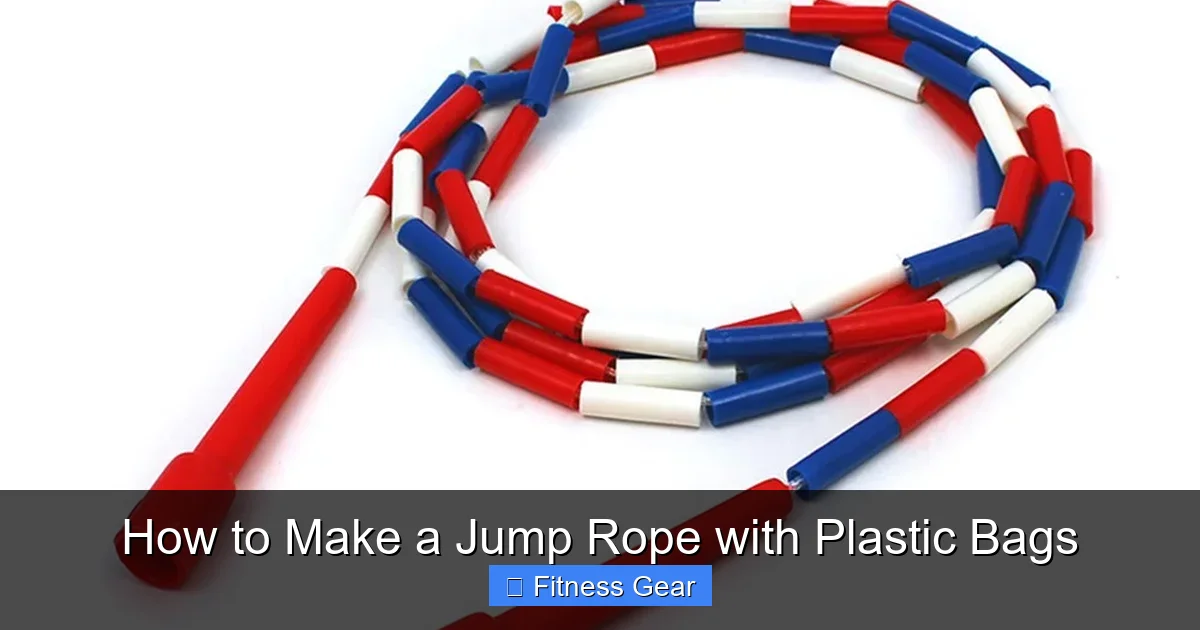
Visual guide about How to Make a Jump Rope with Plastic Bags
Image source: shop.dkoutlet.com
Step‑by‑Step Guide: How to Make a Jump Rope with Plastic Bags
1. Prepare the Plastic Strips
Lay a bag flat on a table. Using scissors, cut off the handles and the bottom seam. Then, cut the bag into long, thin strips about ½ inch wide. You’ll need roughly 30–40 strips depending on the bag size.
Visual guide about How to Make a Jump Rope with Plastic Bags
Image source: mrfly.ca
2. Twist the Strips Into a Strong Cord
Gather 5–7 strips together and tie a small knot at one end. Begin twisting the bundle tightly; the friction between the layers will hold it together. Continue twisting until you have a rope about 10 ft long (adjust length later). The tighter the twist, the stronger the rope.
3. Seal the Ends
Wrap the knoted ends with at least two layers of tape. This prevents the strands from slipping apart when you swing the rope. Press the tape firmly to eliminate air bubbles.
4. Attach the Handles
Measure the dowel or PVC pipe to a comfortable length—usually 12–14 inches. Slide one end of the twisted rope onto the handle, leaving about 2 inches of rope hanging off the end. Wrap tape around the rope and handle together, overlapping each layer for extra grip. Repeat on the opposite side.
5. Adjust the Rope Length
Stand on the middle of the rope with one foot. The handles should reach roughly to your armpits. If the rope is too long, cut the excess and re‑tape the ends. If it’s too short, add more twisted strips and re‑seal.
6. Add Finishing Touches
- Wrap grip tape around the handles for comfort.
- Apply colored tape or permanent markers to create a fun pattern.
- For extra durability, coat the rope with a thin layer of clear nail polish or spray sealant.
Testing Your DIY Rope: Safety and Performance
First Swing Test
Start with slow, controlled swings. Listen for any squeaking or fraying. If you hear plastic tearing, stop and reinforce that section with more tape.
Visual guide about How to Make a Jump Rope with Plastic Bags
Image source: gramcoschoolsupplies.com
Durability Check
Jump rope for 5 minutes at a moderate pace. Inspect the rope for wear. The twisted design should hold up well, but replace any worn strips immediately to avoid snapping.
Safety Tips
- Never jump on a surface with sharp objects that could cut the rope.
- Keep the rope away from pets that might chew it.
- Check the handles for looseness before each session.
Creative Variations and Upgrades
Colorful Rope
Use bags of different colors and twist them together for a rainbow effect. This not only looks cool but also makes it easier to see the rope during fast rotations.
Weighted Ends
Slip a small plastic bottle filled with sand onto each end before taping. The added weight improves momentum and makes timing easier for beginners.
Double‑Layer Rope
Twist two separate bundles together for extra thickness. This version mimics a professional speed rope and is ideal for more intense workouts.
Fitness Benefits of Jumping Rope
Cardiovascular Health
Jumping rope can raise your heart rate to 120–140 bpm in just a few minutes, boosting stamina and burning calories fast.
Coordination and Agility
The rhythmic motion trains foot‑eye coordination, essential for sports like basketball, boxing, and dance.
Calorie Burn
On average, a 30‑minute session with a DIY rope can burn 300–400 calories, comparable to jogging.
Portable Workout
Because your rope is lightweight and collapsible, you can take it to the park, office, or even on vacation.
Conclusion: Jump Into a Greener Workout
Making a jump rope with plastic bags is more than a crafty project—it’s a statement. You’re turning waste into a tool that improves health, saves money, and reduces your environmental footprint. Follow the simple steps above, experiment with colors and weights, and enjoy a fun, effective cardio session wherever you are. Remember, the next time you see a bag of plastic, think of the jump rope waiting to be created.
Frequently Asked Questions
Can I use any type of plastic bag?
Yes, but thicker grocery bags work best because they’re stronger and less likely to tear during intense jumps.
How long will the DIY rope last?
With proper sealing and occasional tape checks, the rope can last 4–6 weeks of regular use. Replace worn sections promptly.
Is the rope safe for children?
Absolutely, as long as the handles are secure and the rope length is adjusted to the child’s height. Supervise younger kids to avoid entanglement.
Do I need special tools to make the rope?
No special tools are required—just scissors, tape, a ruler, and a sturdy handle like a wooden dowel or PVC pipe.
Can I add weight to the rope?
Yes, you can attach small sand‑filled bottles or use weighted handles to increase momentum and make the rope feel more like a professional speed rope.
How do I store the rope when not in use?
Coil the rope loosely and keep it in a dry place. Avoid crushing it under heavy objects, as this can flatten the twisted strands.