Getting big air on a dirt bike isn’t about raw power—it’s a precise blend of machine setup, rider technique, and mental focus. You must tune your suspension and gearing, master the attack position, execute a perfect takeoff with clutch and throttle control, and absorb the landing. Start with small jumps, prioritize safety gear, and progress deliberately. Consistent practice on manageable jumps builds the muscle memory and confidence needed to safely send it to the moon.
Key Takeaways
- Bike Setup is Non-Negotiable: Proper suspension tuning, appropriate gearing, and a lightweight bike create the foundation for lift and control.
- Body Position is Your Primary Tool: The “attack position” with weight centered and knees bent allows you to manipulate the bike in the air and on landing.
- The Approach Dictates Success: Correct speed, line selection, and reading the jump face are critical; too fast or too slow guarantees a failed jump.
- Takeoff is an Active Movement: It’s not passive. You must compress the suspension, use the clutch/throttle at the lip, and actively pull/push with your body.
- Landing is Part of the Jump: Prepare to absorb impact with your legs, keep the bike level, and be ready to throttle out to maintain momentum.
- Progressive Learning is Key: Never skip steps. Master small tabletops before stepping up to bigger jumps; muscle memory is built slowly.
- Safety is the Top Priority: Always wear a full-face helmet, chest protector, and quality boots. Never jump alone, and know your limits.
📑 Table of Contents
- The Thrill and The Technique: Why “Big Air” is More Than Just Jumping
- Your Dirt Bike: The Foundation for Big Air
- The Rider’s Stance: Your Body as a Tool
- The Approach: Setting Up for Success
- The Moment of Truth: Executing the Takeoff
- Landing Smoothly and Safely
- Avoiding Common Pitfalls: Why Jumps Go Wrong
- Conclusion: The Path to the Big Air
The Thrill and The Technique: Why “Big Air” is More Than Just Jumping
There’s nothing quite like the feeling of catching big air on a dirt bike. For a few glorious seconds, you’re flying—weightless, in control, and viewing the world from a perspective most people never experience. That perfect arc, the smooth rotation, and the buttery landing are the holy grail of motocross and trail riding. But behind that effortless-looking moment lies a complex chain of events. Getting big air isn’t an accident; it’s a calculated skill. It’s the result of a symbiotic relationship between you and your machine, executed with precision. This guide will deconstruct that process, breaking it down from bike setup to the final touchdown. We’ll move beyond the simple idea of “gassing it” and dive into the mechanics, the body movements, and the mental game that separates riders who just get air from riders who own the sky. Whether you’re on a 450cc firebreather or a playful 250cc, the principles of getting big air remain the same.
Your Dirt Bike: The Foundation for Big Air
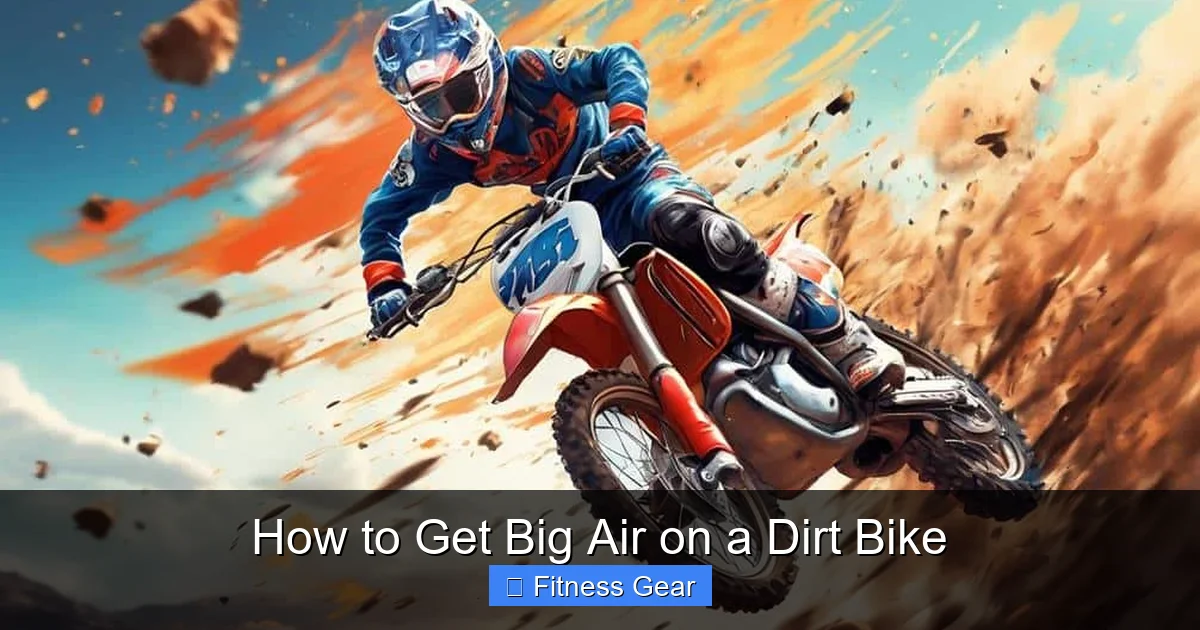
Before you even think about the jump, your bike must be prepared. A poorly set-up machine will fight you at every stage, stealing your speed, unsettling your balance, and making landings painful. Think of this as building a house—you need a solid foundation.
Visual guide about How to Get Big Air on a Dirt Bike
Image source: dirtbikeempire.com
Suspension: The Most Critical Tune
Your suspension is your connection to the earth, and it’s the first thing that reacts to a jump’s face. If it’s too soft, the bike will bottom out harshly on takeoff, killing your momentum and potentially causing you to loop out (go over the handlebars). If it’s too stiff, the bike won’t absorb the kick of the jump face, sending you airborne prematurely and with no control.
The Goal: You want your suspension to compress smoothly and evenly as you hit the jump’s ramp-like face. This compression stores energy and then releases it as you leave the lip, contributing to your lift. For jumping, you typically want your suspension set slightly stiffer than for rough, whooped-out tracks. Start with the manufacturer’s recommended settings for your weight. Then, if you’re repeatedly bottoming out on takeoff (you feel a harsh clunk), add a few clicks of compression. If the bike feels bouncy and unsettled, soften it slightly. Always adjust in small increments (1-2 clicks) and test.
Gearing and Power Delivery
Getting big air requires a specific point in your powerband—that sweet spot where your engine has maximum torque and response. If you’re in too high a gear, the engine will bog (lug) as you try to accelerate up the jump face. This kills speed and forward momentum. If you’re in too low a gear, you’ll hit the redline too quickly, and the power will be peaky and hard to control.
The Strategy: For most jumps, you want to be in a gear where, as you approach the jump, you can give the bike a healthy handful of throttle and feel it pull strongly without screaming. On a 450, this might be 3rd or 4th gear for a medium jump. On a 250 two-stroke, it might be 2nd. The key is to be able to modulate the throttle smoothly as you go up the face. Practice on a long, flat straight: find the gear where the bike accelerates briskly but smoothly from mid-range RPM. That’s your jumping gear. For very steep, technical jumps where you need to “scrub” speed, you might use a higher gear to keep RPMs down.
Weight and Bike Choice
Physics is clear: a lighter bike is easier to get airborne and manipulate in the air. Modern four-strokes are heavier than their two-stroke predecessors, but technology has improved. A lighter bike will accelerate faster for a given amount of power and will be easier to “pull” into a rotation if you’re trying to do a trick. However, a heavier bike often feels more planted and stable at high speeds. For learning big air, a lighter bike is generally more forgiving and playful. Don’t obsess over cc size. A well-set-up 250 four-stroke can get just as much air as a 450 in the right conditions. The rider’s skill is the ultimate multiplier.
The Rider’s Stance: Your Body as a Tool
Now for the most important part: you. Your body is your primary control system. A perfect body position allows you to steer the bike in the air, absorb shocks, and set up for a solid landing. This is the “attack position,” and it’s your default stance for jumping.
Visual guide about How to Get Big Air on a Dirt Bike
Image source: i.pinimg.com
The Attack Position: The Neutral Starting Point
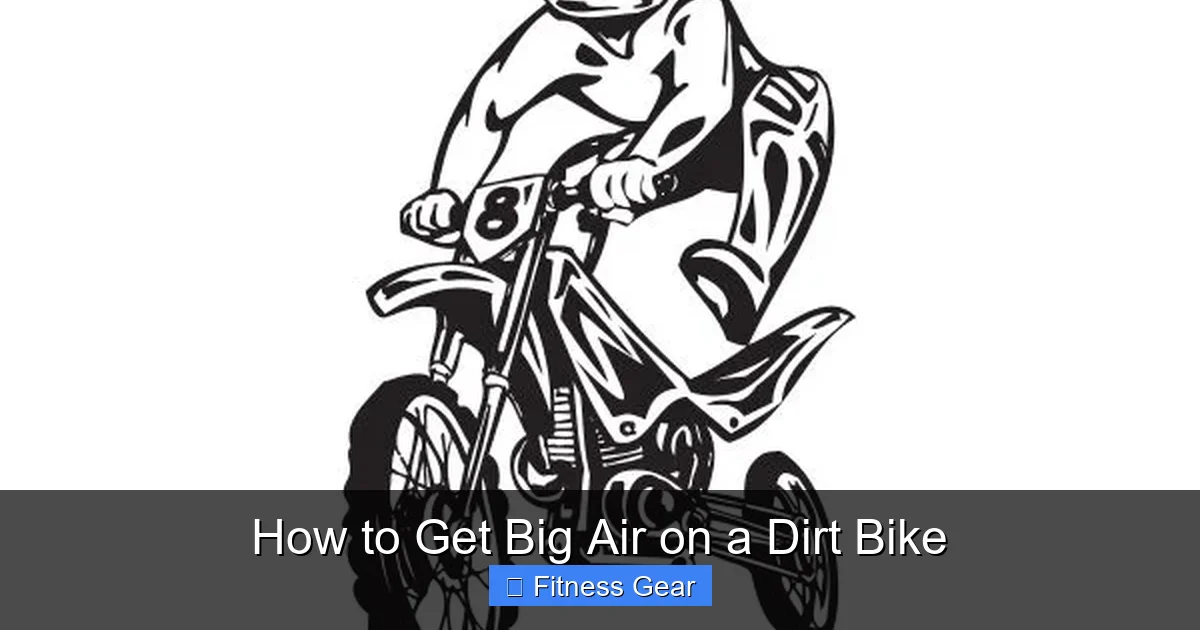
Standing on the pegs with your knees slightly bent, elbows up, and head up is the foundation. Your feet should be on the pegs, with the balls of your feet on the footpegs and your toes pointed slightly outward. Your knees should grip the tank. Your back should be relatively straight, not hunched. Your head is the most critical element: keep your chin up and your eyes looking far ahead, not down at the front wheel. This “look where you want to go” principle is fundamental to balance. In this position, you’re centered over the bike, ready to shift your weight forward or backward instantly.
Weight Distribution Through the Jump Cycle
Your weight must move dynamically.
- On the Approach: Stay centered, but with a slight bias forward (about 55/45 front-to-back). This keeps the front wheel light and steering responsive.
- During Compression: As you hit the jump face, you’ll naturally stand up a bit more, compressing the suspension with your legs. This is a subtle movement, not a violent bounce.
- At Takeoff: This is where you actively move. To get more lift, you push down with your legs and slightly forward with your hips as the bike leaves the lip. To scrub speed (get less air), you stay more upright or even pull back slightly.
- In the Air: Here, your body does the steering. To rotate the bike forward (for a “nose pick” or to land steep), you pull the front wheel up by moving your hips back and pulling up on the handlebars. To rotate backward (for a “tail whip” or to land on a steep downhill), you push the front wheel down by moving your hips forward and pushing the handlebars. For a standard, level jump, you keep your body still relative to the bike—the “bike and rider as one unit” feeling.
- On Landing: As the wheels touch, you immediately absorb the impact by bending your knees and elbows deeply. Think “landing in a squat.” Your body acts as additional suspension. Keep your head up to see the terrain ahead.
The Approach: Setting Up for Success
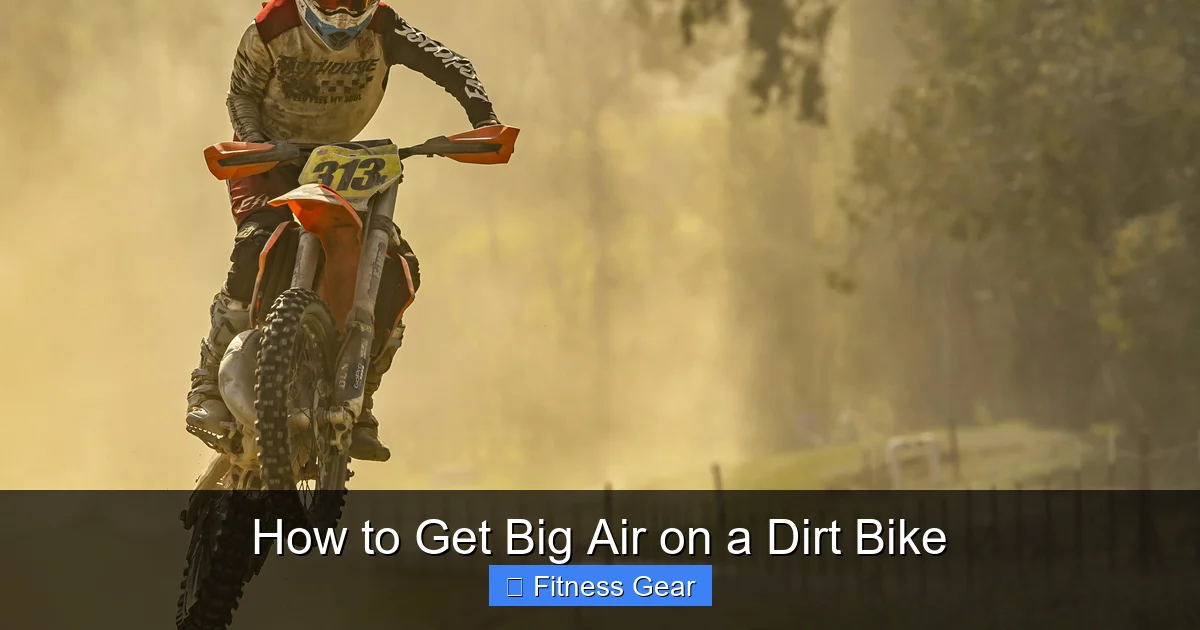
You can have perfect body position and a tuned bike, but if your approach is wrong, the jump will fail. The approach is your runway. It sets all the variables: speed, angle, and your mental state.
Visual guide about How to Get Big Air on a Dirt Bike
Image source: images.unsplash.com
Reading the Jump Face
Not all jumps are created equal. A smooth, tabletop jump with a consistent angle is ideal for learning. A step-up (where the landing is higher than the takeoff) requires more speed. A step-down (landing lower) requires less speed and can be easier on the bike. A kicker jump (with a curved, upward-angling lip) will launch you higher and farther for the same speed as a straight ramp. Before you even think about jumping, walk the jump. Look at the takeoff lip—is it worn, sharp, or broken? Look at the landing—is it smooth, hard, or soft? Is there a run-out area? Understand what the jump is asking for. A good rule: the steeper and more curved the lip, the more it will launch you. A shallower lip requires more speed to achieve the same distance.
Finding the Perfect Speed: The Goldilocks Zone
Speed is the most common variable riders get wrong. Too slow, and you’ll stall on the face or land short on the downside. Too fast, and you’ll overshoot the landing, potentially into a hazard, or you’ll have so much forward momentum that you can’t control the bike’s rotation in the air. Finding your speed is a process of trial and error, but it’s a controlled process.
How to Find It: Start by rolling through the jump at a walking pace, just to feel the lip. Then, on your next lap, add a little more throttle. Keep adding speed in small increments. You’ll find a speed where you feel the bike launch smoothly and land on the downside without a harsh impact. That’s your “sweet spot.” For a given jump and bike, there is a narrow speed window for a perfect, controlled jump. Use a landmark (a rock, a tuft of grass) on your approach to gauge your speed consistently. Once you find the sweet spot, remember it.
The Moment of Truth: Executing the Takeoff
The takeoff is the briefest but most active phase of the jump. It’s not a passive event where you just ride up and let physics take over. It’s a precise, timed movement that determines your trajectory and rotation.
Clutch and Throttle: The Engine’s Role
As you hit the jump face, you must be in the correct gear and on the throttle. The goal is to keep the engine in its powerband as you go up the ramp. On a four-stroke, this means giving a smooth, progressive squeeze of the throttle as you approach the lip. On a two-stroke, it’s often a slightly more aggressive twist, but still smooth. The clutch is generally not used for standard jumping on a modern four-stroke with good low-end torque. However, on a high-compression four-stroke or a two-stroke, a very slight, smooth clutch pull as you hit the lip can help prevent the rear wheel from spinning or the engine from bogging, ensuring all power gets to the ground. Practice this on flat ground first: find the point where, if you pull a tiny bit of clutch while rolling on the throttle, the bike surges forward smoothly without a jerky lurch. That’s the feeling you want at the lip.
Body Movements for Extra Lift
This is where you add “big” to the air. To get more height than the jump alone provides, you must create additional upward force at the exact moment the front wheel leaves the ground. This is done by compressing your legs and then exploding upward as the bike’s center of mass passes the lip.
The “Bounce” Technique: As the front wheel reaches the lip, you should already be in a slight squat (knees bent). Then, as the rear wheel hits the lip and the bike begins to pivot, you powerfully straighten your legs and push down on the pegs. This action unweights the bike, allowing the suspension to extend fully and adding your body’s upward momentum to the bike’s trajectory. It’s a quick, explosive movement, like a small jump off the ground, timed perfectly with the bike’s own launch. Doing this correctly can add several feet of height. Practice this on a small, safe jump by focusing on that leg drive. You’ll feel the difference immediately—a much more pronounced “catapult” effect.
Landing Smoothly and Safely
No matter how big the air, a bad landing ruins it all and risks injury. The landing is where you bring all that energy back under control. A smooth landing is a controlled deceleration.
Absorbing the Impact
Your legs are your primary shock absorbers. As the wheels touch down, you must be prepared to bend them deeply and quickly. Do not lock your knees or stand stiff-legged. The impact will travel up your spine and into your shoulders, causing a painful “jarring” sensation and potentially throwing you forward. Instead, think of landing in a deep, controlled squat. Your knees and elbows should bend to absorb the shock, allowing your body to move downward relative to the bike. This action keeps the bike from bouncing violently upon touchdown. On a harder landing, you’ll need to bend more. On a softer, flatter landing, the movement is less dramatic but still necessary.
Maintaining Control After Touchdown
The moment the wheels touch, your job isn’t over. You must regain full control immediately. Keep your head up and eyes looking ahead, not at the front wheel. As you absorb, simultaneously apply the throttle. This does two things: it keeps the rear wheel from slipping out from under you on a loose surface, and it propels you forward into the next section of track. A common mistake is to chop the throttle on landing, which unloads the rear suspension and can cause a washout. Keep a gentle but steady throttle on. Also, be ready to steer. Your landing might not be perfect—you might be a little long or short. Be prepared to make a small steering correction the instant you have traction.
Avoiding Common Pitfalls: Why Jumps Go Wrong
Even with good technique, certain errors creep in. Recognizing these is half the battle.
Over-Rotating vs. Under-Rotating
These are the two most common rotation errors.
- Over-Rotating (Nose-Dive): This happens when you go too far forward in the air. The front wheel pitches down too steeply, and you land front-wheel first or even loop out. Causes: going too fast for the jump, pulling up too aggressively on takeoff, or leaning your body too far back in the air. Fix: On your approach, reduce speed slightly. On takeoff, focus on a more neutral body position—don’t yank up on the bars. In the air, if you feel the nose diving, push the handlebars forward and move your hips slightly forward to level the bike.
- Under-Rotating (Wheelie Landing): This is when you land rear-wheel first, often with the front wheel still in the air. It’s unstable and can cause a high-side. Causes: going too slow, not pulling up enough on takeoff, or leaning your body too far forward. Fix: Add a little more speed. On takeoff, make a more deliberate pull-up motion with the handlebars. In the air, if you feel the front wheel is too high, pull your knees up to your chest and pull the handlebars to your hips to bring the front wheel down.
Panic and Its Effects
Fear is the biggest killer of good jumping. When you panic, you tense up. A tense body cannot move fluidly. You might freeze in the attack position, not moving at all in the air, or you might chop the throttle wildly on landing. The antidote to panic is confidence built through progression. Only jump what you’re comfortable with. If a jump feels too big, don’t do it. Confidence comes from successful repetitions. Also, have a plan. Before you even hit the jump, visualize yourself doing it perfectly—the approach, the takeoff, the flight, the landing. This mental rehearsal programs your brain and body to react correctly, reducing the chance of a panic-induced freeze.
Conclusion: The Path to the Big Air
Getting big air is a journey, not a destination. It’s a skill built on a stack of smaller, mastered skills. You start with a well-set-up bike. You ingrain the attack position into your muscle memory. You learn to read jumps and find your speed. You practice the active takeoff and the soft landing on tiny jumps. You learn to diagnose and fix over-rotation and under-rotation. And through it all, you prioritize safety—wearing every piece of gear you own and never letting ego push you beyond your current ability. The riders who catch the biggest, cleanest air aren’t necessarily the bravest; they’re the most methodical. They respect the process. So get out there, start small, focus on one element at a time, and enjoy the incremental progress. That moment of perfect, weightless flight is the reward for all that deliberate practice. Now go build your foundation, and the air will come.
Frequently Asked Questions
What’s the best type of dirt bike for getting big air?
There’s no single “best” bike, but a lightweight, powerful bike with good suspension is ideal. Modern 250cc four-strokes are excellent all-arounders. For true big air on professional tracks, 450cc four-strokes dominate due to their power-to-weight ratios. However, a well-set-up 125cc two-stroke can be incredibly playful and fun for getting air. The rider’s skill is far more important than the bike’s cc.
How important is suspension setup compared to my riding technique?
>Suspension setup is critically important—it’s the foundation. Poor suspension will make even a perfect technique feel sloppy and dangerous. However, perfect suspension won’t make up for terrible body position and a bad takeoff. Think of it this way: suspension setup gets you 70% of the way there, giving you a stable platform. Your technique (body position, timing) provides the final 30% that determines control and height. You must work on both simultaneously.
How do I overcome the fear of crashing when trying to jump bigger?
Fear is natural and healthy. The key is to manage it through progressive learning. Never jump something that looks too big for your current skill level. Start by jumping a similar, smaller jump successfully many times. Build confidence with repetition. Visualize the jump successfully before you do it. Wear all your safety gear—knowing you’re protected reduces fear. Finally, jump with a more experienced rider who can give you pointers and spot you. Gradual exposure, built on success, is the only way to overcome jump fear.
Can I get big air on a beginner or trail bike?
Absolutely. Many trail bikes and entry-level motocross bikes (like a Honda CRF250F or Yamaha TTR230) can get plenty of air. The jump height you achieve is more a function of your technique and the jump’s design than the bike’s peak horsepower. These bikes often have softer, more plush suspension, which is great for comfort but can feel mushy for jumping. You may need to stiffen the suspension a bit (add air pressure or preload) to get a crisp takeoff. Focus on your body position and speed, and you’ll be surprised how high these bikes can go.
Does physical fitness affect my ability to get big air?
Yes, significantly. Core strength (abs, lower back) is crucial for stabilizing your body in the air and absorbing landings. Leg strength helps with the explosive push at takeoff and the deep squat on landing. Cardiovascular fitness helps you stay sharp and avoid fatigue-induced mistakes late in a ride. A tired rider has sloppy body position and slow reactions. Incorporating exercises like squats, lunges, planks, and box jumps into your off-bike routine will directly improve your jumping consistency and height.
How long does it take to learn to get consistent big air?
There’s no set timeline, as it depends on innate talent, frequency of practice, and quality of coaching. For a rider who practices regularly (2-3 times a week) and focuses on proper technique, you can expect to start getting consistent, controlled air on medium jumps within 3-6 months. The first year is about building the fundamental muscle memory. Truly mastering big air on varied terrain and large jumps often takes several years of dedicated riding. Be patient and celebrate the small victories along the way.