How to Blow Up Bike Tire with Air Compressor
Using an air compressor to inflate your bike tires is faster, easier, and more precise than a manual pump, but it requires the right technique and safety awareness to avoid damage. This guide breaks down everything you need to know, from identifying your valve type and setting the correct pressure to using regulators and adapters properly. Mastering this skill ensures a smoother, safer ride and prolongs the life of your tires and rims.
That feeling when your bike tire is stubbornly low, and you’re hunched over, sweating, pumping a manual pump for what feels like an eternity? We’ve all been there. But what if you could inflate that tire to perfect pressure in under 30 seconds, with minimal effort? Enter the air compressor. For home mechanics, commuters, and even serious road cyclists, learning how to blow up bike tire with air compressor is a total game-changer. It transforms a chore into a quick, precise task. However, swapping your foot pump for a shop compressor isn’t as simple as just pointing and shooting. Compressors deliver immense power in a tiny burst, and without the right knowledge, you can seriously damage your expensive tires and rims. This guide will walk you through every single step, from “what’s this valve?” to “perfect pressure achieved,” ensuring you get the speed and accuracy benefits without any of the risks. Whether you’re using a small portable compressor or a full-sized garage unit, the principles are the same.
Key Takeaways
- Identify Your Valve Type: Knowing if you have a Presta or Schrader valve is the critical first step, as it determines the adapter you need and the inflation technique.
- Check the Recommended PSI: Always find the manufacturer’s suggested pressure range on your tire’s sidewall; exceeding it is the primary cause of blowouts and rim damage.
- Use a Regulator and Gauge: Never connect a compressor directly to your tire. Always use an in-line regulator with a reliable gauge to control pressure precisely and safely.
- Secure the Connection: Ensure the chuck (connector) is seated firmly and evenly on the valve stem to prevent sudden disconnection and air loss.
- Inflate in Short Bursts: Add air in 2-3 second increments, checking the gauge frequently to easily overshoot your target pressure.
- Listen and Feel: Pay attention to the sound of the tire and the feel of the rim; any unusual bulging or hissing means stop immediately.
- Maintain Your Equipment: Regularly check your compressor’s hose, connectors, and gauge for wear, and keep the compressor’s internal filter clean for consistent performance.
📑 Table of Contents
- Why Use an Air Compressor for Your Bike Tires?
- Understanding Your Bike’s Valve: Presta vs. Schrader
- Essential Equipment: Beyond Just the Compressor
- Step-by-Step: How to Blow Up Bike Tire with Air Compressor
- Critical Safety Tips and Common Pitfalls
- Troubleshooting: When Things Go Wrong
- Maintenance and Care for Your Compressor and Accessories
- Conclusion: Your New Inflation Superpower
Why Use an Air Compressor for Your Bike Tires?
Before we dive into the “how,” let’s talk about the “why.” Air compressors offer several clear advantages over traditional hand or floor pumps, making them a worthy tool for any cyclist’s garage.
Speed and Efficiency
The most obvious benefit is sheer speed. A good compressor can fill a completely flat road tire to 100 PSI in 15-20 seconds. Compare that to the minute or more of vigorous pumping with a high-quality floor pump. For someone who needs to check and adjust pressures on multiple bikes—think a family with several riders or a bike shop—this time savings is monumental. It also makes quick top-ups before a ride incredibly convenient.
Unmatched Precision and Consistency
Hand pumps rely on your strength and feel, which can lead to inconsistent inflation. You might over-inflate one tire and under-inflate the next. An air compressor, when paired with a quality regulator and gauge, allows for pinpoint accuracy. You set your target PSI on the regulator, and the compressor fills the tire to that exact number and stops. This consistency is crucial for performance, ride quality, and tire wear. Road cyclists know that 5 PSI can make a noticeable difference in rolling resistance and comfort.
Effortless Inflation for High-Volume Tires
If you ride a cargo bike, e-bike, fat-tire bike, or a bike with plus-sized tires (2.6″ or wider), you know these tires hold a *lot* of air. Inflating them manually is a serious workout. An air compressor makes inflating these high-volume tires feel effortless, removing the physical barrier to keeping them at their optimal pressure.
The Ideal Tool for Tubeless Setup
For anyone running or wanting to run tubeless tires, a compressor is practically essential. Seating the tire bead—that moment the tire’s edge snaps into the rim’s channel—often requires a sudden, high-volume burst of air that a hand pump simply cannot provide. A compressor delivers that “pop” reliably, making tubeless setup much less frustrating.
Understanding Your Bike’s Valve: Presta vs. Schrader
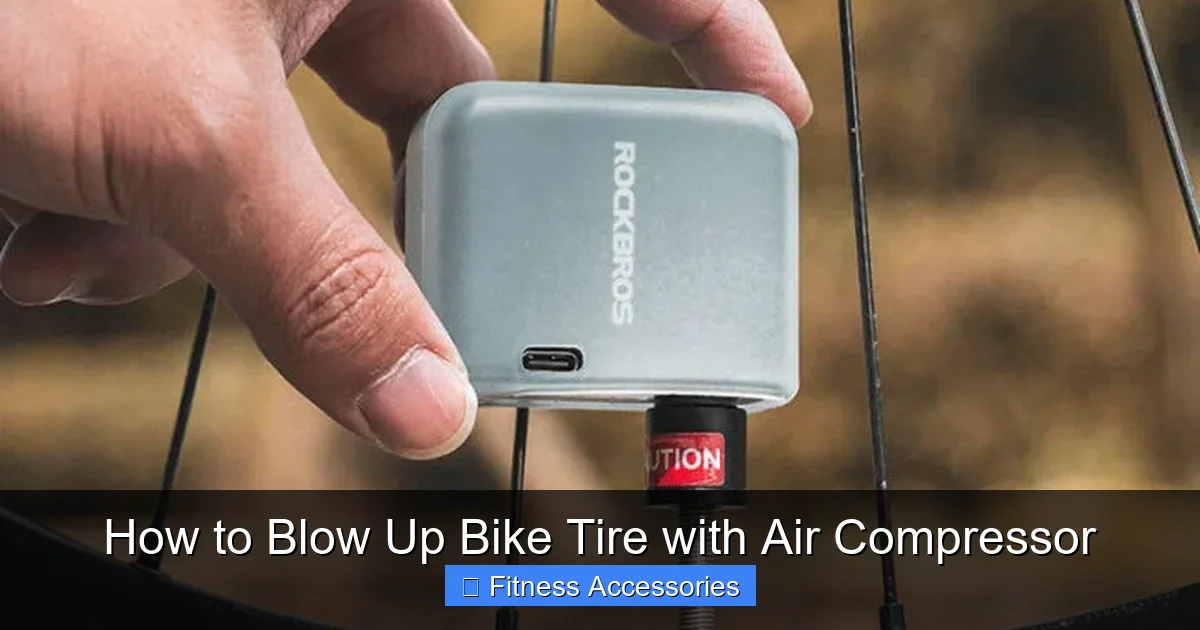
This is the most fundamental piece of knowledge you need. You cannot connect an air compressor hose to your tire without identifying and correctly adapting to your valve type. There are two types, and they look and function differently.
Visual guide about How to Blow Up Bike Tire with Air Compressor
Image source: img.lazcdn.com
The Presta Valve (The Road & MTB Standard)
Commonly found on road bikes, mountain bikes, and higher-end hybrids, the Presta valve is slender and elegant. It has a small, knurled nut at the top that you unscrew to open the valve core. To inflate it with a compressor, you must use a Presta-specific adapter. This small, threaded brass fitting screws onto the valve stem, converting it into a standard Schrader-compatible outlet that your compressor’s chuck can seal against. Never try to force a standard chuck onto a bare Presta valve—it won’t seal and will damage the valve.
The Schrader Valve (The Car Tire Standard)
Identical to the valve on your car tire, the Schrader valve is wider, spring-loaded, and has a removable core (though you usually don’t need to touch it). You’ll find these on many hybrid bikes, cruisers, kids’ bikes, and lower-end mountain bikes. The good news is that most standard air compressor chucks are designed to fit Schrader valves directly, so no adapter is needed. Simply press the chuck onto the stem.
How to Identify Them Visually
- Presta: Narrow diameter (about 6mm). Has a small, knurled metal nut you turn to open/close. No spring pin visible when unscrewed.
- Schrader: Wider diameter (about 8mm). Has a small, central pin you can depress with a tool. Often has a plastic cap.
Pro Tip: If you own both types of bikes, keep a Presta-to-Schrader adapter in your toolkit or attached to your compressor hose. They are inexpensive and save a huge hassle.
Essential Equipment: Beyond Just the Compressor
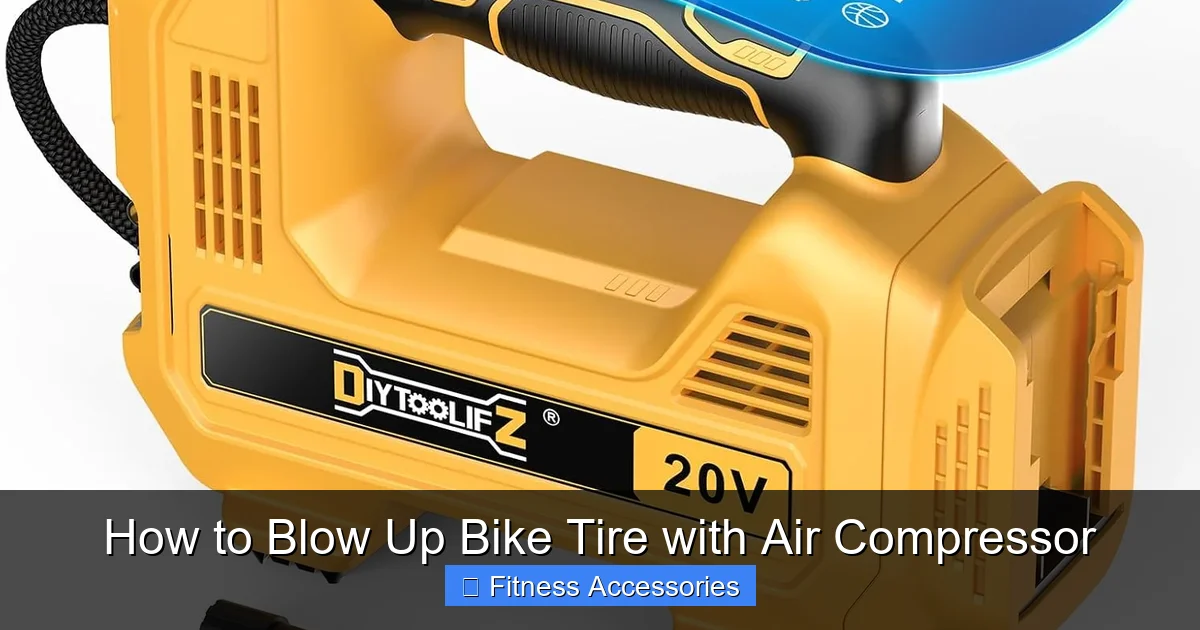
Plugging your bike tire into a roaring shop compressor is a recipe for disaster. You need intermediary equipment to control and monitor the air pressure. Think of it as a safety chain between the powerful machine and your delicate tire.
Visual guide about How to Blow Up Bike Tire with Air Compressor
Image source: m.media-amazon.com
The Regulator: Your Pressure Boss
This is the single most important accessory. A regulator is a device that attaches to your compressor’s outlet. It has two key functions: 1) It allows you to set a maximum output pressure (e.g., 80 PSI). 2) It reduces the compressor’s raw, high-pressure output to a safe, usable level for bike tires. Without a regulator, the compressor will blast air at its maximum output (often 90-150+ PSI), which can instantly over-inflate and burst a tire. Always set your regulator below your tire’s maximum PSI rating.
The Gauge: Your Truth Teller
You need to know what pressure is actually in your tire. While some regulators have built-in gauges, a separate, high-quality analog or digital tire pressure gauge is recommended for accuracy. Gauge accuracy can vary wildly, and a good one is a cheap investment for safety and performance. Read the pressure with the gauge attached to the valve and the compressor off, or use a separate chuck with a gauge.
The Chuck (Connector) & Hose
The chuck is the tip that seals onto your valve. For Schrader valves, a standard chuck works. For Presta valves (with an adapter), you still use a standard Schrader chuck on the adapter. Ensure your chuck is in good condition—cracks or worn seals will cause leaks. A longer, flexible hose gives you better positioning and avoids kinks.
Pressure Release Valve (Bleeder Valve)
Most regulators have a small knob or lever that allows you to manually release pressure from the line. This is incredibly useful for fine-tuning. If you overshoot your target by 2 PSI, you can use the bleeder to let a little air out without disconnecting.
Step-by-Step: How to Blow Up Bike Tire with Air Compressor
Finally, the main event. Follow these steps methodically for a safe and perfect inflation every time. We’ll assume you have identified your valve type and have the necessary adapter (for Presta), a regulator with gauge, and your compressor is in a well-ventilated area.
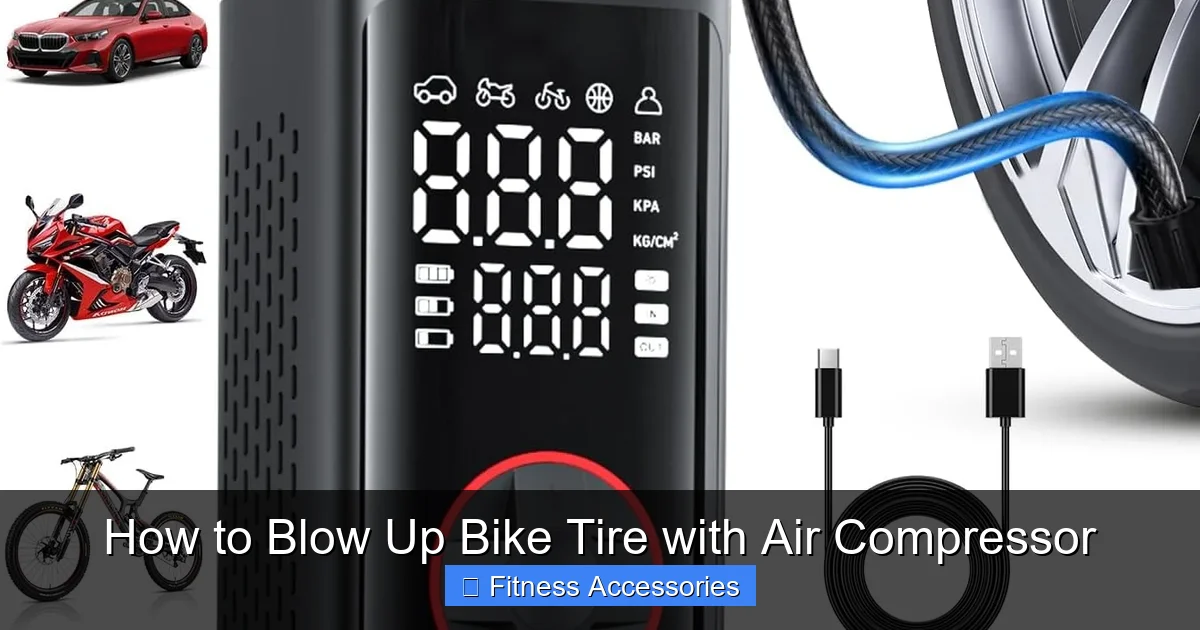
Visual guide about How to Blow Up Bike Tire with Air Compressor
Image source: m.media-amazon.com
Step 1: Preparation and Safety Check
First, visually inspect your tire and rim. Look for any cuts, embedded glass, or excessive wear on the sidewalls. Check that the rim tape (the strip covering the spoke holes inside the rim) is intact and centered. Any damage here means you should not inflate the tire—it could fail. Next, ensure your compressor is on a stable surface. Check the oil level if it’s an oil-lubricated model. Set your regulator’s output pressure to a conservative starting point. For a road tire rated to 120 PSI, set it to 60 PSI. For a mountain bike tire rated to 40 PSI, set it to 25 PSI. You can always add more air later.
Step 2: Connect the Hose Chain
This is the critical connection sequence. First, make sure the compressor is OFF. Attach your hose to the regulator’s outlet. If using a separate gauge/chuck assembly, connect that to the hose. Now, address your valve. For a Schrader valve: unscrew the small plastic cap (if present) and set it aside. For a Presta valve: unscrew the small knurled nut at the top all the way (it will spin freely), then press the valve stem briefly to release any residual air and confirm it’s open. Now, screw your Presta adapter onto the valve stem hand-tight. Finally, press the compressor’s chuck firmly onto the valve stem (or onto the Presta adapter). You should hear a slight hiss of air sealing. Give it a gentle tug to ensure it’s secure.
Step 3: The Inflation Process – Slow and Steady
Turn your compressor ON. You will hear air flowing into the tire. Immediately start watching your gauge. Do not walk away. Inflate in short bursts of 2-3 seconds. After each burst, look at the gauge. The pressure will rise quickly. As you approach your target (e.g., within 5 PSI), go to even shorter bursts of 1 second. Use the regulator’s bleeder valve to make micro-adjustments. For example, if your target is 80 PSI and you hit 82, use the bleeder to drop 1-2 PSI. The goal is to hit your target pressure exactly. Remember, it’s easier to add air than to remove it precisely without a bleeder.
Step 4: The Final Check and Disconnect
Once you hit your target pressure (e.g., 80 PSI), turn the compressor OFF. Before disconnecting, give the tire a quick squeeze. It should feel firm, not rock-hard. Visually check for any obvious bulges or deformities on the sidewall. Now, to disconnect, firmly press the chuck’s release button (if it has one) while holding the chuck steady, then pull it straight off. For a Presta valve, unscrew the adapter, then retighten the small knurled nut on the valve stem to seal it. Screw the plastic cap back on for both valve types. You’re done!
Critical Safety Tips and Common Pitfalls
Inflating a bike tire with a compressor is safe when done correctly, but the consequences of a mistake can be severe—a tire bursting at high pressure can be dangerous. Here are the non-negotiable safety rules.
Never Exceed the Maximum PSI Rating
This is the golden rule. The maximum pressure is printed on the tire’s sidewall, usually in small print. It looks like “MAX PSI 120” or “INFLATE TO 65-90 PSI.” This is not a suggestion; it is an engineering limit. Overinflation stresses the tire casing beyond its design limits, causing the bead to slip off the rim or the tire itself to explode. The regulator is your safeguard against this. Set it 10-15% below the max rating as a buffer.
The “Feel” Test: Don’t Rely on Looks Alone
A properly inflated road tire at 100 PSI will feel very hard, but it should not feel like a rigid plastic disc. There should be a slight, almost imperceptible give when you squeeze the tire firmly. A mountain bike tire at 30 PSI should feel firm but have noticeable give. If the tire feels unnaturally hard or you see the rim tape or wheel spokes becoming visible through the tire as it bulges, you have too much pressure. Stop immediately and release air.
Temperature and Pressure
Air pressure changes with temperature. A tire inflated to 80 PSI in a cool garage (65°F) will read higher (maybe 85-87 PSI) after riding in hot sun (95°F) because the air inside expands. This is normal. Always set your pressure when the tire is at room temperature. Don’t try to “adjust” for hot weather by under-inflating; just set it to your normal target and accept the small variance.
Watch for “Creeping” Pressure
After you disconnect, watch the gauge for a minute or two. If the pressure drops significantly (more than 2-3 PSI), you likely have a slow leak—either from a poor seal at the valve (common with Presta nuts not tightened) or a puncture/pinhole in the tire/tube. Re-seat the chuck and try again. If it still leaks, you need to find and repair the leak before riding.
Never Use a High-Pressure Compressor Directly
Industrial compressors that supply air to pneumatic tools can output 90-120 PSI or more at high volume. Never connect a bike tire directly to one of these without a regulator set to a bike-safe pressure (under 100 PSI). The instantaneous surge of air can be catastrophic.
Troubleshooting: When Things Go Wrong
Even with careful steps, you might encounter issues. Here’s how to diagnose and fix them.
“The chuck won’t seal; air is hissing around it.”
Cause: For a Schrader valve, the valve stem might be dirty or the chuck seal is worn. For a Presta valve, the adapter isn’t threaded on correctly or the valve nut is loose. Fix: For Schrader, clean the valve stem with a rag. Check the chuck’s rubber seal for nicks; replace the chuck if damaged. For Presta, ensure the small nut on the valve stem is screwed down after you’ve attached the adapter and started inflation? Actually, for inflation, the nut must be fully unscrewed. The hissing is likely a bad adapter seal. Ensure the adapter is screwed on straight and hand-tight. Try a different adapter.
“The pressure rises way too fast and overshoots my target instantly.”
Cause: Your regulator is set too high, or you don’t have a regulator at all. The compressor’s output is overwhelming. Fix: Turn the regulator down significantly. Start with a very low setting (20-30 PSI) to get a feel for the fill rate. If you don’t have a regulator, you must get one. This is a non-negotiable safety device. Alternatively, use a “pulse” technique: tap the compressor’s on/off switch rapidly for fractions of a second, but this is less precise and more stressful on the compressor.
“The tire won’t hold pressure after I’m done.”
Cause: A slow leak from the valve core, a puncture in the tube/tire, or an improperly seated bead on a tubeless setup. Fix: Submerge the wheel in water and look for bubbles. If bubbles come from the valve stem, the valve core may be loose (tighten the Presta nut) or faulty (replace the tube). If bubbles come from the tread/sidewall, you have a puncture that needs a patch or plug. For tubeless, listen for a steady hissing—the bead may not be fully seated and may need a higher-pressure burst to seat properly.
Maintenance and Care for Your Compressor and Accessories
Your air compressor is a tool that needs love to last for years and perform reliably.
Regular Drainage of the Tank
Every time you use your compressor, it pumps moist air into the tank. This water accumulates at the bottom. If left, it can cause internal rust and damage the tank. After each use (or at least weekly), open the tank drain valve (usually at the bottom) and let all the water and condensate blow out until you see only air. Do this in a well-ventilated area away from your face.
Check and Replace Seals and O-Rings
The seals in your regulator, hose connectors, and chuck are made of rubber and degrade over time. A leaky seal is the most common cause of pressure loss and poor performance. Periodically disassemble connectors (note how they go back together!) and inspect O-rings for cracks, flattening, or debris. Clean them with a cloth and apply a tiny dab of silicone-based lubricant (like plumber’s grease). Replace any that look damaged. Keep a small O-ring repair kit on hand.
Keep the Intake Filter Clean
Your compressor sucks in air from its surroundings. The intake filter prevents dust and debris from entering the pump mechanism. A clogged filter makes the compressor work harder, run hotter, and lose efficiency. Check the filter monthly (more often in dusty environments). Tap it out, wash it with soapy water if washable, and let it dry completely before reinserting.
Hose and Cord Care
Don’t kink the air hose. Coil it loosely when storing. Avoid driving over it with your car. Check for cuts, abrasions, or bulges. A damaged hose can fail catastrophically under pressure. Similarly, inspect the power cord for fraying. Store your compressor indoors, away from extreme temperatures and moisture.
Conclusion: Your New Inflation Superpower
Learning how to blow up bike tire with air compressor is more than just a neat trick—it’s about adopting a more efficient, precise, and professional approach to bike maintenance. You’ve moved from the uncertainty of a hand pump’s “feel” to the exact science of the gauge. You’ve learned that the magic isn’t in just attaching a hose; it’s in the sequence: identify valve, set a safe regulator pressure, connect securely, inflate in measured bursts, and always, always respect the PSI rating on your tire. This process eliminates the guesswork, saves precious time before rides, and gives you the confidence that your tire pressure is exactly what it should be for your terrain, weight, and riding style. Whether you’re prepping for a century ride, airing up the kids’ bikes, or setting up a new tubeless wheel, the compressor is your ally. Treat it and your equipment with respect through regular maintenance, and it will serve you faithfully for years. Now, go forth, inflate with authority, and enjoy the perfectly rolling, safely pressurized ride you’ve earned.
Frequently Asked Questions
Can any air compressor be used for bike tires?
Not exactly. You must use a compressor with a regulator to control the output pressure. Small, portable “pump” compressors often have built-in regulators suitable for bikes. Large shop compressors require a separate, adjustable regulator. Never use a compressor without a way to limit pressure below your tire’s maximum PSI.
What’s the difference between using a Presta and Schrader valve with a compressor?
The main difference is the adapter. A Schrader valve connects directly to a standard compressor chuck. A Presta valve requires a small brass adapter that screws onto the valve stem first, converting it to a Schrader-like outlet. Also, the Presta valve’s small nut must be fully unscrewed before inflation.
How do I know the correct pressure for my bike tire?
The exact recommended pressure range is printed on the sidewall of your tire, usually in small print. It will say something like “INFLATE TO 65-90 PSI” or “MAX 120 PSI.” Road tires need higher pressure (80-120 PSI), while mountain bike tires need much lower pressure (20-40 PSI). Your weight and riding conditions may require a pressure within that range.
Is it safe to use an air compressor on a tubeless bike tire?
Yes, and it’s often the best tool for the job. The high-volume air blast from a compressor is excellent for seating the tire bead. However, you must still use a regulator and inflate carefully to the tire’s recommended pressure. Do not use a compressor without a regulator, as the uncontrolled surge can damage the tire or rim.
What is the biggest risk of using an air compressor incorrectly on a bike tire?
The biggest risk is overinflation, which can cause a tire to blow off the rim explosively. This can damage the tire, rim, and potentially injure you or bystanders. This risk is completely mitigated by always using a regulator set below the tire’s maximum pressure and inflating in short bursts while monitoring the gauge.
How often should I check my bike tire pressure if using a compressor?
Even with perfect inflation, tires naturally lose a few PSI per week due to permeation. You should check your pressure before every ride, regardless of your inflation method. A compressor makes this quick check and top-up effortless, so there’s no excuse for riding on under-inflated tires, which increase rolling resistance, risk pinch flats, and cause poor handling.