Can You Put a Treadmill on a Second Floor
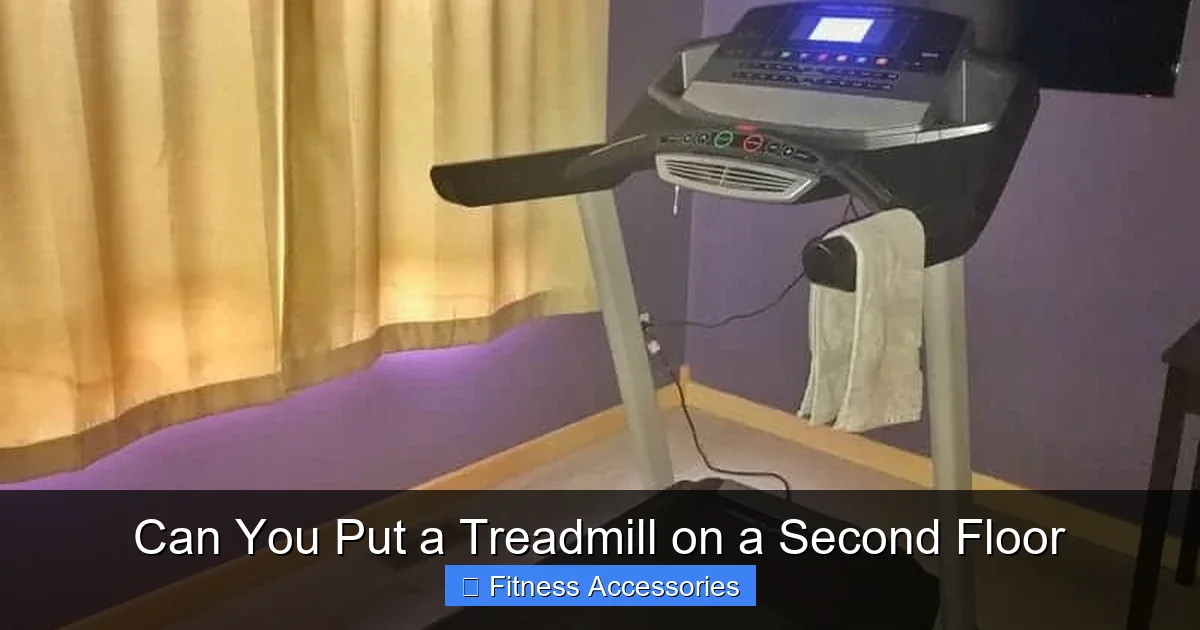
Putting a treadmill on a second floor is usually safe but requires careful planning. The primary concerns are the total weight (treadmill + user) exceeding your floor’s load capacity and the impact/vibration transmitted through the structure. You must know your home’s construction, calculate the weight, choose the right location (over a joist, on a ground-floor wall), and use vibration-dampening materials. Consulting a structural engineer or contractor for peace of mind is a smart investment. With the right precautions, you can enjoy your upstairs workout without worry.
Key Takeaways
- Know Your Floor’s Weight Limit: A typical modern residential floor is engineered to hold 40-50 lbs per square foot (psf) live load. A heavy treadmill plus a running user can easily concentrate 300-500+ lbs on a small area, potentially exceeding this if not placed correctly.
- Placement is Everything: Position the treadmill perpendicular to floor joists, ideally located directly above a load-bearing wall or a main joist on the floor below. This distributes weight over the strongest structural points.
- Vibration & Noise are Manageable: Use a high-quality treadmill mat (at least 3/4″ thick) combined with rubber gym flooring or plywood sheets to absorb impact and minimize sound transmission to rooms below.
- Calculate Total Dynamic Load: Factor in the treadmill’s shipping weight (heaviest), your body weight, and any additional gear. A 250 lb person on a 200 lb treadmill creates a 450 lb dynamic load during running.
- Older Homes Need Extra Caution: Homes built before the 1970s may have undersized joists (e.g., 2×6 or smaller) or weaker materials. These require professional assessment and likely additional reinforcement.
- Safety Trumps Convenience: Never place a treadmill on a surface with a known structural issue, directly above a fragile ceiling (like ornate plaster), or in a room without adequate clearance for safe mounting/dismounting.
- Professional Verification is Worth It: A quick consultation with a contractor or structural engineer (often $200-$500) can provide definitive answers about your specific floor’s capacity and necessary modifications.
📑 Table of Contents
- Can You Put a Treadmill on a Second Floor? The Definitive Answer
- Understanding Your Home’s Structural Bones: Floors & Joists
- Step One: The Weight Calculation (It’s Not Just the Treadmill’s Tag)
- Step Two: Finding the Perfect, Strongest Spot in the Room
- Step Three: Taming the Vibration and Noise Beast
- Step Four: Special Considerations for Different Home Types
- Step Five: Installation, Safety, and Long-Term Peace of Mind
- When to Absolutely Call a Professional: The “Better Safe Than Sorry” Guide
- Conclusion: Confidence Through Preparation
Can You Put a Treadmill on a Second Floor? The Definitive Answer
So, you’ve finally decided to bring the gym home. You’ve researched, compared models, and that shiny new treadmill is on its way. Then it hits you: “Can I actually put this on my second floor?” It’s a totally valid question that sparks images of collapsed ceilings and angry downstairs neighbors. The short answer is: yes, in the vast majority of cases, you can safely install a treadmill on a second floor. But, and this is a big but, it’s not something you should do blindly. It requires understanding your home’s structure and taking some smart, proactive steps. Think of it less like “will my floor break?” and more like “how do I set this up for maximum safety and minimal nuisance?” This guide will walk you through everything you need to know, from reading your home’s blueprints (literally and figuratively) to choosing the perfect spot and accessories. Let’s turn that worry into a confident, effective workout space.
Understanding Your Home’s Structural Bones: Floors & Joists
Before we even talk about treadmills, we need a quick, painless lesson in how your house holds itself up. Floors aren’t just plywood on top of beams; they’re a system. The key players are the floor joists—the horizontal beams (usually wood, sometimes steel) that run from wall to wall or beam to beam. The subfloor (plywood or OSB) is nailed to these joists. The weight of everything in the room (you, your furniture, your treadmill) travels down through the subfloor, into the joists, and then to the foundation or supporting walls below.

Visual guide about Can You Put a Treadmill on a Second Floor
Image source: gymcrafter.com
Live Load vs. Dead Load: What’s the Difference?
In construction terms, “load” means weight. There are two critical types:
- Dead Load: The permanent, static weight of the building itself—the joists, subfloor, drywall, and fixed structures. This doesn’t change.
- Live Load: The temporary, movable weight—people, furniture, and you guessed it, exercise equipment. This is what we’re concerned with. Building codes for residential rooms (like bedrooms or dens) typically require floors to support a minimum live load of 30-40 pounds per square foot (psf). Modern homes are often designed for 40-50 psf live load in living areas. A well-built home’s structure is surprisingly robust, but it’s designed for even distribution, not point loads.
The Problem with Point Loads
Here’s the core issue. A treadmill is heavy. A good one can weigh 200-300 lbs on its own. When you add a 180 lb person running on it, you’re concentrating 350-500+ pounds of dynamic, impact-filled force onto a footprint that might only be 3 feet by 6 feet (18 sq ft). That’s not a uniform 40 psf; that’s a massive point load of nearly 20-28 pounds *per square foot just on that small area*, but the force is focused on the few joists directly beneath it. The floor can likely handle the total weight, but the *concentration* is what causes bounce, vibration, and, in worst-case, old or undersized scenarios, stress.
Step One: The Weight Calculation (It’s Not Just the Treadmill’s Tag)
You need to know your total “dynamic load.” This isn’t a guess; it’s a sum. Get a tape measure and do this math.
Visual guide about Can You Put a Treadmill on a Second Floor
Image source: gymcrafter.com
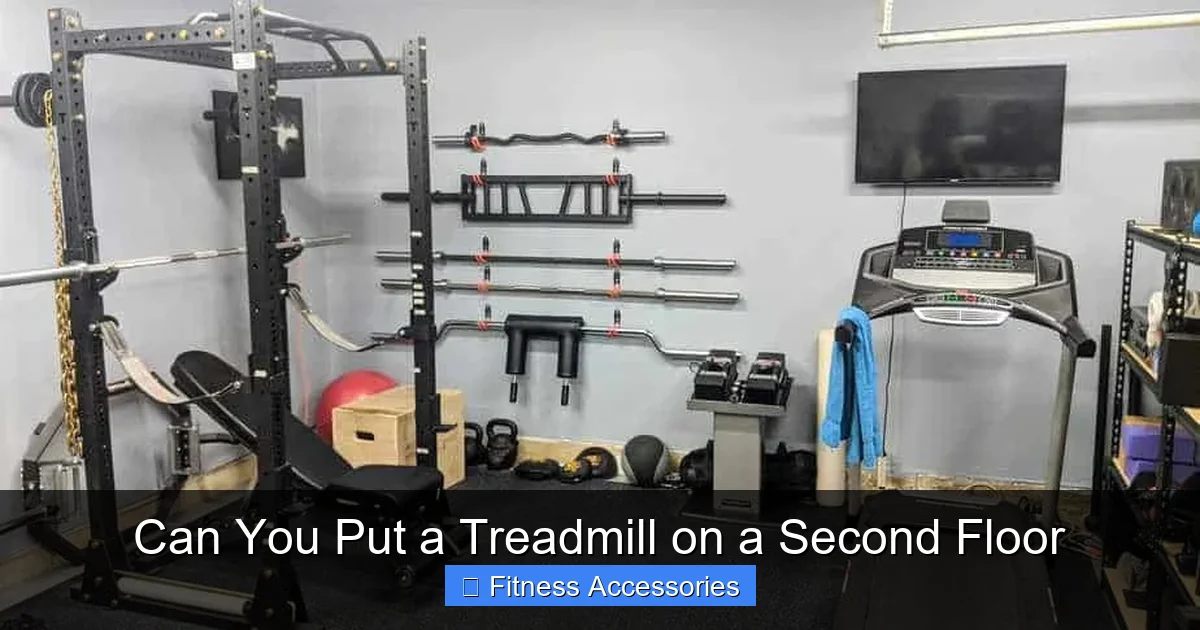
- Treadmill Shipping Weight: This is the heaviest it will ever be. Check the manual or manufacturer’s website. Ignore the “product weight” that might exclude packaging. Use the shipping weight. (e.g., 275 lbs).
- Your Body Weight: Be honest. Add the heaviest person who will regularly use it. (e.g., 220 lbs).
- Additional Gear: Will you keep water bottles, a tablet, or towels on it? Add 10-15 lbs for good measure.
Total Dynamic Load Example: 275 lbs (treadmill) + 220 lbs (user) + 10 lbs (stuff) = 505 lbs total. That’s the force your second-floor floor system must safely absorb and transfer. Now, compare that to the area it sits on. A typical treadmill footprint is ~3’ x 6’ = 18 sq ft. 505 lbs / 18 sq ft = ~28 psf concentrated on that zone. While this is below the 40-50 psf code for uniform loads, the *point-load nature* is the red flag. This is why placement and joist interaction are everything.
Step Two: Finding the Perfect, Strongest Spot in the Room
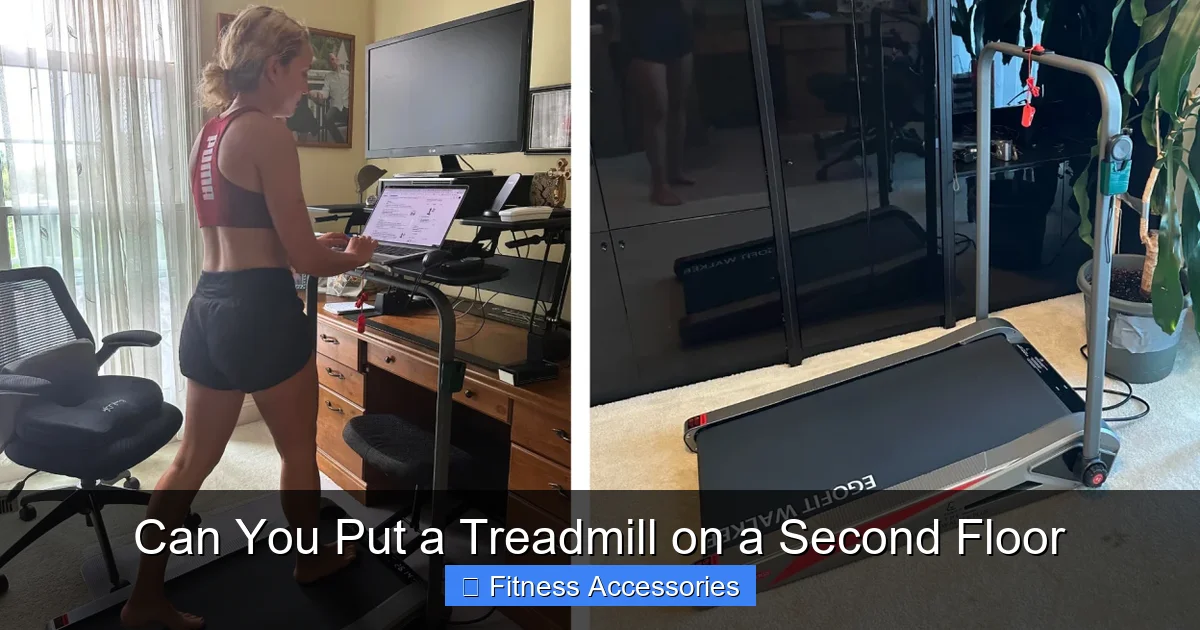
Location is 80% of the solution. You’re not just looking for free space; you’re looking for the floor’s “sweet spot.” The goal is to have the treadmill’s weight and vibration transmitted directly into the strongest structural elements: the floor joists or, even better, a load-bearing wall below.
Visual guide about Can You Put a Treadmill on a Second Floor
Image source: helios-i.mashable.com
How to Find Your Joists (Without Guessing)
You need to know where your joists run. In most homes, they run perpendicular to the exterior walls. Here’s how to locate them:
- The Knock Test: Walk around the room, knocking on the floor with your knuckle. You’ll hear a solid “thud” over the joist and a hollow “boom” in between. Mark the solid spots.
- Use a Stud Finder: A good electronic stud finder will detect the denser wood of the joist behind the subfloor. Go slow and calibrate it on a known area (like a light switch box).
- Check the Basement/Crawlspace: If you have access, this is the gold standard. Go below and look up. You’ll see the joists clearly. Measure their spacing (typically 16” or 24” on center) and direction. Note any main beams or load-bearing walls directly beneath your intended room.
The Golden Placement Rules
Once you know the joist direction, follow these rules in order of preference:
- Over a Load-Bearing Wall: If you can place the treadmill so its weight is directly over a major load-bearing wall on the floor below (often indicated by larger beams or walls in the basement), you’ve hit the jackpot. This transfers weight straight to the foundation.
- Perpendicular to Joists, Centered on One: Place the treadmill so its long sides are perpendicular to the direction of the joists. This means the weight is distributed across multiple joists, not lined up with one. Even better, try to position it so the heaviest part (the motor end) is centered directly over a single, strong joist. This maximizes support.
- Avoid These Spots: Never place the treadmill parallel to joists with weight concentrated between them. Also, avoid areas directly above doorways, large spans without intermediate support, or above known weak spots like vaulted ceilings with long, unsupported joist runs.
Step Three: Taming the Vibration and Noise Beast
Even on a perfectly strong floor, a treadmill creates impact and low-frequency vibrations that can travel through the building structure. This is what causes the “thump-thump-thump” heard downstairs and the feeling of a “bouncy” floor. Controlling this is crucial for peace of mind and good neighbor relations.
The Treadmill Mat: Your First Line of Defense
Do not skip this. A standard thin “equipment mat” is not enough. You need a high-density, thick rubber mat specifically designed for cardio equipment. Look for:
- Thickness: At least 3/4 inch (19mm). 1 inch is even better for heavy machines.
- Material: Recycled rubber is dense and excellent for sound and vibration damping. Avoid soft foam mats—they compress and lose effectiveness.
- Size: It should extend at least 6 inches beyond the treadmill on all sides to catch stray vibrations and sweat.
This mat isolates the treadmill from the subfloor, absorbing a huge amount of the impact energy before it enters the building’s frame.
Creating an Isolation Platform (The Pro Upgrade)
For maximum effect, especially on older floors or with very heavy commercial-grade treadmills, build a simple isolation platform:
- Layer 1 – Plywood: Cut a piece of 3/4” plywood to be slightly larger than your treadmill’s footprint (e.g., 4’x7’).
- Layer 2 – Rubber: Place your thick rubber mat on top of the plywood.
- Layer 3 – The Treadmill: Place the treadmill on the rubber.
This “sandwich” works because the plywood provides a rigid, stable base that spreads the load over a wider area of subfloor, while the rubber decouples the vibration. The plywood should be placed perpendicular to the joists for even better distribution.
Additional Noise & Vibration Tips
- Level the Treadmill Perfectly: Use a bubble level. An unlevel machine causes extra stress, uneven belt wear, and more vibration. Use the adjustable leveling feet under the base.
- Maintain Your Machine: A well-lubricated belt and clean, aligned machine runs smoother and quieter. Follow the manufacturer’s maintenance schedule religiously.
- Consider the Time: Be mindful of when you run. Early morning or late night is when vibrations are most intrusive to neighbors.
Step Four: Special Considerations for Different Home Types
Not all second floors are created equal. Your home’s age and construction style dramatically change the calculus.
Modern Homes (Built ~1980-Present)
These are generally the easiest. They typically use engineered floor systems (like I-joists or trusses) or solid-sawn lumber (2×10 or 2×12 joists) spaced at 16” on center. They are designed for modern live loads. With proper placement over joists and a good mat, you’re almost certainly fine. The main task is accurate joist finding.
Older Homes (Pre-1970s)
Here’s where caution is key. You might encounter:
- Smaller Joists: 2×6 or even 2×4 joists were common. They have less bending strength.
- Wide Spacing: Joists spaced 24” or even 32” on center are less supportive.
- Weaker Materials: Older, drier wood can be more brittle. Some early 20th-century homes used “ship-lap” or thin boards as subfloor over widely spaced joists.
- Unconventional Framing: Plank floors (heavy 2×4 or 2×6 planks laid on edge) are strong but can transmit sound differently.
Action for Older Homes: Get a professional opinion. A structural engineer or experienced contractor can look at your joist size, span, and condition and give you a definitive “yes,” “no,” or “yes with reinforcement” answer. The cost of this inspection is tiny compared to the cost of repairing a failed floor.
Condos, Apartments, and Rental Units
This is the trickiest scenario. You must:
- READ YOUR LEASE/CC&Rs: Many explicitly prohibit heavy exercise equipment due to liability and noise concerns. Violating this can get you evicted.
- Get Written Permission: If it’s allowed, get permission in writing from the landlord or condo board. They may require a certificate of insurance or a security deposit.
- Assume the Worst-Case Floor: Apartments often have minimal soundproofing and floors built to the bare minimum code. Use the full isolation platform (plywood + thick rubber). Be prepared for noise complaints and be extra courteous with usage hours.
Step Five: Installation, Safety, and Long-Term Peace of Mind
You’ve done the research, found the spot, and bought the mat. Now, the final steps.
The Setup Process
- Clear the Area: Remove all furniture and rugs from the intended spot.
- Lay Your Isolation System: If using the plywood/rubber platform, assemble it first.
- Move the Treadmill: This is a two-person (or more) job. Use a dolly and lift with your legs, not your back. Never drag it, as this can gouge the floor. Assemble it (if needed) directly on the mat/platform.
- Level Precisely: Use a long level (at least 2 feet) front-to-back and side-to-side. Adjust the leveling feet until it’s perfectly level. An unlevel deck causes the belt to drift and puts extra stress on the motor.
- Check for Movement: With the treadmill off, try to rock it firmly from side to side and front to back. There should be zero movement. If it rocks, your floor isn’t level, or the treadmill feet aren’t making full contact. Use thin shims ( composite or rubber) under the feet to stabilize—never wood shims that can compress.
Ongoing Safety & Maintenance Checklist
- Monthly: Check all bolts and fittings on the treadmill frame for tightness. Vibration can work them loose.
- Quarterly: Re-check the level, especially after moving the machine or if you notice new noises.
- Annually: Have a professional service the treadmill. A well-maintained machine is a quieter, safer machine.
- Listen & Feel: Be attuned to new creaks, squeaks, or excessive bounce. These are early warning signs that something has shifted or loosened.
Insurance and Liability
Check your homeowner’s or renter’s insurance policy. While a treadmill-related accident is extremely rare, some policies have exclusions or higher premiums for certain equipment. It’s also a good idea to document your setup (photos of the location, mat, etc.) in case of any future disputes. If you’re a renter, your landlord’s insurance covers the building, but your personal liability and property are on you.
When to Absolutely Call a Professional: The “Better Safe Than Sorry” Guide
There are clear scenarios where DIY assessment isn’t enough. Here’s your trigger list for calling in an expert (a structural engineer is best, a licensed contractor with framing experience is second best):
- Your home was built before 1950.
- You can see (from a basement) that your joists are 2×6 or smaller, or spaced more than 16” apart.
- You have a vaulted ceiling in the room below with no intermediate support beams.
- You already have existing floor bounce or springiness in that room (even without the treadmill).
- You plan to put a very heavy commercial-grade treadmill (400+ lbs shipping weight) in a condo or apartment.
- Any doubt at all. The $300 for a professional consult is priceless peace of mind.
What will they do? They’ll measure joist size, species, span (distance between supports), and spacing. They’ll check for damage, sag, or previous repairs. They can calculate the exact load capacity and tell you if your planned setup is within safe limits or if you need to add a support beam, sister joists, or choose a different location.
Conclusion: Confidence Through Preparation
Putting a treadmill on your second floor is a fantastic way to build a convenient, private gym. The fear of structural damage is largely based on myth, but it’s a myth born from ignoring the real physics of point loads and vibration. By understanding your home’s structure, accurately calculating the weight, strategically locating the machine over the strongest points, and investing in proper vibration-dampening materials, you effectively neutralize the risks. For the vast majority of homeowners in modern or well-maintained older homes, following this guide means you can run, walk, and sprint with complete confidence. The key is to move from “I hope this is okay” to “I know this is set up correctly.” That knowledge is the foundation of your safe and successful second-floor home gym.
Frequently Asked Questions
Will my second floor collapse from a treadmill?
Almost certainly not. Modern and even many older homes are engineered with significant safety margins. Collapse would require a pre-existing, severe structural failure combined with an extreme overload. The real risks are excessive bounce, vibration, noise, and long-term fatigue on marginally sized joists, not sudden collapse. Proper placement and damping eliminate these concerns.
Is carpet or a hard floor better for a treadmill upstairs?
A hard surface (like laminate, vinyl, or engineered hardwood) is far superior. Carpet hides dirt but traps dust and debris that can damage the treadmill’s motor and belt. More importantly, carpet and its pad act like a sponge, absorbing shock but then releasing it unpredictably, often increasing vibration transmission. A hard floor provides a stable, clean base. Always use a dedicated thick rubber mat on top of the hard floor.
What’s the best material to put under a treadmill to reduce vibration?
A thick (3/4” to 1”), high-density recycled rubber mat is the industry standard and most effective single layer. For the ultimate solution, especially on older floors, build a platform: a sheet of 3/4” plywood topped with the rubber mat. The plywood spreads the load, and the rubber decouples the vibration. Avoid soft foam or interlocking gym tiles alone; they compress too much.
Can I put a treadmill in a second-floor apartment?
Probably not without explicit written permission from your landlord. Many leases prohibit it due to noise, vibration, and potential liability. If you do get permission, you must use the full isolation platform (plywood + thick rubber), be scrupulous about usage hours, and accept that some noise transmission is inevitable. The risk of complaints and lease violations is high.
Does homeowner’s insurance cover treadmill damage to my floor?
Standard homeowner’s insurance covers sudden, accidental damage to the structure of your home. If a treadmill’s leg punctured the subfloor because it was dropped, that might be covered as a peril. However, damage from long-term overloading (like joists slowly sagging) is considered gradual wear and tear and is not covered. This is why prevention through correct setup is critical—insurance won’t pay for a failed floor due to ignored weight limits.
Are there quieter treadmills better for upstairs use?
Yes. Look for models specifically marketed as “quiet” or “low-impact.” Key features include: a powerful but smooth AC motor (vs. a cheaper, noisier DC motor), a robust deck suspension system with multiple elastomer (rubber) isolators, and a solid, heavy frame that doesn’t resonate. Reading reviews that specifically mention “noise” and “vibration” from users in apartments or upstairs is the best research. Brands like Sole, NordicTrack (higher-end models), and some commercial-grade brands often excel here.