How to Use the Rowing Machine at the Gym
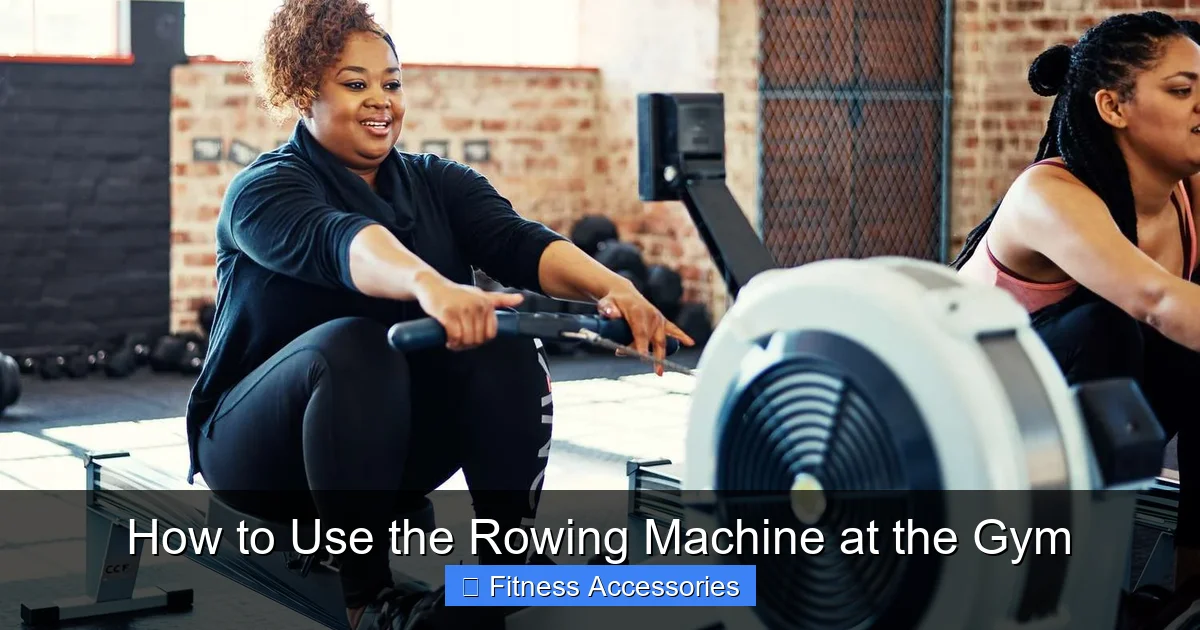
Want a full‑body workout that feels low‑impact yet powerful? Our friendly guide shows you exactly how to use the rowing machine at the gym, from setting up the seat to mastering the perfect stroke. Follow the simple steps, avoid common mistakes, and turn every row into results.
Key Takeaways
- Proper setup matters: Adjust foot straps, seat, and damper before you start.
- Master the four‑phase stroke: Catch, drive, finish, and recovery create an efficient rhythm.
- Maintain good posture: A neutral spine and engaged core protect your back.
- Use interval training: Short bursts boost cardio and burn more calories.
- Track metrics: Monitor split time, distance, and strokes per minute to gauge progress.
- Cool down and stretch: Prevent soreness by finishing with light rowing and mobility work.
- Safety first: Start slow, listen to your body, and adjust resistance wisely.
📑 Table of Contents
- Introduction: Why the Rowing Machine Deserves a Spot in Your Gym Routine
- 1. Getting Started: Setting Up the Rowing Machine
- 2. The Rowing Stroke: Four Simple Phases
- 3. Building Your First Rowing Workout
- 4. Safety and Injury Prevention
- 5. Making Rowing Fun: Tips, Variations, and Motivation
- Conclusion: Row Your Way to a Stronger, Fitter You
Introduction: Why the Rowing Machine Deserves a Spot in Your Gym Routine
Imagine a piece of equipment that works your legs, core, back, and arms—all at once—while keeping impact on your joints to a minimum. That’s the rowing machine, or “erg,” in a nutshell. Whether you’re a cardio lover, a strength trainer, or someone who just wants a time‑efficient workout, the rowing machine fits the bill.
But many gym‑goers feel a little intimidated the first time they step onto an erg. The screen flashes numbers, the foot straps look like a puzzle, and the movement seems foreign. The good news? With a few simple steps, you can turn that confusion into confidence. This article walks you through everything you need to know to use the rowing machine at the gym—setup, technique, programming, troubleshooting, and more—so you can row like a pro and see real results.
1. Getting Started: Setting Up the Rowing Machine
1.1 Choose the Right Machine
Most commercial gyms have two popular types: the air‑resistance model (e.g., Concept2) and the magnetic‑resistance model. Both work the same way, but air‑resistances feel smoother at low levels and get “windier” as you pull harder, while magnetic models offer quieter operation and precise damper settings. Pick the one that feels comfortable and matches your noise tolerance.

Visual guide about How to Use the Rowing Machine at the Gym
Image source: barbend.com
1.2 Adjust the Foot Straps
1. Sit on the seat and place the middle of your foot over the strap’s seam.
2. Pull the strap tight so the heel is snug but not crushed.
3. Fasten the hook—most straps have a “click” when secure.
4. Test by pressing down with your heel; the foot should stay in place without wobbling.
Proper foot placement ensures power transfers efficiently from your legs to the flywheel.
1.3 Set the Seat Position
Slide the seat forward until, when you’re in the “catch” position (knees bent, shins vertical), your shins are roughly perpendicular to the floor. Your hips should be just behind the knees, not too far forward. A good rule of thumb: when you’re seated with the handle at your chest, your arms should form a 90‑degree angle at the elbows.
1.4 Choose the Damper or Resistance
On air‑resistance rows, the damper (1‑10) controls the amount of air allowed into the flywheel. Beginners often start at 3‑5 for a smooth feel. On magnetic rows, use the resistance knob—start low and increase as you get comfortable.
1.5 Familiarize Yourself with the Monitor
Most monitors display: Distance, Time, Stroke Rate (spm), Split (time per 500 m), and Power (watts). For beginners, focus on stroke rate (aim for 22‑24 spm) and split time. As you progress, you’ll chase lower splits and higher power numbers.
2. The Rowing Stroke: Four Simple Phases
2.1 The Catch (Preparation)
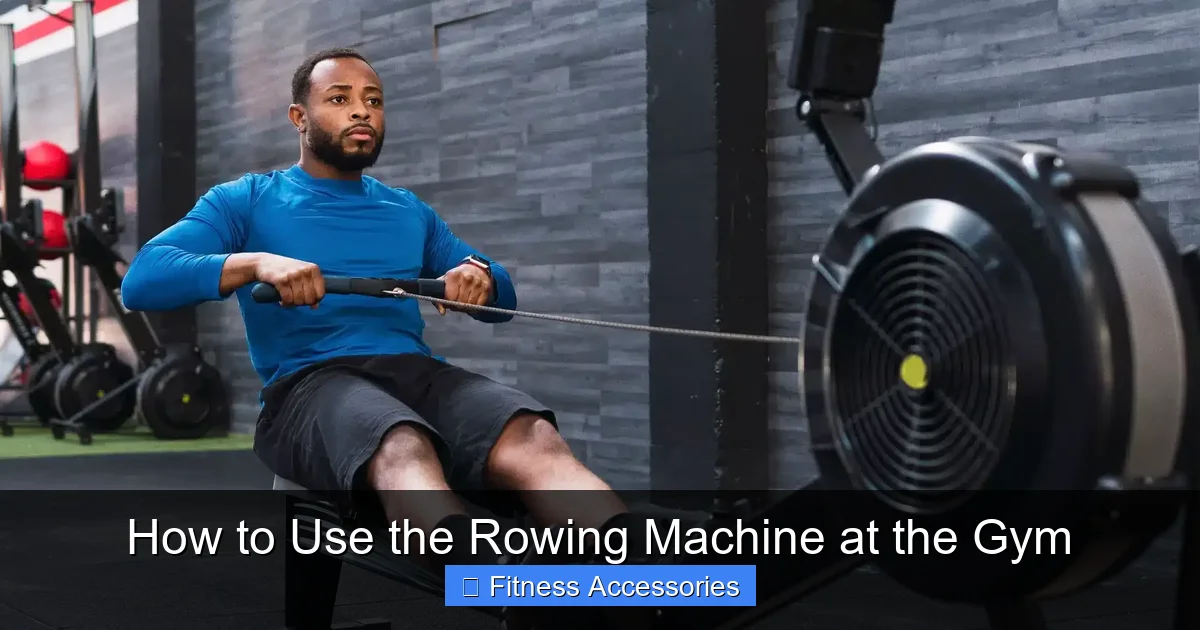
Start seated, knees bent, shins vertical, body leaning slightly forward from the hips, arms fully extended, and grip relaxed. Keep your shoulders down and back, and engage your core.
Visual guide about How to Use the Rowing Machine at the Gym
Image source: honehealth.com
2.2 The Drive (Power Phase)
1. Push with your legs first—think “push the floor away.”
2. As your legs straighten, lean back slightly (about 11 o’clock on a clock face).
3. Finally, pull the handle to your chest, elbows traveling past your torso, wrists flat, and grip relaxed.
The sequence is always legs‑then‑body‑then‑arms. This order maximizes power and protects your lower back.
2.3 The Finish (End of Power)
When the handle reaches just below your ribs, keep your elbows drawn in, shoulders relaxed, and knees fully extended. Your torso should be slightly leaned back (about 1–2 inches behind the seat). This position sets you up for a smooth recovery.
2.4 The Recovery (Reset)
Reverse the drive: arms extend first, then torso leans forward, and finally the knees bend, sliding the seat forward. Aim for a 1:2 ratio—one second of drive, two seconds of recovery. This rhythm keeps heart rate steady and reduces fatigue.
2.5 Common Form Mistakes and Fixes
- Rounding the back: Keep a neutral spine; imagine a straight line from your head to your tailbone.
- Gripping too tight: Light grip prevents forearm fatigue and keeps the motion fluid.
- Pulling with the arms first: Reset your mind to “legs, then hips, then arms.”
- Over‑reaching at the finish: Keep the handle close to your body; think “chest‑level pull.”
3. Building Your First Rowing Workout
3.1 Warm‑Up (5‑7 Minutes)
Start with easy rowing at 18‑20 spm for 2‑3 minutes. Add a few dynamic stretches—leg swings, arm circles, and torso twists—to prepare muscles.
3.2 Beginner Routine: 20‑Minute Steady State
• 5 minutes at a comfortable pace (22 spm, split around 2:30 per 500 m).
• 10 minutes alternating 1 minute hard (26 spm) / 1 minute easy (20 spm).
• 5 minutes cool‑down, gradually lowering the stroke rate.
3.3 Intermediate Routine: Interval Power
Perform 6 × 500 m intervals. Row each 500 m at a target split 2:00–2:10, rest 2 minutes between intervals. Over time, aim to shave seconds off the split.
3.4 Advanced Routine: Pyramid Challenge
1 × 250 m → 2 × 500 m → 3 × 750 m → 2 × 500 m → 1 × 250 m. Keep stroke rate around 24–26 spm, focusing on consistent power. Rest 90 seconds between each effort.
3.5 Tracking Progress
Log your splits, total distance, and perceived effort after each session. Use a simple spreadsheet or a fitness app that syncs with the rower’s monitor. Seeing numbers improve motivates you to keep rowing.
4. Safety and Injury Prevention
4.1 Protect Your Lower Back
Maintain a hinged hip position during the drive—think “push your hips forward, not just your arms.” Engage the core throughout; a strong core acts like a natural brace.
4.2 Avoid Over‑use Injuries
Limit rowing to 3‑4 sessions per week if you’re new. Mix in low‑impact activities like swimming or cycling to give muscles time to recover.
4.3 Listen to Your Body
If you feel sharp pain in the knees, wrists, or lower back, stop immediately. Check foot strap tightness, handle grip, and seat position. Consult a trainer if the discomfort persists.
4.4 Proper Footwear
Wear closed‑toe, flat‑soles shoes with good grip. Running shoes with thick cushions can dampen the feel of the stroke and alter power transfer.
4.5 Hydration and Breathing
Inhale during the recovery (when you’re sliding forward) and exhale during the drive (when you’re pulling). Keep a water bottle within reach and sip every 10‑15 minutes.
5. Making Rowing Fun: Tips, Variations, and Motivation
5.1 Use the Monitor’s Programs
Many ergs have built‑in workouts—500 m sprint, 2,000 m time trial, or “500 m/1 min intervals.” Trying a new program keeps boredom at bay.
5.2 Pair Rowing with Entertainment
Watch a favorite TV show, listen to an upbeat playlist, or use a rowing app that simulates virtual rivers and races. Distraction can help you push through tough intervals.
5.3 Set Mini‑Goals
Instead of vague “get fit,” set specific targets: “Row 2,000 m in under 8 minutes” or “Increase average split by 5 seconds.” Small wins add up.
5.4 Join a Rowing Class or Challenge
Many gyms host group rowing sessions or monthly challenges. The camaraderie and friendly competition often boost effort and consistency.
5.5 Combine Rowing with Strength Work
After a rowing session, transition to bodyweight moves—planks, lunges, or push‑ups. This “row‑then‑strength” combo maximizes calorie burn and builds functional fitness.
Conclusion: Row Your Way to a Stronger, Fitter You
The rowing machine is a deceptively simple tool that delivers a full‑body workout, cardio conditioning, and low‑impact joint safety—all in one seat. By mastering the setup, perfecting the four‑phase stroke, and following a structured workout plan, you’ll see improvements in endurance, strength, and overall health. Remember to start slow, focus on form, and enjoy the rhythm of the row. With consistency, the numbers on the monitor will drop, your confidence will rise, and the gym will feel like your personal river—steady, powerful, and always moving forward.
Frequently Asked Questions
Do I need a lot of experience to start rowing at the gym?
No. The rowing machine is beginner‑friendly; just follow the basic setup steps and practice the four‑phase stroke at a low resistance.
How many calories can I burn on a rowing machine?
Most people burn 400‑600 calories per hour, depending on intensity, weight, and rowing efficiency.
Is rowing better than running for weight loss?
Rowing provides a comparable calorie burn with less joint impact, making it a great alternative for those who want high‑intensity cardio without the pounding of running.
Can I use the rowing machine if I have lower‑back pain?
Yes, if you keep a neutral spine, engage your core, and start with low resistance. Consult a medical professional if pain persists.
How often should I incorporate rowing into my weekly routine?
Three to four sessions per week, each lasting 20‑45 minutes, is ideal for most fitness levels. Pair it with other activities for balanced training.
What’s the difference between “spm” and “split time” on the monitor?
“Spm” (strokes per minute) measures how fast you’re rowing, while “split time” shows how long it would take you to row 500 meters at your current pace.