How to Fill a Bike Tire with Air Compressor
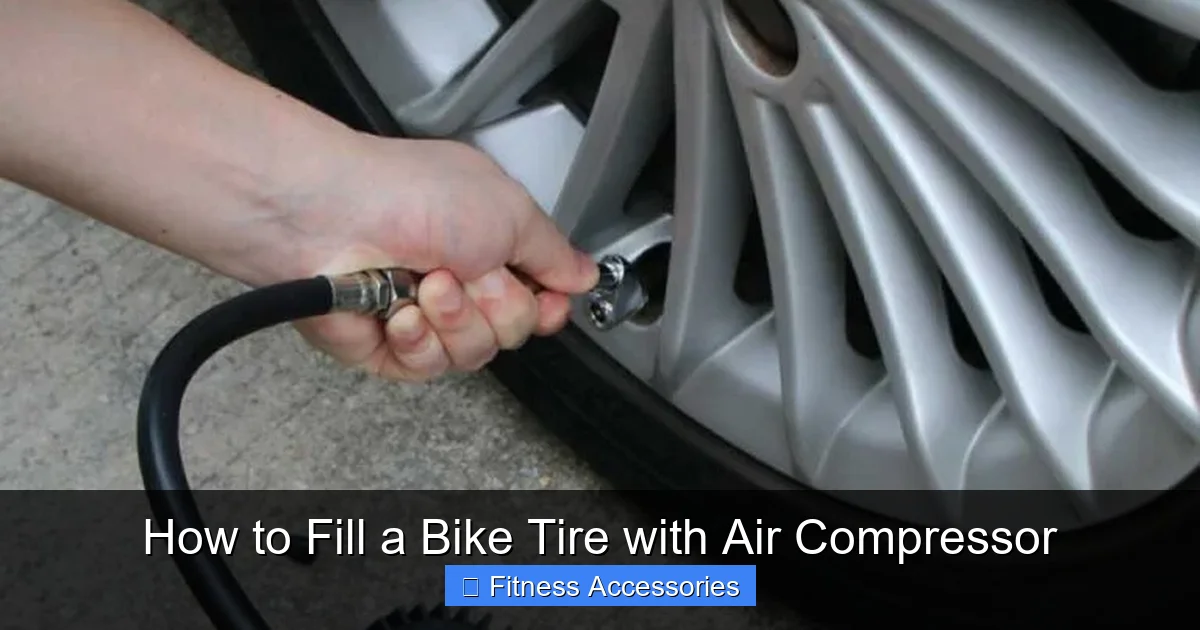
Filling your bike tires with an air compressor is a fast, powerful alternative to manual pumps, but it requires the right technique to avoid damaging your wheels. This guide walks you through everything from identifying your valve type and selecting proper pressure to connecting your compressor safely and achieving the perfect tire pressure for your ride. Mastering this skill ensures better traction, efficiency, and puncture prevention.
Key Takeaways
- Know Your Valve: Identify if you have a Presta or Schrader valve; this dictates the adapter you need for your air compressor hose.
- Check Recommended PSI: Always find the manufacturer’s pressure range (PSI) on your tire sidewall before you start inflating.
- Start Low, Go Slow: Begin with short bursts of air (2-3 seconds), frequently checking pressure to prevent dangerous overinflation.
- Use the Right Tool: A dedicated bike floor pump with a pressure gauge is often safer and more precise than a large shop compressor for most home users.
- Safety First: Wear eye protection, ensure the hose and connections are secure, and never stand directly over the tire while inflating.
- Temperature Matters: Tire pressure increases as the tire heats up from riding; check and adjust pressure when tires are cold for an accurate reading.
📑 Table of Contents
- Why Use an Air Compressor for Your Bike Tires?
- Understanding Your Bike’s Tire and Valve
- Choosing the Right Air Compressor and Accessories
- The Step-by-Step Guide to Safe Inflation
- Safety Protocols: Non-Negotiable Rules
- Troubleshooting: Common Problems and Solutions
- Maintenance and Long-Term Care
- Conclusion: Power with Precision
Why Use an Air Compressor for Your Bike Tires?
Let’s be honest: the classic hand pump has served us well, but there’s a new sheriff in town, and it’s powered by electricity (or your car’s cigarette lighter). Using an air compressor to fill your bike tires can transform a tedious chore into a 30-second task. The raw power and speed are undeniably appealing, especially if you’re topping up multiple bikes or have high-volume tires like those on a cargo bike or e-bike. But with great power comes great responsibility—or in this case, the potential for a popped tire or a damaged rim if you’re not careful. This guide is your friendly, comprehensive manual to doing it right, safely, and effectively, every single time.
The core advantage is efficiency. A good compressor can push a huge volume of air quickly, which is perfect for quickly seating a stubborn tubeless tire bead or bringing a completely flat tire back to life in moments. For families with several bikes, or for a shop that services bikes, this time savings adds up dramatically. However, the very attribute that makes it useful—brute force—is also its biggest danger. Bike tires, especially lightweight performance clinchers or tubulars, have very specific pressure limits. Exceeding them even by a few PSI can cause a catastrophic blow-off, damaging the tire, tube, and potentially the rim. That’s why understanding the process is non-negotiable.
Understanding Your Bike’s Tire and Valve
Before you even plug in the compressor, you need to become an expert on the two things you’re interacting with: your tire and its valve. This foundational knowledge is 80% of the battle. Rushing this step is the #1 cause of compressor-related bike tire disasters.
Visual guide about How to Fill a Bike Tire with Air Compressor
Image source: toolsguide.org
Decoding the Tire Sidewall: Your Pressure Bible
Flip your bike over or look closely at the tire’s sidewall. You’ll see a code like 700x25c or 26×2.1, but more importantly, you’ll find a pressure range. It’s usually printed as something like MAX 100 PSI or a range like 65-95 PSI. This is not a suggestion; it’s a hard limit set by the tire manufacturer based on the tire’s construction, bead strength, and intended use.
Road bike tires, being narrow and designed for low rolling resistance on smooth pavement, have higher pressure ranges, often 80-120 PSI. Mountain bike tires, being wide and meant to absorb impacts on rough terrain, have much lower ranges, typically 20-50 PSI. Gravel and hybrid bikes sit in the middle. Never exceed the maximum number printed on your tire. A common mistake is to think “more air is faster,” but overinflation actually increases rolling resistance on anything but a perfectly smooth surface and gives a harsh, uncomfortable ride. Start in the middle of the recommended range and adjust based on your weight and terrain.
The Two Valve Types: Presta vs. Schrader
This is the gatekeeper to your inflation process. There are two standard valve types, and your compressor hose needs to match.
- Presta Valve (The “Slim” or “French” Valve): This is the skinnier, longer valve common on road bikes, high-end mountain bikes, and many gravel bikes. It has a small, knurled nut at the top that you unscrew to open the valve core. To inflate with a standard compressor (which typically has a Schrader chuck), you must use a Presta-to-Schrader adapter. This small, inexpensive brass adapter screws onto the Presta stem, creating a Schrader-compatible outlet.
- Schrader Valve (The “Car” Valve): This is the identical valve found on car tires. It’s shorter and fatter, with a spring-loaded pin in the center. You simply press the pin to let air out. Most standard compressor chucks will fit this valve directly, with no adapter needed. It’s common on many mountain bikes, hybrids, kids’ bikes, and commuter bikes.
Pro Tip: Always make sure the Presta valve nut is unscrewed and the small pin is depressed before trying to attach any chuck or pump head. A closed Presta valve will fool you into thinking your tire isn’t taking air.
Choosing the Right Air Compressor and Accessories
Not all compressors are created equal for bike work. Using a massive 10-gallon shop compressor with a 150+ PSI gauge is possible, but it’s like using a sledgehammer to crack a nut—overkill and risky without extreme caution. For most home cyclists, a smaller, more controlled unit is ideal.
Visual guide about How to Fill a Bike Tire with Air Compressor
Image source: down-ph.img.susercontent.com
Types of Compressors for Bikes
- High-Volume Floor Pumps with Gauge: This is the sweet spot for most users. Brands like Lezyne, Topeak, and Blackburn make floor pumps that use a built-in, high-pressure chamber. You do a few powerful strokes to charge the chamber, then a single, controlled stroke delivers a huge burst of air to the tire. They are fast, accurate (with a good gauge), and safe because you control the volume and pressure manually. They are not electric but offer compressor-like speed.
- Electric “Mini” Compressors: These are the 12V plugs for your car or small plug-in units. They are slower than floor pumps but incredibly convenient for on-the-go repairs or for people who struggle with manual pumping. Look for models with an automatic shut-off feature and an accurate, built-in pressure gauge. The Viair and Slime brands make popular models in this category.
- Large Shop/Garage Compressors: If you already own one, you can use it, but you must be vigilant. These units have high output and often lack precise, low-pressure gauges. You must use a separate, high-quality, bike-specific pressure gauge to check your tire, as the compressor’s gauge is rarely accurate at the low pressures (30-60 PSI) many bikes require. Always use a regulator if your compressor has one to set a maximum output pressure below your tire’s max.
Essential Accessories: Adapters and Gauges
Your compressor’s hose likely ends in a standard Schrader chuck. For Presta valves, a simple brass adapter is essential. Keep one in your saddlebag or tool kit. For Schrader valves, you’re good to go.
The single most important accessory, regardless of compressor type, is a separate, reliable, high-accuracy bicycle pressure gauge. Do not trust the gauge on a cheap electric compressor or the one built into a floor pump if it feels flimsy. A good analog gauge from a brand like Park Tool or Lezyne costs $15-$30 and will save your rims and tires. Digital gauges are also excellent. Check your pressure with this gauge after every inflation session with a compressor.
The Step-by-Step Guide to Safe Inflation
Now, the main event. Follow these steps in order, like a ritual. Skipping a step is asking for trouble.
Visual guide about How to Fill a Bike Tire with Air Compressor
Image source: ourhometools.com
Step 1: Preparation and Inspection
First, visually inspect your tire. Look for cuts, embedded glass, or excessive wear. If you find a puncture, fix it before inflating. A tire with a slit will blow apart instantly under compressor pressure. Also, check your rim tape (the strip covering the rim bed) to ensure it’s in place and not pinching the tube. If you’re reinstalling a tubeless tire, ensure the bead is properly seated in the rim channel all the way around before you begin.
Step 2: Attach the Correct Adapter
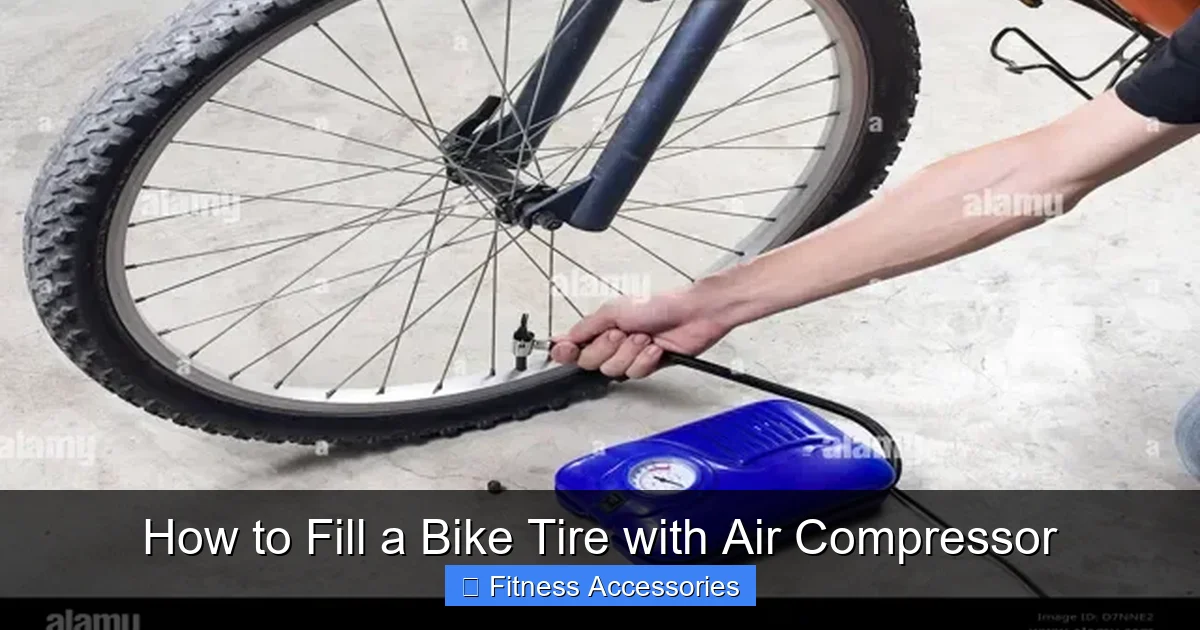
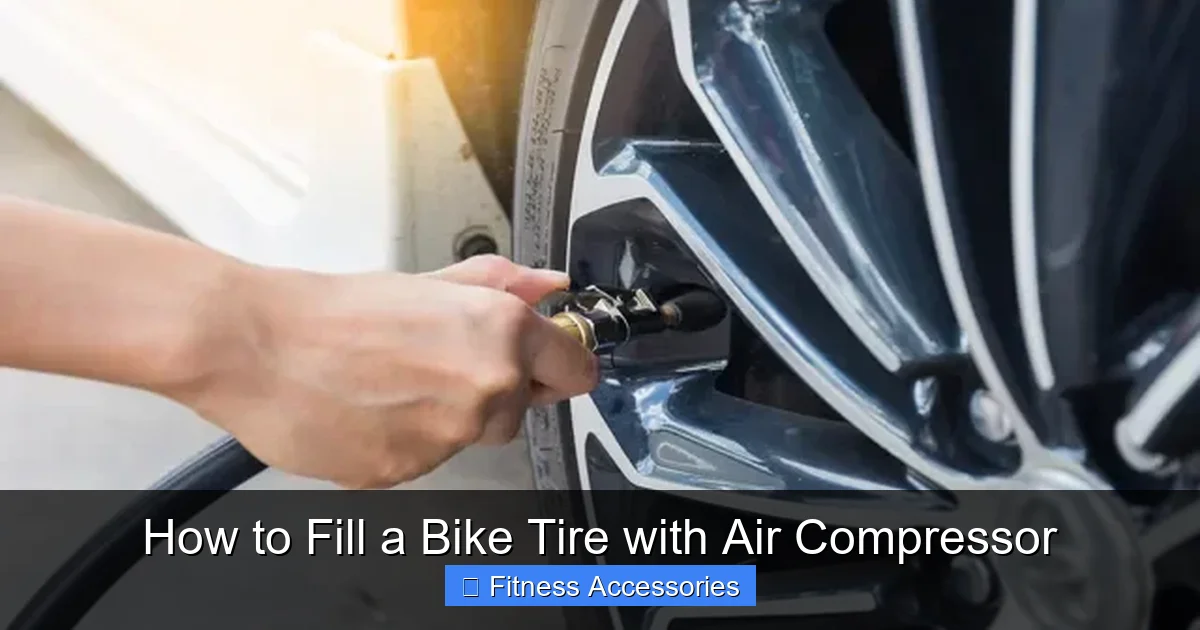
Screw the appropriate adapter onto your valve stem. For Presta, screw on the Presta-to-Schrader adapter. For Schrader, nothing is needed. Ensure the valve is open (Presta nut unscrewed). Give the hose chuck a quick press to make sure air isn’t leaking from the valve.
Step 3: Set Your Target and Secure the Hose
Decide your target pressure based on your weight and terrain. A 150lb rider on smooth roads might run 90 PSI on 25mm tires; the same rider on gravel might drop to 50 PSI. Have your separate, trusted gauge ready. Position the compressor hose so it’s not kinked and the chuck is pointing away from you and your face.
Step 4: The “Burst and Check” Method
This is the golden rule. Never just hold the trigger down until the gauge needle moves. Instead:
- Press the compressor trigger for a short, controlled burst of 2-3 seconds.
- Immediately release and disconnect the hose chuck.
- Use your separate gauge to check the pressure.
- Repeat the process, adding air in small increments, until you reach your target.
Why? Because air compressors, especially electric ones, can fill a tire in a second or two. By the time you look at the gauge, you may have already added 20 PSI too much. The burst-and-check method gives you absolute control.
Step 5: The Final Seal and Listen
Once you’re within 5 PSI of your target, do one final, very short burst (1 second). Check again. When you hit your number, disconnect the hose. You should hear a slight pssssht as the chuck releases. For Presta valves, screw the small nut back down finger-tight to protect the valve core. Give the tire a final squeeze to feel for firmness and listen for any slow leaks at the valve or bead.
Safety Protocols: Non-Negotiable Rules
We’ve touched on this, but it bears repeating in its own section. An air compressor stores immense potential energy. A tire is a pressure vessel. Treat them with respect.
- Eye Protection is Mandatory: Always wear safety glasses or goggles. A tire bead or valve core can, and does, become a projectile. This is not hyperbole; it’s a documented cause of serious eye injury.
- Never Stand Over the Tire: Position yourself to the side, not directly in line with the rim. If the tire explodes, the force and debris will travel outward from the rim’s weakest point.
- Know Your Max: Write the maximum PSI from your tire sidewall on a piece of tape and stick it on your compressor or gauge. Never, under any circumstance, inflate beyond that number.
- Check Your Equipment: Before each use, inspect your compressor hose for cracks, your chuck for wear, and your adapters for stripped threads. A failure at 60 PSI is messy.
- Let Hot Tires Cool: If you’ve been riding, your tires and tubes will be warm and the internal pressure will be higher than “cold” pressure. Let them cool for an hour before checking and adjusting pressure. Inflating a hot tire to “cold” spec will leave it under-inflated when cool.
- Mind the Environment: Don’t use an electric compressor in the rain or on a wet surface. Keep the compressor motor vents clear of debris.
Troubleshooting: Common Problems and Solutions
Even with careful steps, you might encounter hiccups. Here’s how to diagnose them.
Problem: Air Won’t Enter the Tire
Solution: First, ensure the valve is fully open (Presta nut unscrewed). Second, check your adapter connection. The Presta adapter must be screwed on tightly and straight. Third, listen. If you hear air leaking *around* the valve stem, the seal is bad—try reseating the adapter. If you hear air leaking *from the tire* (a hissing sound from the tread), you have a puncture that needs repair before inflation.
Problem: Pressure Drops Immediately After Inflation
Solution: This is almost always a bead seal issue (tubeless) or a puncture/poorly seated valve. For tubeless, deflate, add more sealant, and re-seat the bead by giving it a firm side-load. For tubed, remove the wheel, inflate the tube slightly to give it shape, reinstall it carefully ensuring it’s not pinched, and try again. A leaking valve core (rare) can be fixed with a valve core tool.
Problem: Tire Feels Rock-Hard but Gauge Shows Low Pressure
Solution: Your separate gauge is likely accurate, and the tire is simply very under-inflated. High-volume tires (like 2.4″ MTB tires) need a lot of air to feel firm. Keep adding air in small bursts until the sidewalls begin to round out and the tire feels taut. The “squeeze test” is subjective; trust your gauge.
Maintenance and Long-Term Care
Using a compressor responsibly extends the life of your tires, tubes, and rims.
- Regular Pressure Checks: Tires naturally lose 1-5 PSI per week. Get in the habit of checking pressures before every long ride, not just when they look flat. Consistent, correct pressure is the single biggest factor in tire longevity and performance.
- Store Your Compressor Properly: Drain any moisture from the compressor tank regularly (most have a drain valve) to prevent internal rust. Coil the hose neatly to prevent kinks and cracks.
- Clean Your Valves: Occasionally wipe the valve stems with a clean rag. Dirt and grime can work their way into the valve core and cause slow leaks.
- Rotate Your Tires: If you have a front and rear tire of the same size and wear pattern, swap them front-to-rear every few hundred miles to promote even wear.
- Know When to Replace: If you see cords showing through the rubber, sidewall cracks, or frequent punctures despite correct pressure, it’s time for new tires. Riding on worn tires is dangerous, regardless of perfect inflation.
Conclusion: Power with Precision
Filling your bike tires with an air compressor is a fantastic skill that saves time and effort. The key takeaway is that it’s not about raw power; it’s about controlled, precise application of that power. By knowing your tire’s limits, identifying your valve, using the burst-and-check method, and always employing a trusted separate gauge, you turn a potentially hazardous tool into your most efficient pit crew assistant. You’ll spend less time wrestling with a manual pump and more time enjoying the ride, with the confidence that your tires are inflated to the perfect pressure for safety, speed, and comfort. So go ahead, plug in, gear up with those safety glasses, and inflate like a pro. Your future self, breaking no spokes and suffering no blowouts, will thank you.
Frequently Asked Questions
Can I use a standard garage air compressor on my bike?
Yes, but with extreme caution. Garage compressors are powerful and often lack precise gauges for low bike pressures. You must use a separate, accurate bicycle pressure gauge to check your tire and always use the “burst and check” method to avoid instant overinflation. A regulator to set a maximum output pressure is highly recommended.
What’s the difference between Presta and Schrader valves, and why does it matter?
Presta valves are narrower and have a small knurled nut at the top; they require an adapter to fit a standard compressor hose. Schrader valves are wider, like car tires, and fit most compressor chucks directly. Using the wrong adapter or trying to force a fit will damage the valve. Identifying your valve type is the first step.
Is it safe to inflate a completely flat tire with a compressor?
It can be, but only if the tire and tube are in perfect condition. A flat from a puncture will likely blow out when inflated. For a tubeless setup, you must ensure the tire bead is properly seated in the rim before adding air, or the bead can blow off violently. If the flat was from a slow leak and the tire is undamaged, proceed with the burst-and-check method.
How often should I check my bike tire pressure?
For optimal performance and tire life, check your pressure before every ride. Tires can lose 1-5 PSI per week through the rubber and valve. Riding on under-inflated tires increases rolling resistance, causes premature wear, and raises the risk of pinch flats. Consistent pressure is key.
Why does my tire feel hard after riding, and should I adjust it?
Tire pressure increases as the tire flexes and heats up during riding. A “hot” tire can read 5-10 PSI higher than when it was cold. Always set your pressure when the tire is cold (not ridden for several hours). The pressure you set cold is the pressure you want for your next ride; the increase during riding is normal and beneficial for traction.
Should I remove the wheel from the bike to inflate it?
It’s safer and easier to inflate with the wheel removed, especially when using a powerful compressor. It prevents any strain on the brake calipers or frame, allows you to spin the wheel freely to check for bead seating issues, and lets you inspect the tire and rim more easily. However, for quick top-ups, inflating with the wheel on the bike is fine if you’re careful and the tire is already mostly seated.