Turning your regular bike into an exercise bike is a simple, cost-effective way to enjoy indoor cycling year-round. By using a bike trainer or rollers, you can stabilize your bike and create a safe, efficient workout station at home. The process requires choosing the right equipment for your bike and fitness goals, followed by a secure setup and a commitment to proper form and safety.
Have you ever stared longingly at your bicycle leaning in the garage or against the wall, wishing you could use it for a workout when the weather is terrible, it’s too dark outside, or you just can’t find the time to hit the road? You’re not alone. Many cyclists face this exact dilemma. The fantastic news is that you don’t need to invest in a bulky, expensive dedicated exercise or “spin” bike. With the right equipment, you can make a bike into an exercise bike quickly and affordably, unlocking a powerful home cardio machine using the very bike you already love.
The concept is brilliantly simple: you create a stable platform that holds your bicycle’s rear wheel off the ground, allowing you to pedal against resistance while the bike remains stationary. This transforms your outdoor steed into a controlled indoor training tool. Whether you’re a seasoned road cyclist looking for off-season training, a casual rider wanting to stay active, or someone seeking a low-impact joint-friendly workout, converting your bike is a smart solution. This guide will walk you through every single step, from understanding the different types of conversion equipment to choosing the best one for your needs, setting it up safely, and designing effective workouts. Let’s get your garage gym rolling.
Key Takeaways
- Equipment is Key: You will need a dedicated bike trainer (wheel-on or direct drive) or a set of rollers to convert your bike. The right choice depends on your budget, desired resistance, and noise tolerance.
- Compatibility Check: Not all bikes work with all trainers. Always verify your bike’s wheel size, axle type (quick release vs. thru-axle), and frame clearance before purchasing.
- Setup is Critical: A stable, level surface and a secure, tight connection between your bike and the trainer are non-negotiable for safety and a smooth ride.
- Noise & Space: Wheel-on trainers are louder and cause more tire wear. Direct-drive trainers are quieter. Rollers require more space and balance skill but offer a real-road feel.
- It’s a Full Workout: This setup provides excellent cardiovascular exercise, leg strength training, and calorie burning, comparable to a dedicated spin bike.
- Maintenance Matters: Indoor training is harder on your bike. Regularly check tires, drivetrain, and trainer components for wear and keep everything clean and lubricated.
📑 Table of Contents
- Understanding the Core Equipment: Trainers vs. Rollers
- How to Choose the Right Equipment for Your Bike and Goals
- Step-by-Step: Setting Up Your Bike on the Trainer
- Safety First: Essential Tips to Protect You and Your Bike
- Designing Effective Workouts on Your DIY Exercise Bike
- Maintenance, Troubleshooting, and Long-Term Care
- Conclusion: Your Journey to a Home Cycling Studio Begins
Understanding the Core Equipment: Trainers vs. Rollers
The first and most important decision in your journey to make a bike into an exercise bike is choosing between the two primary categories of equipment: bike trainers and cycling rollers. They achieve the same goal—keeping your bike stationary—but do so in fundamentally different ways, offering distinct riding experiences, skill requirements, and benefits.
Bike Trainers: The Stable, Resistance-Focused Choice
A bike trainer is a rigid frame with a resistance unit that your bike’s rear wheel presses against. The bike is clamped into the trainer, making it completely stable. You cannot tip over. This is the most popular and beginner-friendly option.
How They Work: You place your bike’s rear axle into the trainer’s clamps. The rear wheel then presses against a roller (on wheel-on trainers) or directly onto a cassette (on direct-drive trainers). As you pedal, the resistance unit creates drag, simulating hills and effort.
Types of Bike Trainers:
- Wheel-On (or Friction) Trainers: These are the most common and affordable. A cylindrical roller presses against your bike’s rear tire. They are simple but have drawbacks: they can be noisy (especially with a knobby tire), they wear out your trainer tire quickly, and the resistance can feel less smooth and realistic compared to other options.
- Direct-Drive (or Smart) Trainers: This is the premium category. The trainer has its own cassette and a large, heavy flywheel. You remove your rear wheel and attach the bike’s frame directly to the trainer. The drivetrain engages with the trainer’s cassette. Benefits include incredibly realistic and smooth road feel, virtually silent operation (especially with a good tire), precise power measurement (on smart models), and integration with cycling apps like Zwift, TrainerRoad, and Rouvy. They are heavier and more expensive but are the gold standard for serious training.
- Magnetic & Fluid Trainers: These are subtypes of wheel-on trainers referring to the resistance mechanism. Magnetic trainers use magnets to create drag; they are durable but can have a “stepped” feel. Fluid trainers use a sealed fluid chamber; they offer the smoothest, most progressive resistance in the wheel-on category but can occasionally leak (though modern designs are very reliable).
Cycling Rollers: The “True Road” Feel
Rollers are a completely different beast. They consist of three long cylinders (usually aluminum) mounted on a frame. Two front rollers and one rear roller sit on the floor. You simply ride your bike on top of them. There are no clamps or attachments.
How They Work: Balance and steering keep you centered on the rollers. As your wheels spin, they turn the rollers, and the rotational mass of the rollers provides a natural, progressive resistance. It feels remarkably like riding on a flat road.
The Skill Factor: The biggest hurdle with rollers is the learning curve. It requires constant micro-adjustments to stay upright. It’s like learning to ride a bike all over again for many adults. However, once mastered (which can take a few sessions), it’s an incredibly engaging and effective workout that improves balance, core stability, and pedal stroke smoothness. They are very quiet and offer the most authentic “riding” sensation.
Key Comparison:
- Stability: Trainers = rock solid. Rollers = requires balance.
- Skill Level: Trainers = beginner-friendly. Rollers = intermediate/advanced.
- Ride Feel: Trainers = can feel “bouncy” or stiff (especially cheap ones). Rollers = fluid, realistic road feel.
- Noise: Trainers (wheel-on) = can be loud. Direct-drive & Rollers = very quiet.
- Space: Trainers = compact footprint. Rollers = longer footprint (length of bike + ~2ft).
How to Choose the Right Equipment for Your Bike and Goals
Now that you understand the two main paths, let’s narrow down which one is right for you. This decision hinges on three pillars: your bike’s compatibility, your primary fitness goals, and your practical constraints like budget and noise.
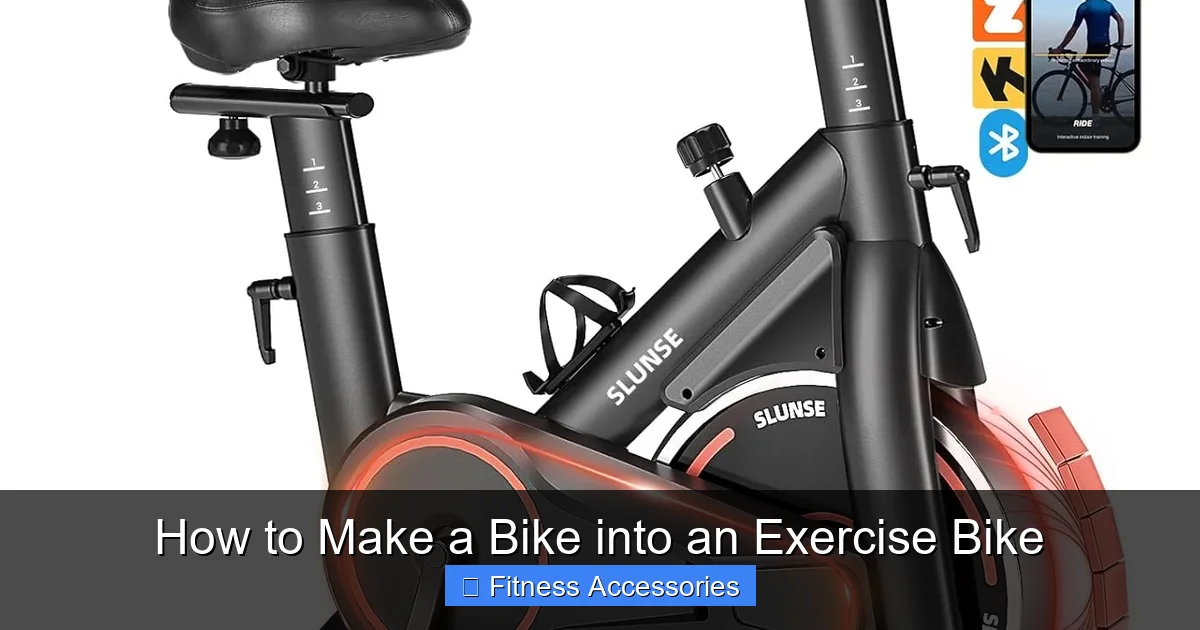
Visual guide about How to Make a Bike into an Exercise Bike
Image source: m.media-amazon.com
Assessing Your Bicycle’s Compatibility
Before you fall in love with a specific trainer model, you must check if your bike will work with it. Compatibility issues are the most common reason for returns and frustration.
- Wheel Size: This is critical. Most trainers support common sizes like 700c (road) and 26″/27.5″/29″ (mountain). Check the trainer’s specifications for its supported range. Some “universal” trainers use a single roller that works for many sizes, while others have adjustable cups.
- Axle Type: This is the single most important compatibility check for modern bikes.
- Quick Release (QR): The traditional skewer that goes through the axle. Most older road bikes and many hybrids use this. Standard trainers often include QR clamps.
- Thru-Axle: A larger diameter, threaded axle that screws into the frame. Very common on modern mountain bikes, gravel bikes, and some newer road bikes. You must ensure your trainer is compatible with your specific thru-axle diameter and length (e.g., 12x142mm, 15x110mm). Many direct-drive trainers require purchasing a separate thru-axle adapter kit.
- Frame Clearance: Look at the space between your rear tire and your bike’s frame (seatstays and chainstays). Some trainers, especially older or cheap wheel-on models, have a large resistance roller that can rub against the frame on certain bike geometries, particularly full-suspension MTBs. Measure or visually inspect. Direct-drive trainers, by removing the rear wheel, eliminate this issue entirely.
- Tire Width: If using a wheel-on trainer, ensure your tire width is within the trainer’s limits. Very wide mountain bike tires (e.g., 2.4″+) may not fit on some trainers without rubbing.
Matching Equipment to Your Fitness Goals
What do you want to get out of your indoor sessions?
- For General Cardio & Casual Use: A good-quality, mid-range magnetic or fluid wheel-on trainer is perfect. It’s affordable, easy to use, and gets the job done for 30-60 minute rides to stay fit.
- For Serious Training, Power, & App Integration (Zwift, etc.): Invest in a direct-drive smart trainer. The realistic road feel, accurate power data, and ability to control resistance via apps create an immersive, structured training environment that mimics outdoor efforts perfectly.
- For Improving Pedaling Technique & Core Stability: Rollers are unparalleled. They force you to pedal smoothly in a circle and engage your core to balance. They are a favorite tool for coaches to refine a rider’s form.
- For the Highest Realism & Lowest Noise: Again, direct-drive trainers and rollers win. Both provide a smooth, quiet ride that won’t disturb your household or downstairs neighbors.
Budget and Practical Considerations
You can make a bike into an exercise bike for as little as $100 or as much as $1,500+.
- Budget (Under $200): Basic wheel-on magnetic or fluid trainers. Expect some noise, tire wear, and a slightly less refined feel.
- Mid-Range ($200 – $600): High-end fluid trainers, entry-level direct-drive smart trainers (like the Tacx Flux, Wahoo Kickr Snap), and basic roller sets. This is the sweet spot for most enthusiasts wanting good performance without breaking the bank.
- Premium ($600+): Top-tier direct-drive smart trainers (Wahoo Kickr, Tacx Neo, Saris H4) with direct power measurement, super-silent operation, and excellent app integration. High-end, wide rollers with premium bearings.
- Noise: If you live in an apartment or have a sleeping family member, prioritize direct-drive or rollers. Avoid cheap wheel-on trainers with a bumpy tire.
- Storage: Trainers are generally easier to move and store. Some fold up. Rollers are long and awkward, though some models break down. Consider where you’ll set it up and put it away.
Step-by-Step: Setting Up Your Bike on the Trainer
You’ve got your equipment. Now, let’s get that bike mounted and ready to ride. A proper setup is crucial for safety, comfort, and protecting your bike from damage.
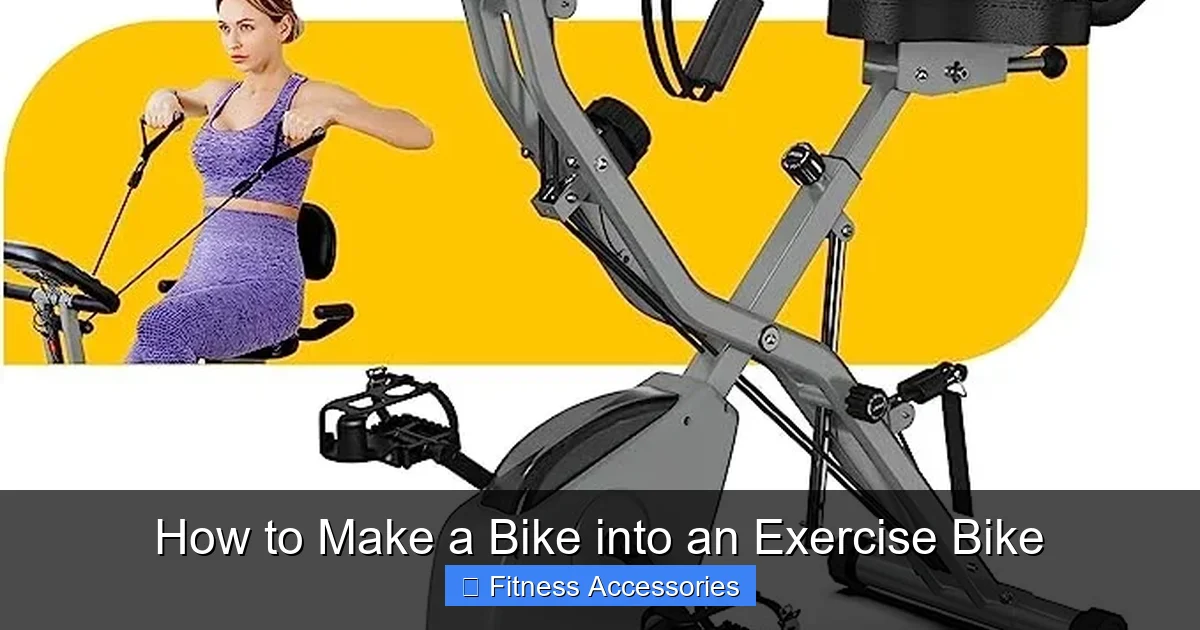
Visual guide about How to Make a Bike into an Exercise Bike
Image source: theexercisers.com
Pre-Setup: The Essential Safety Zone
Before you even touch the bike, prepare your space.
- Find a Level, Solid Floor: Concrete or a heavy-duty exercise mat on carpet is ideal. Avoid slippery surfaces. Use a bike trainer mat to protect your floor from sweat, tire debris, and to dampen vibration and noise. This is a cheap and highly recommended accessory.
- Clear the Area: Ensure you have at least 4-5 feet of space in front and to the sides of the trainer. You need room to mount, dismount, and for any side-to-side movement (especially on rollers).
- Gather Your Tools: You’ll likely need a set of Allen keys (hex wrenches) and possibly a wrench for thru-axles. Have a rag and bike cleaner nearby.
Mounting the Bike: A Detailed Guide (For Wheel-On Trainers)
- Adjust the Trainer: Position the trainer’s resistance unit so the roller is roughly in line with your rear axle. Loosen the axle clamps on the trainer arms.
- Lift and Position: With one hand on the handlebar and one on the saddle, lift the rear of the bike and roll it forward until the rear axle is directly over the trainer’s clamping cups. Gently lower the rear wheel so it rests on the resistance roller. The bike should now be roughly upright, supported by the trainer and its own kickstand (if it has one).
- Secure the Axle: This is the most important step. Tighten the trainer’s axle clamps firmly and evenly. The axle should be immovable. Give it a good tug to test. For quick-release skewers, you will need to tighten the nuts on the trainer’s clamps. Some trainers come with their own skewer; use it if your bike’s original skewer is too long or doesn’t fit snugly.
- Check Wheel Alignment: Look from behind. The rear wheel should be perfectly straight and centered relative to the frame and the trainer’s roller. If it’s crooked, loosen the clamps, realign, and retighten.
- Final Tightness: After your first few pedal strokes, stop and re-check all clamp tightnesses. They can settle.
Mounting the Bike: A Detailed Guide (For Direct-Drive Trainers)
- Remove Your Rear Wheel: Shift the chain to the smallest cog. Open the brake caliper if needed (for rim brakes). Release the thru-axle or quick release and carefully remove the rear wheel. Set it aside.
- Attach the Bike to the Trainer: The trainer has a dropout alignment slot. Align your bike’s rear dropout with this slot and slide the axle into place. Some direct-drive trainers use a lever system, others require threading a thru-axle.
- Secure the Axle: Insert and tighten the thru-axle or close the lever according to the manufacturer’s torque specification. This connection must be extremely secure. The entire power of your pedal stroke will be transferred through this interface.
- Install the Cassette (if not pre-installed): Many direct-drive trainers come with a cassette installed. If not, you’ll need to install your bike’s cassette (or a trainer-specific one) onto the trainer’s freehub body using a cassette lockring tool.
- Thread the Chain: Shift the chain onto the trainer’s cassette. The chainline should be correct. Give the pedals a turn to ensure the chain runs smoothly over all cogs.
Roller-Specific Setup
Roller setup is about positioning, not clamping.
- Position the Rollers: Place them on your mat in a straight line. The front roller should be slightly ahead of the front wheel’s contact patch when you’re on the bike.
- Mounting: This is the trick. Start by holding the handlebars, straddling the bike, and walking/running alongside it to get a feel for balance. The easiest method is to have a friend stand beside you, holding the bike steady by the saddle and handlebars as you get on and start pedaling. Alternatively, use a doorway or wall for initial support until you get rolling.
- Adjust Roller Spacing: Some roller sets allow you to adjust the distance between the rollers to match your bike’s wheelbase. Consult the manual.
Safety First: Essential Tips to Protect You and Your Bike
Indoor training, while controlled, places unique stresses on both you and your equipment. Neglecting safety can lead to a crash, a broken bike, or injury.
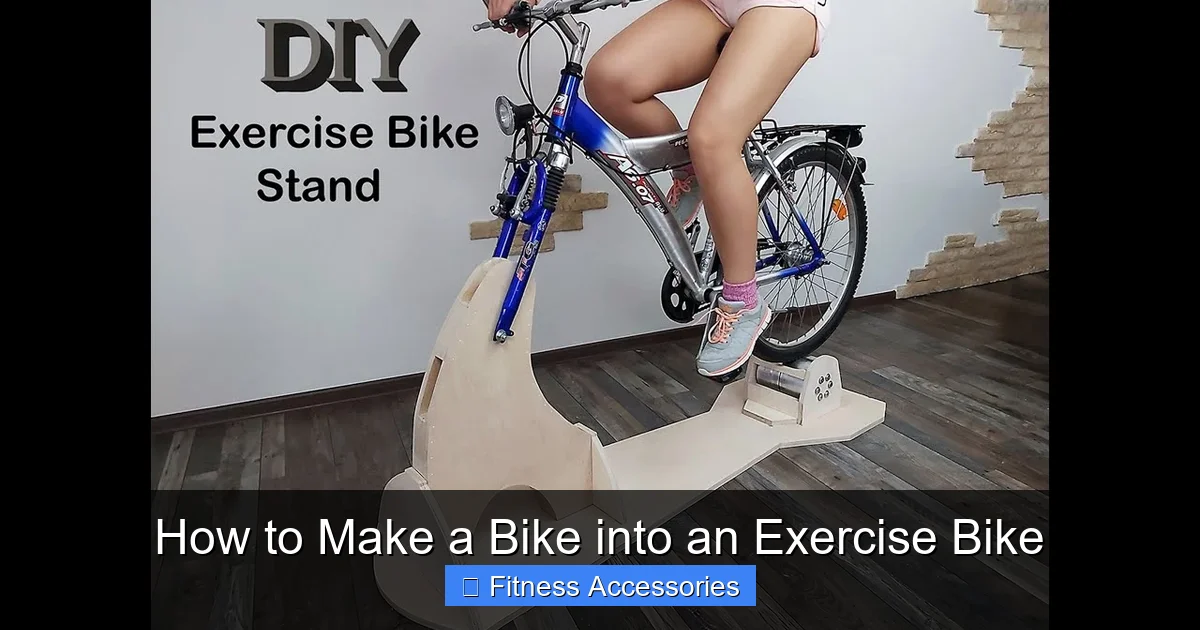
Visual guide about How to Make a Bike into an Exercise Bike
Image source: i.ytimg.com
Non-Negotiable Safety Checks Before Every Ride
- Clamp Tightness: Re-check axle clamps on trainers after the first 5 minutes of riding and then periodically. A loose axle can allow the wheel to slip, causing a sudden loss of resistance or a crash.
- Trainer Stability: Ensure the trainer feet are fully deployed and on a non-slip surface. Some trainers have adjustable leveling feet; use them on uneven floors.
- Pre-Ride Spin: Before you get on, spin the pedals by hand. Ensure the wheel (on wheel-on) or cassette (on direct-drive) is spinning freely without rubbing against the frame or brake pads.
- Brake Clearance: If you have rim brakes, open the brake calipers so the tire doesn’t rub against the pads. For disc brakes, ensure the rotor is clear of the caliper. Some riders temporarily loosen the brake cable to guarantee clearance.
- Fan Placement: Indoor training generates immense heat. Position a fan to blow directly on you to prevent overheating and maintain performance. This is not optional for longer or intense sessions.
- Hydration: You will sweat more indoors than outdoors with no wind. Have a full water bottle within easy reach and plan to drink frequently.
Protecting Your Bicycle from Indoor Training Stress
Your bike was designed for the open road, not the constant, high-torque loads of a stationary trainer. Be proactive.
- Tire Wear (Wheel-On Only): The friction and heat from the trainer roller will destroy a standard road tire in 50-100 miles. Use a dedicated trainer tire. They are made of harder, cooler-running rubber. Alternatively, use an old, worn-out tire you don’t care about.
- Drivetrain Wear: You’re putting massive power through your chain and cassette without the cleansing effect of wind and rain. Clean and lubricate your drivetrain more frequently than you would for outdoor riding. A dirty, dry chain will wear out your expensive cassette rapidly.
- Frame Stress: While rare, the clamping force of some trainers on certain lightweight carbon frames can cause damage at the dropouts. Use frame protection pads (often included with good trainers) and never overtighten clamps. Direct-drive trainers are generally safer for carbon frames as they clamp the axle, not the frame itself.
- Sweat Management: Sweat is corrosive. Use a sweat guard or towel to protect your handlebar stem, seatpost, and top tube from salt and moisture. Wipe down the bike after every session.
Designing Effective Workouts on Your DIY Exercise Bike
Now for the fun part: actually using your new setup. “Just pedaling” is fine, but structured workouts yield better fitness results and keep things interesting.
The Fundamentals of an Indoor Cycling Session
A good indoor workout follows a pattern, just like an outdoor ride.
- Warm-Up (10-15 minutes): Start in a low gear (easy resistance). Spin at a comfortable cadence (80-90 RPM) to increase heart rate, warm muscles, and lubricate joints. Include a few short, progressive efforts to open up the lungs.
- Main Set (20-45 minutes): This is your work. Structure it with intervals (hard efforts followed by recovery) or steady-state endurance riding. Vary your cadence and resistance to simulate hills.
- Cool-Down (5-10 minutes): Gradually reduce resistance and cadence. Let your heart rate come down slowly. This aids recovery and prevents blood pooling.
- Stretch: Post-ride, focus on quads, hamstrings, glutes, and calves. Hold stretches for 20-30 seconds.
Sample Workouts to Get You Started
- The Pyramid (Great for building power): Warm up. Then perform intervals that increase and then decrease in duration: 1 min hard, 2 min easy; 2 min hard, 2 min easy; 3 min hard, 2 min easy; 2 min hard, 2 min easy; 1 min hard. Cool down.
- The Tempo Builder (Improves lactate threshold): Warm up. Then do 2-3 sets of 10 minutes at a “comfortably hard” effort (you could speak in short phrases). Maintain a steady cadence. 5 minutes easy recovery between sets. Cool down.
- The Spin Class Simulation (High-cadence focus): Warm up. Alternate between high-cadence spins (100+ RPM) in a very easy gear for 1 minute, and a moderate gear at 80-90 RPM for 2 minutes. Repeat 8-10 times. This builds pedal stroke efficiency and leg speed.
- Just Ride (For endurance & mental break): Put on a podcast, audiobook, or movie. Set a moderate, sustainable resistance and just pedal for 60-90 minutes. This is fantastic for building aerobic base and mental toughness.
Using Technology to Enhance Your Experience
Don’t underestimate the power of entertainment and data.
- Smart Trainers & Apps: If you have a smart trainer, apps like Zwift (virtual worlds), TrainerRoad (structured plans), Rouvy (real-world video routes), and Fulgaz can completely transform your training. They automatically adjust resistance, provide power/speed data, and add immense motivation through competition and exploration.
- Cadence Sensors: A simple magnet-based cadence sensor (like from Wahoo or Garmin) is a cheap upgrade that helps you monitor and target specific pedal rates, which is key for efficient training.
- Heart Rate Monitor: Pair a chest strap or optical armband to train in specific heart rate zones, ensuring you’re working at the right intensity.
- Entertainment: Mount a tablet or phone on your handlebars using a stem mount or handlebar clamp. Prop it up on a small table or shelf. A good fan and a engaging show or music playlist are essential for long, mundane sessions.
Maintenance, Troubleshooting, and Long-Term Care
To keep your conversion running smoothly for years, a little maintenance goes a long way.
Routine Maintenance for Your Setup
- After Every Ride: Wipe down the bike (especially sweat areas). Wipe the trainer’s roller or drum. Check that all clamps and bolts are snug.
- Weekly/Monthly: On wheel-on trainers, inspect the resistance roller for wear and debris. Clean it with a rag. Check your trainer tire for cuts or excessive wear. On direct-drive trainers, listen for unusual noises and check that the flywheel spins freely. On rollers, check the bearings for smoothness; they may need occasional adjustment.
- Lubrication: Keep your bike’s chain clean and well-lubed. This is more important than ever. For some direct-drive trainers, consult the manual—some may require occasional lubrication of specific parts (though most are sealed).
- Storage: When not in use for extended periods, store your bike and trainer in a dry environment. For direct-drive trainers, it’s often good practice to remove the bike to prevent long-term stress on the trainer’s frame.
Common Problems and Quick Fixes
- Problem: The bike feels “wobbly” or side-to-side play.
Solution: Your axle clamps are not tight enough. Re-tighten them immediately. On a direct-drive, ensure the thru-axle is fully threaded and torqued.
- Problem: The rear tire is rubbing against the trainer frame or my brake pads.
Solution: For wheel-on, ensure the wheel is perfectly centered in the clamps. You may need a different spacer or a trainer with a more compact design. For rim brakes, open the brake calipers.
- Problem: Excessive noise, squeaking, or grinding.
Solution: For wheel-on, your tire may be incompatible (too knobby) or under-inflated. Try a smoother trainer-specific tire. The roller may need cleaning. For direct-drive, it could be a cassette issue—ensure it’s tight. For rollers, the bearings may need adjustment or replacement.
- Problem: The resistance feels inconsistent or “stepped.”
Solution: This is common with basic magnetic trainers. You may need to replace the magnet assembly or consider upgrading to a fluid or direct-drive model for a smoother curve.
- Problem: My bike’s gears are shifting poorly on the trainer.
Solution: The cable tension may have shifted when you clamped the bike. Adjust the barrel adjuster on your shifter or derailleur. Also, ensure the derailleur hanger isn’t bent from the clamping force.
Conclusion: Your Journey to a Home Cycling Studio Begins
You now hold all the keys to successfully make a bike into an exercise bike. It’s a project that blends practicality with passion, saving you money while deepening your connection to your bicycle. The core message is this: your existing bike is a phenomenal fitness tool. By investing in the right trainer or roller—one that matches your bike’s specs and your personal training ambitions—you unlock 365-day-a-year access to cardiovascular health, leg strength, and mental clarity.
Start by honestly assessing your bike and your goals. A beginner looking for a simple way to exercise on rainy days has a different perfect match than an athlete training for a century ride with power data. Do your compatibility homework, prioritize safety in your setup, and commit to maintaining both your bike and your new equipment. The initial setup process is a one-time task that pays dividends every single time you swing your leg over the saddle, whether it’s for a brutal 60-minute interval session or a relaxing recovery spin while watching the sunset from your living room.
So, move that bike out of the corner, choose your weapon—a steadfast trainer or the challenging rollers—and pedal into a new era of fitness. The road (or your basement floor) is waiting.
Frequently Asked Questions
Is it safe to use my expensive road bike on a trainer?
Yes, it is generally very safe, but precautions are necessary. Use a direct-drive trainer if possible, as it removes stress from the frame’s rear dropouts. For wheel-on trainers, ensure perfect axle clamp tightness and use frame protector pads. Never use a carbon seatpost as a makeshift support. Always re-check tightness after initial rides.
How much does a good bike trainer cost?
Costs vary widely. Basic wheel-on magnetic trainers start around $100-$150. High-quality fluid or basic smart wheel-on trainers range from $200-$400. Direct-drive smart trainers, which offer the best performance and app integration, start around $600 and can exceed $1,500. Rollers range from $100 for basic models to $300+ for premium wide-base sets.
Will using a trainer damage my bike’s tires or drivetrain?
Yes, it will cause accelerated wear, but this is manageable. Wheel-on trainers are hard on tires; use a dedicated, cheap trainer tire. The constant, high-torque pedaling in a static position increases drivetrain wear. Counter this by cleaning and lubricating your chain more frequently than for outdoor riding. Direct-drive trainers eliminate tire wear entirely.
Are bike trainers or rollers louder?
Generally, wheel-on trainers are the loudest, creating a humming or whirring noise that can disturb others. Direct-drive trainers are very quiet, with noise mainly from the drivetrain. Rollers are also very quiet, with only the sound of your tires on the cylinders and your drivetrain. For apartment living, direct-drive or rollers are the best quiet options.
Can I use my mountain bike with full suspension on a trainer?
You can, but compatibility is the main issue. Many full-suspension frames have very little rear tire clearance. A bulky wheel-on trainer roller may contact the rear suspension linkage or frame. You must measure carefully. Direct-drive trainers are a much better solution for full-suspension bikes as they eliminate the rear wheel entirely, clearing any frame obstructions.
What’s the biggest mistake beginners make when setting up a bike on a trainer?
The most common and dangerous mistake is not tightening the axle clamps sufficiently. A loose connection allows the wheel to slip in the clamp under heavy pedaling, which can cause a sudden loss of resistance, a crash, or damage to the trainer and bike. Always tighten clamps firmly, use the correct skewer, and re-check after the first few minutes of riding. The second big mistake is forgetting a fan, leading to rapid overheating and poor performance.