How to Use an Air Compressor for Bike Tires
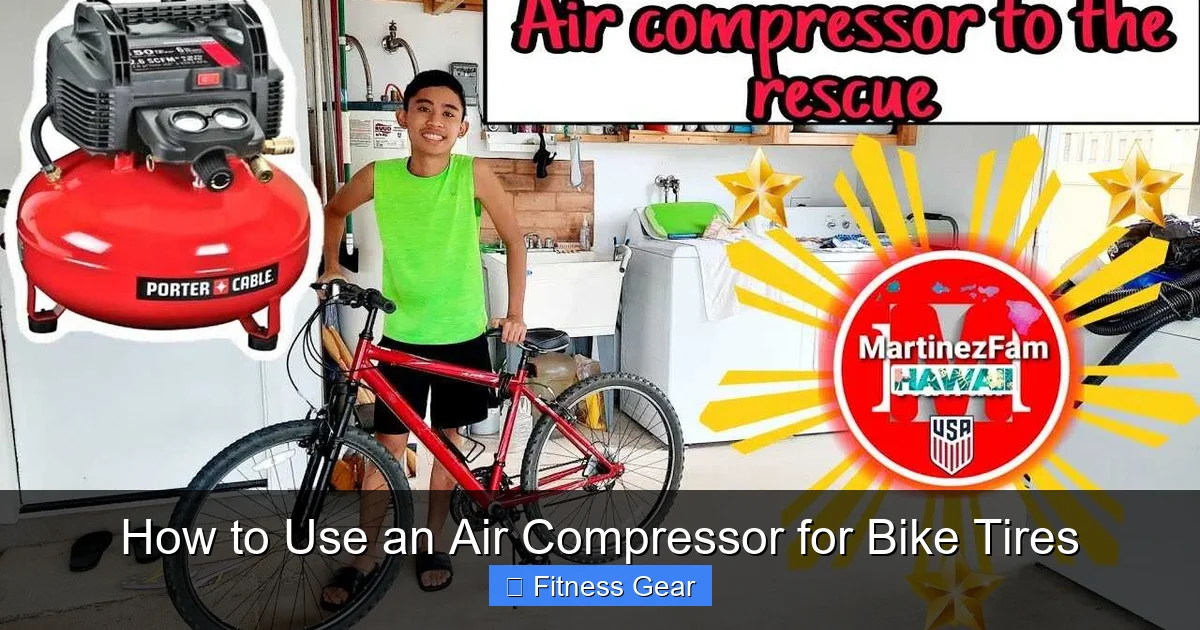
Using an air compressor for bike tires is a fast, powerful way to inflate, but it requires careful technique to avoid damage. Unlike a manual pump, a compressor delivers high-pressure air instantly, making it essential to monitor pressure closely and use the correct attachments. This guide walks you through everything from choosing the right compressor and regulator to step-by-step inflation for Presta and Schrader valves, ensuring a safe, perfect fill for any bike tire.
Key Takeaways
- Always use a regulator: A regulator is non-negotiable. It controls the output pressure from the compressor tank, preventing explosive overinflation that can burst your tire or damage the rim.
- Know your valve type: Bike tires use Presta (narrow, with a lock nut) or Schrader (wide, like a car tire) valves. You need the correct adapter or chuck to create an airtight seal.
- Inflate in short bursts: Never hold the trigger down continuously. Add air in 2-3 second bursts, checking pressure with a gauge after each burst to avoid overshooting.
- Check the tire’s PSI range: The maximum and recommended PSI is printed on the tire sidewall. Never exceed the maximum. Road tires need high pressure; mountain bike tires need much less.
- A moisture trap is crucial: Compressors generate condensation. A moisture trap or in-line filter removes water from the air line, preventing moisture from sitting inside your tire and tube, which can cause corrosion.
- Start with the valve fully open: For Presta valves, unscrew the tiny tip and depress it fully to let any initial air escape and ensure a good seal before attaching the chuck.
- Listen and feel: A properly inflating tire makes a steady hissing sound. If you hear a high-pitched squeal or feel air blasting past the valve, the seal is bad—re-seat the chuck immediately.
📑 Table of Contents
- Why Use an Air Compressor for Bike Tires?
- Understanding Your Tools: Compressors, Regulators, and Gauges
- Step-by-Step: Inflating a Presta Valve Tire
- Step-by-Step: Inflating a Schrader Valve Tire
- Safety First: Critical Precautions and Best Practices
- Troubleshooting: Why Won’t My Tire Inflate or Hold Air?
- Beyond Tires: Other Bike Inflations with a Compressor
- Conclusion: The Compressor as a Precision Tool
Why Use an Air Compressor for Bike Tires?
Let’s be honest. The classic floor pump has served us well. It’s reliable, simple, and gives you a good arm workout. But there’s a reason professional mechanics and serious cyclists almost always reach for an air compressor. It’s about speed, power, and precision. An air compressor fills a tire in seconds, not minutes of strenuous pumping. This is a game-changer for high-volume road tires that require 80-120 PSI. Trying to hit 100 PSI with a hand pump is a marathon. With a compressor, it’s a single, quick burst.
Beyond speed, compressors offer consistency. A good regulator and accurate pressure gauge allow you to hit your exact target PSI every single time, whether you’re topping off a road bike before a race or inflating a fat-tire e-bike to 20 PSI. There’s no guesswork, no “feeling” for firmness. It’s a number. For anyone who runs tubeless setups, a compressor is practically essential. The high-volume, high-pressure air blast is needed to properly seat the tire bead onto the rim—something a hand pump simply cannot do reliably. It transforms a frustrating, sometimes risky process into a 30-second task.
However, this power is a double-edged sword. An air compressor carries no mercy. It will happily overinflate a tire to the point of catastrophic failure in a fraction of a second if left unchecked. That’s why the mindset shifts from “pumping” to “metering.” You are no longer providing the force; you are controlling a powerful tool. This guide exists to bridge that gap, turning the compressor from a potentially dangerous piece of equipment into your new best friend for perfect tire pressure.
Understanding Your Tools: Compressors, Regulators, and Gauges
Before you even touch a tire, you need to understand the anatomy of your inflation station. Using these components incorrectly is the #1 cause of compressor-related tire damage.
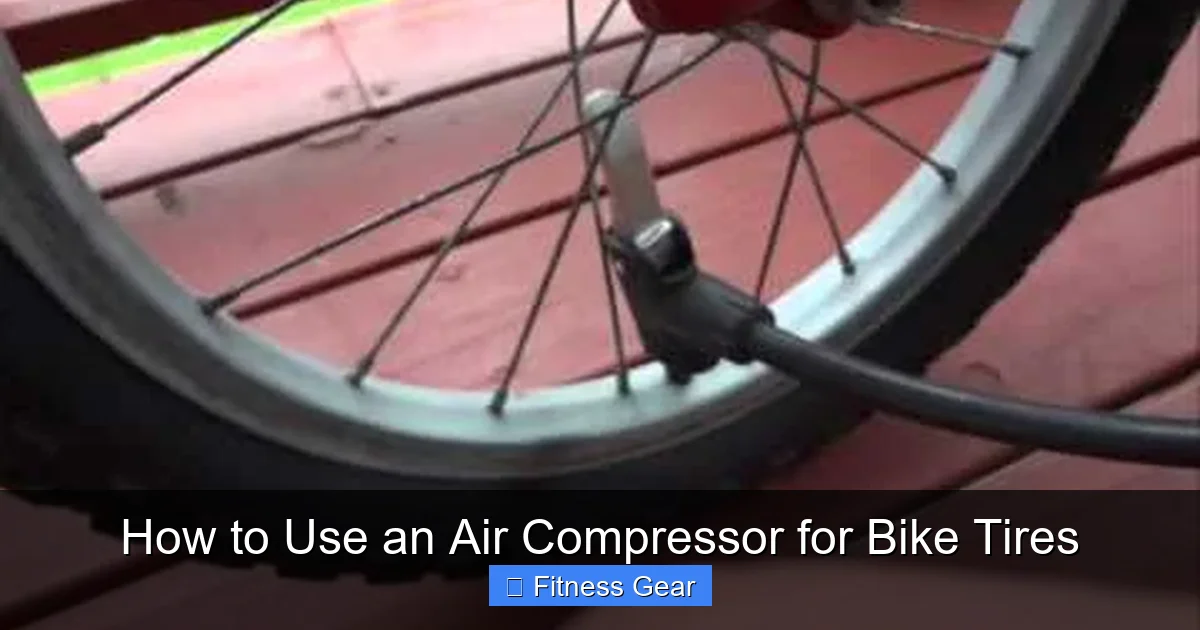
Visual guide about How to Use an Air Compressor for Bike Tires
Image source: i.ytimg.com
The Air Compressor: Your Power Source
The compressor itself is the engine. It compresses air into a storage tank. For bike tires, you don’t need a massive industrial unit. A small, portable “pancake” compressor or a larger stationary model with a 1-6 gallon tank is perfect. Key specs to note are the Maximum Pressure (e.g., 150 PSI) and CFM (Cubic Feet per Minute) at 90 PSI. For bike tires, CFM matters less than for power tools; any small compressor can refill a tire instantly. Just ensure its max PSI is comfortably higher than your tire’s maximum rating.
The Regulator: Your Safety Net
This is the most critical component. The regulator attaches to the compressor’s air tank outlet. Its sole job is to reduce the tank’s high pressure (often 120-150 PSI) down to a safe, controlled, and adjustable output pressure. You turn a knob to set the output pressure—say, 90 PSI for a road tire. Once set, the regulator will not let air pass through if the downstream pressure (in your hose and tire) is at or above that setting. It prevents the tank’s full pressure from ever reaching your tire. Never, ever use a compressor without a regulator for bike tires.
The Pressure Gauge: Your Eyes
You need an accurate pressure gauge. Many compressors have a built-in gauge on the regulator, which is often sufficient. For ultimate precision, especially with sensitive road tires, consider a separate, high-quality digital or analog gauge that screws directly onto your valve stem. This gives you a “before and after” reading without relying on the gauge at the end of a long hose, which can have minor pressure drop.
The Air Hose and Chuck/Adapter
The hose carries the air. The end of the hose has a “chuck” or quick-connect fitting. To connect to a bike valve, you need the right adapter. For a Schrader valve (car-type), you need a simple Schrader chuck that depresses the valve core. For a Presta valve (the skinny one with a lock nut), you need a Presta-specific adapter. This is usually a small, metal, screw-on piece that threads onto the Presta valve, converting it to a Schrader-like stem that the standard chuck can seal against. Some premium chucks are “universal” and fit both without an adapter, but the separate adapter is cheaper and foolproof.
Step-by-Step: Inflating a Presta Valve Tire
Presta valves are the most common on performance bikes. They are lighter and hold higher pressure better. Here is the precise, safe method.
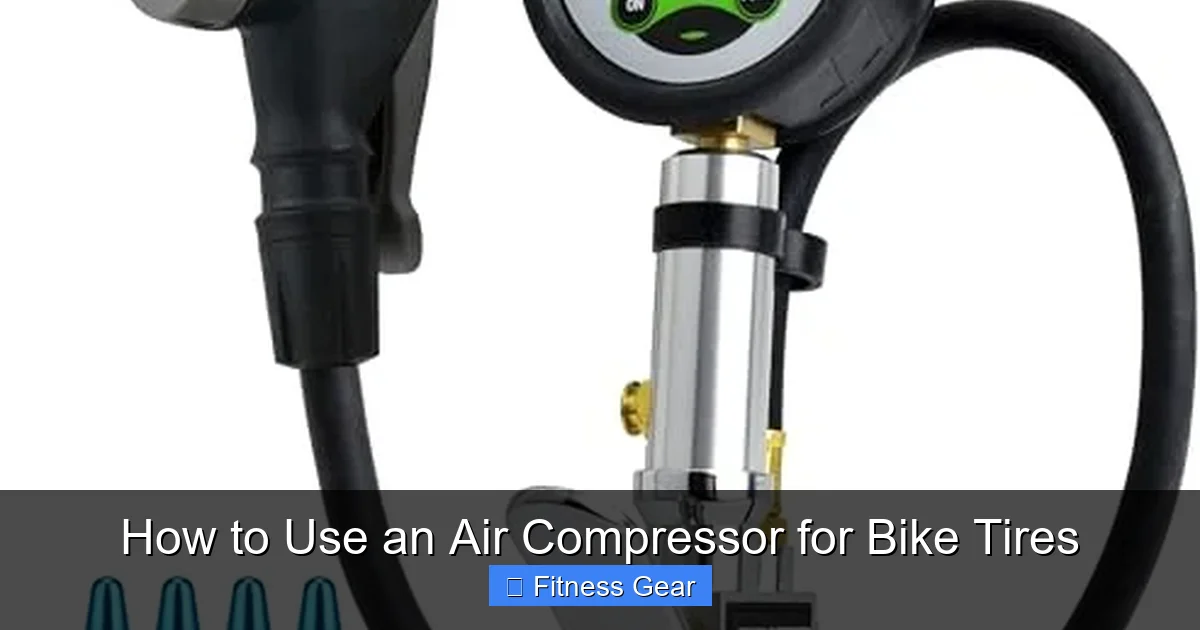
Visual guide about How to Use an Air Compressor for Bike Tires
Image source: m.media-amazon.com
Preparation is Everything
First, determine your target PSI from the sidewall of your tire. Let’s say it’s 90 PSI. Set your compressor’s regulator output to slightly above your target. Set it to 95 PSI. This gives you a buffer to work with as you add air in bursts. Ensure your moisture trap (if you have one) is drained. Attach the correct Presta adapter to your valve. Unscrew the tiny knurled tip at the top of the Presta valve a few turns and press down firmly to release any initial air and ensure the valve core is free.
The Sealing Moment
Now, press the chuck (with Presta adapter attached) firmly onto the valve stem. You should feel it seat. For a Presta adapter, you screw it on first, then press the standard chuck onto the top of the adapter. You will hear a sharp hiss of air. This is normal as the chuck seals against the adapter/valve. If the hiss is loud and continuous, like air is rushing past, the seal is incomplete. Push harder or re-seat the adapter/chuck. The hiss should quiet to a faint seep or stop entirely.
Inflation in Controlled Bursts
Now, squeeze the trigger. Do not hold it down. Squeeze for a 2-3 second burst, then release immediately. Watch your pressure gauge (either on the regulator or your separate gauge if you’ve quickly screwed it on). After the burst, the gauge needle will spike and then settle. Read the settled number. If it’s below your target (e.g., 60 PSI after the first burst), repeat. Add another 2-second burst. Check again. This iterative process is key. It’s better to add ten 1-second bursts than one 10-second burst.
Finishing Up
As you approach your target (within 2-3 PSI), switch to even shorter, 1-second bursts. Once you hit your exact target (e.g., 90 PSI), release the trigger. Wait a second, then quickly remove the chuck. You might hear a tiny puff of air escaping—that’s the pressure equalizing as you break the seal. For a Presta valve, screw the tiny tip back down snugly. Give the tire a quick squeeze to confirm firmness. You’re done. The entire process for one tire should take 15-30 seconds of total trigger time, spread over 10-20 checks.
Step-by-Step: Inflating a Schrader Valve Tire
Schrader valves are simpler but require a different approach because they are self-sealing when not depressed.

Visual guide about How to Use an Air Compressor for Bike Tires
Image source: bikenbicycle.com
Preparation
The setup is the same: know your PSI, set the regulator to 95 PSI (for a 90 PSI target). You do not need to unscrew anything on a Schrader valve. Just ensure the valve cap is off. Attach your standard Schrader chuck directly to the valve stem. Push it on firmly until you hear the air start to flow. The chuck has a internal pin that depresses the valve core. You should feel it click or engage.
Inflation and the “Pfft” Test
Use the same burst technique: 2-3 second squeezes, check gauge, repeat. Because Schrader valves seal automatically when the pin is not depressed, you can actually remove the chuck to check pressure without losing much air (a tiny bit will escape). However, it’s more efficient to keep it attached and just glance at your gauge. A pro tip: as you get very close to your target, you can do “micro-bursts” by barely squeezing the trigger for half a second.
Final Seal and Common Pitfalls
When you hit your target, release the trigger and pull the chuck straight off with a firm, quick motion. Do not twist it. A twisting motion can damage the valve stem seal. You will hear a definitive “pfft” as the valve core snaps shut. That’s your confirmation of a good seal. If you hear a slow leak after removal, the valve core might be faulty or dirty. The most common mistake with Schrader valves is not pushing the chuck on far enough, leading to a constant high-pressure leak past the pin. If you hear a squealing leak, push harder.
Safety First: Critical Precautions and Best Practices
The consequences of compressor misuse range from a ruined tire to a serious injury. Here is your non-negotiable safety checklist.
Never Skip the Regulator
I said it before, I’ll say it again. The compressor tank pressure can be 150 PSI or more. Your tire’s max might be 60 PSI. Without a regulator, you are connecting a firehose to a balloon. The second you open the valve, the tire will explode. Always, always, always use a regulator. Check that it is functioning correctly before each use by turning the adjustment knob and listening for air flow change at the hose end.
The Moisture Problem and the Trap
Compressors suck in ambient air, which contains water vapor. When that air is compressed, the water vapor condenses into liquid water. This water collects in the tank and travels through your hose. Putting liquid water inside a tire tube is bad news. It can cause internal corrosion of the rim and valve stem, and in cold weather, it can freeze and create an imbalance. A simple in-line moisture trap (a clear plastic canister with a drain valve) catches this water. Empty it before each inflation session. It’s a cheap, 5-minute install that protects your expensive gear.
Eye and Ear Protection
While not as loud as a pneumatic nail gun, a compressor can still produce a significant dB level, especially in an enclosed space. Wear ear protection if using it for more than a minute. More importantly, always wear safety glasses. A tire bead failing during inflation or a faulty valve core can send a projectile of rubber and air your way. It’s rare, but the consequence is severe. Don’t risk your eyesight.
Check Your Equipment
Before attaching to a tire, briefly open the regulator (with the chuck pointed away from you and anyone else) to ensure air flows and you can hear/see it. Check the hose for cracks. Inspect your valve adapters for stripped threads. A compromised adapter can fail under pressure. Also, always check the tire and rim for damage before inflating. A cut in the tire casing or a bent rim can cause a blowout even at normal pressure.
Temperature and Pressure
Tire pressure is a function of temperature. A tire inflated to 90 PSI in a 70°F garage will read 95+ PSI if inflated on a hot asphalt road in 90°F sun. For precise tuning (like for a time trial), inflate tires in the same temperature conditions they will be used in. Also, never inflate a tire that is hot from recent use. The air inside is already expanded; adding more cold air will create an inaccurate reading and potential overinflation once it cools.
Troubleshooting: Why Won’t My Tire Inflate or Hold Air?
Even with the right steps, issues can arise. Here’s how to diagnose them.
The “Air Won’t Go In” Problem
If you attach the chuck and squeeze the trigger but the gauge doesn’t move and you don’t hear air entering the tire, you have a seal failure. First, check your chuck connection. For Presta, is the adapter screwed on tightly? Is the chuck pressed fully onto the adapter? For Schrader, push the chuck on harder until you feel it engage the valve pin. Second, check the valve itself. Is the Presta valve lock nut fully unscrewed? Is the valve stem broken or dirty? Try pressing the Presta valve core manually with your finger—air should escape. If not, the core is stuck. Third, check for a blockage in the adapter or hose. Detach everything and blow air through it from the compressor end.
The “Air Leaks Out Immediately” Problem
This is usually a bad seal at the chuck. You’ll hear a constant high-pressure hiss. Re-seat the connection as described above. If the leak persists after you remove the chuck, the problem is the tire valve. Remove the chuck and listen at the valve stem. If you hear a steady leak, the valve core is faulty or dirty. You can try tightening the Presta lock nut or, for Schrader, using a valve core tool to tighten the core. Often, the valve stem itself is damaged (bent, cracked) and needs replacement.
The “Pressure Drops Like a Stone” Problem
If the tire holds pressure for a minute but then drops 10+ PSI quickly, you have a slow leak. This could be a puncture in the tire/tube, a faulty valve core, or a poor bead seal (especially with tubeless). The diagnostic is to remove the wheel, inflate it to your target pressure, and submerge it in a bucket of water. Look for a steady stream of bubbles. The source of the bubbles is your leak. For tubeless, spin the wheel while submerged to find the leak point as the sealant may temporarily plug a small hole.
Beyond Tires: Other Bike Inflations with a Compressor
Your compressor’s utility doesn’t end at tires. It’s a versatile tool for the whole bike.
Tubeless Tire Seating
This is the compressor’s superpower. With tubeless tires, you need a massive volume of air at high pressure to force the tire bead over the rim’s sealing ridge. A hand pump cannot do this. The process: add a generous amount of sealant to the tire, mount the tire on the rim as best you can (it will be loose), shake the sealant around, then connect your compressor (with regulator set to your target PSI or slightly higher). Blast the tire with a 5-10 second continuous burst of air. The high volume will often pop the bead into place with an audible “pop.” Immediately check for sealant leakage around the bead. If it holds, spin the wheel and shake it to distribute sealant, then top off to final pressure.
Suspension Forks and Shocks
Modern air-sprung suspension forks and rear shocks require precise air pressure. Your bike’s manual will specify a starting PSI based on rider weight. Use your compressor with a regulator and a shock pump-style adapter (which has a very accurate high-pressure gauge, often up to 300 PSI). The burst technique is even more critical here, as these systems have tiny air chambers. Add air in 1-second bursts, checking the dedicated shock gauge after each. It’s easy to overshoot by 20 PSI in a second with a compressor.
Other Accessories
Inflate your suspension seatpost. Top off your air-sprung saddle. Inflate your bike-mounted air springs or cargo rack supports. Any component on your bike that uses an air valve can be serviced with your compressor, following the same safety principles of using a regulator and checking pressure frequently.
Conclusion: The Compressor as a Precision Tool
Using an air compressor for bike tires fundamentally changes the inflation process from a physical chore to a precise, technical task. It empowers you with speed and control, but that control must be respected. The core philosophy is simple: tame the power with a regulator, verify with a gauge, and proceed with deliberate, measured bursts. By understanding your valves, setting up your station correctly with a moisture trap, and practicing the burst-and-check method, you eliminate the guesswork and risk. You’ll never struggle to hit 110 PSI on a carbon clincher again. You’ll confidently seat tubeless tires in your garage. You’ll have perfectly, consistently inflated tires for every ride, which translates directly to better rolling resistance, grip, and safety. Invest a little time in mastering this skill, and your compressor will pay for itself in saved time, frustration, and potentially avoided mechanical issues. It’s not just a faster way to pump up a tire; it’s the professional’s method for achieving optimal performance from their bike.
Frequently Asked Questions
Can I use any air compressor for bike tires?
Yes, but with a major caveat. You must use an external regulator to control the output pressure. The compressor’s tank pressure is far too high for bike tires. A small, portable pancake compressor with a built-in regulator is the most common and suitable choice for home use.
What’s the difference between Presta and Schrader valve adapters?
A Schrader valve is wide and has a spring-loaded pin; it uses a simple, universal chuck that depresses the pin. A Presta valve is narrow and has a lock nut; it requires a specific adapter that screws onto the valve stem, converting it to a Schrader-like profile for the standard chuck to seal against. Using the wrong adapter will cause a massive air leak.
Should I set my regulator to the exact PSI on my tire?
Set it slightly higher, about 3-5 PSI above your target. Since you’re adding air in short bursts, you’ll have a buffer to work with. If you set it exactly to 90 PSI, the air will stop flowing once the tire hits 90, making it hard to fine-tune. Setting it to 95 allows you to add small bursts to land precisely on 90.
Are air compressors too loud for home/garage use?
Most small pancake compressors are moderately loud, similar to a loud conversation or a garbage disposal. They are not typically prohibited in residential areas like large shop compressors. For frequent use, consider placing it in a garage or shed and using an extension hose. Ear protection is recommended for longer sessions.
Will water from the compressor damage my bike tires?
Yes, over time. Compressed air contains water vapor that condenses. If this liquid water enters your tire and tube, it can cause internal corrosion of the rim and valve stem, and potentially freeze in cold conditions. Always use an in-line moisture trap and drain it before each use to remove this water from the air stream.
Can I use my bike tire compressor for car tires or other things?
Absolutely. Your compressor and regulator setup is perfect for car tires (Schrader valves), basketballs, soccer balls, and inflatable pool toys. Just remember to adjust the regulator to the appropriate pressure for the item (e.g., 35 PSI for a car tire, 8 PSI for a basketball). Always use the correct chuck for the valve type.