
How to Make a Bicycle into an Exercise Bike
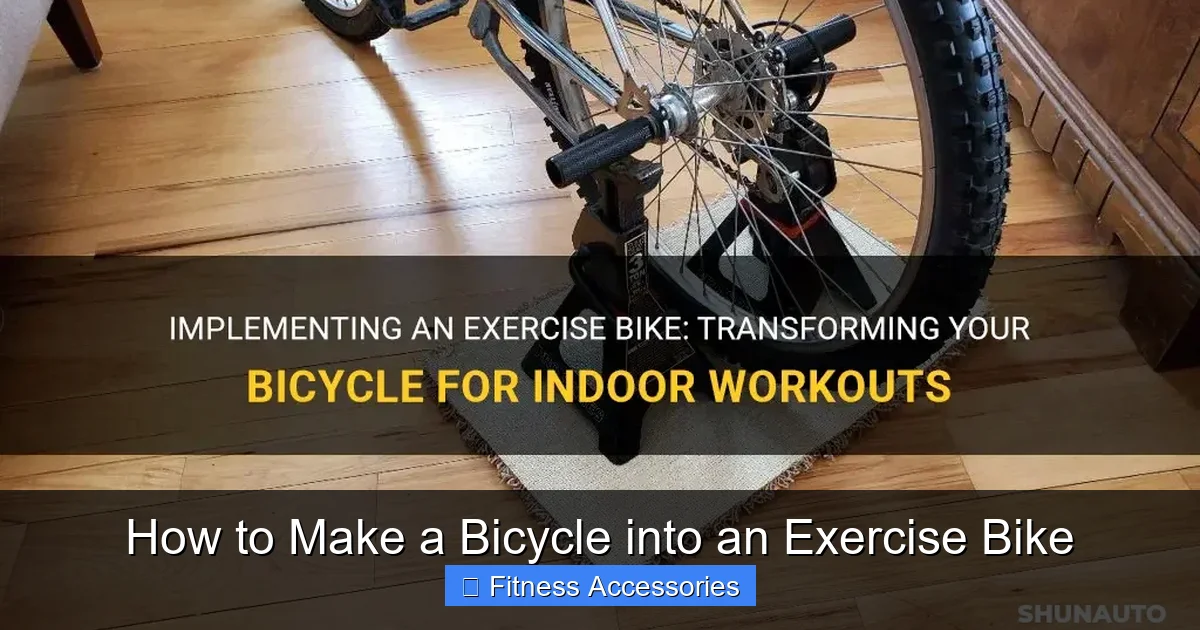
Turning your regular bicycle into a stationary exercise bike is a simple, cost-effective project that revives an old bike and saves money. By using a bicycle trainer or a custom stand, you can create a stable, functional indoor cycling setup. This guide covers everything from selecting the right equipment and ensuring a secure fit to enhancing your workout with technology and maintaining your converted bike for long-term use.
Have you got a bicycle gathering dust in the garage? Maybe it’s a trusty old friend you’ve outgrown or a mountain bike that’s seen better trails. Instead of letting it sit there, what if I told you that with a little know-how and the right gear, you could transform it into a powerful, space-saving exercise bike? It’s one of the smartest and most budget-friendly fitness projects you can undertake. You get to keep your perfect saddle, your favorite shifters, and the exact feel of your bike, all while enjoying a killer indoor workout when the weather turns or you just want to watch TV and pedal. This isn’t about complex mechanics; it’s about smart adaptation. Let’s walk through exactly how to make a bicycle into an exercise bike, from the first consideration to the final pedal stroke.
Key Takeaways
- Use a Bicycle Trainer: The most common method involves a wheel-on or direct-drive trainer that holds your bike’s rear wheel, providing resistance.
- Prioritize Compatibility: Your bike’s axle type (quick release vs. thru-axle), wheel size, and frame geometry must match the trainer’s specifications for a safe fit.
- Stability is Safety: Always use a front wheel riser block and ensure the trainer is on a level, non-slip surface to prevent tipping during intense pedaling.
- Enhance with Tech: Add cadence sensors, heart rate monitors, or Bluetooth connectivity to track metrics and use apps like Zwift or TrainerRoad for a guided experience.
- Maintenance is Key: Regularly check the trainer’s resistance unit, your bike’s tire wear (for wheel-on trainers), and all mounting bolts to ensure ongoing safety and performance.
📑 Table of Contents
Understanding Your Conversion Options: Trainer vs. Stand
Before you buy a single thing, you need to understand the two main paths for this conversion. The goal is to make your bike stationary and provide resistance, but the methods differ significantly in cost, complexity, and the riding experience they offer. Choosing the right one for your goals and your bike is the most critical first step.
The Bicycle Trainer: The Classic Solution
Think of a bicycle trainer as a simple frame that clamps onto your bike’s rear axle and holds the wheel up off the ground. A resistance unit—usually a fan, magnetic flywheel, or fluid-filled unit—presses against the rear tire, creating drag as you pedal. They are the most popular entry point because they are relatively affordable and work with a wide range of standard bikes.
- Wheel-On Trainers: Your bike’s own rear wheel sits in the trainer’s roller. They are the most common and budget-friendly. The main drawback is tire wear; you’ll need a dedicated trainer tire to avoid ruining your good road or mountain bike tires.
- Direct-Drive Trainers: These replace your rear wheel entirely. You remove your wheel and bolt the trainer’s own cassette-equipped axle into your bike’s dropouts. They offer incredibly realistic, quiet, and smooth resistance with zero tire wear but come at a significantly higher price point.
Tip: If you’re on a tight budget and have a standard quick-release bike, a quality wheel-on magnetic or fluid trainer is a fantastic starting point.
The DIY Roller or Custom Stand: The Minimalist Approach
For the truly frugal or technically inclined, you can create a standalone setup. This typically involves placing your bike on a pair of stable rollers (which require balance skill) or, more commonly, building or buying a simple “bike stand” that supports the frame. These stands don’t provide resistance; they just hold the bike steady. You would then combine this with a separate “smart” resistance device like a Wahoo KICKR SNAP (which is essentially a wheel-on trainer unit without the frame) or a Jarvis or Kinetic roller system. This is a more modular but often more expensive route than buying an all-in-one trainer.
Example: A cyclist with a unique vintage bike with non-standard axle spacing might find it easier to use a universal frame stand that supports the bottom bracket and front fork, then pair it with a non-contact resistance unit.
Choosing the Right Trainer for Your Bike and Goals
This is where you roll up your sleeves and get specific. Not all trainers work with all bikes. Making the wrong choice here leads to frustration, unsafe riding conditions, or a damaged bicycle. Let’s break down the compatibility checklist.
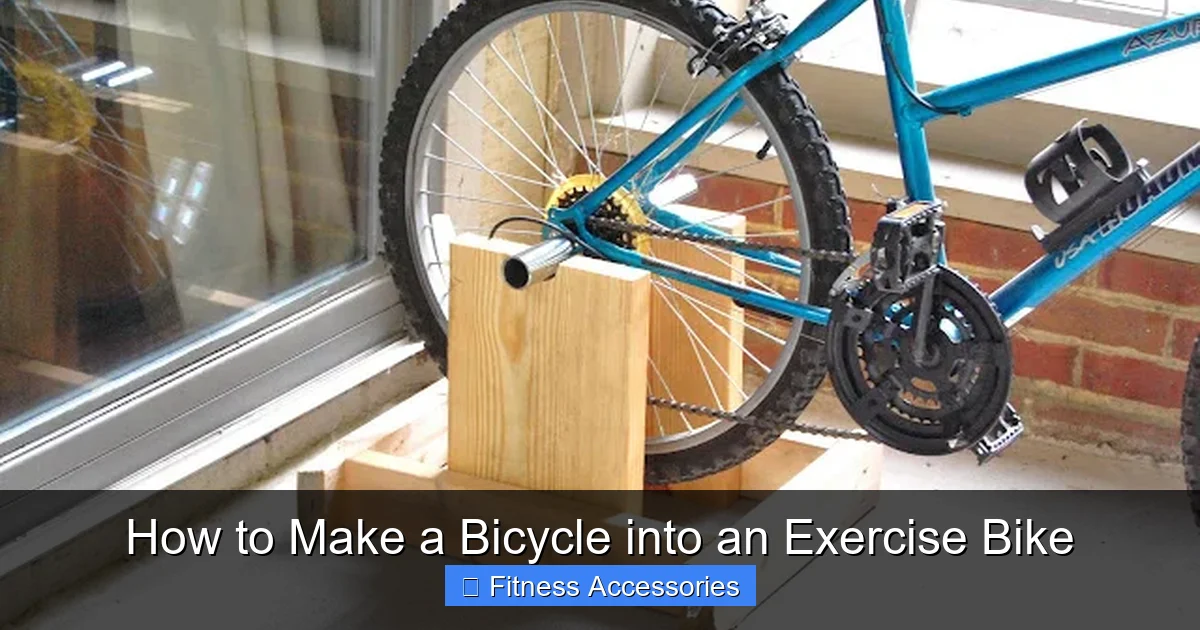
Visual guide about How to Make a Bicycle into an Exercise Bike
Image source: 2.bp.blogspot.com
The Crucial Axle and Dropout Check
This is the #1 compatibility hurdle. You must identify your bike’s rear axle system.
- Quick Release (QR): The traditional system with a lever. Most standard road and older mountain bikes use this. Most entry-level and mid-range trainers are designed for QR axles.
- Thru-Axle: A solid, threaded axle that slides through the wheel hub. Common on modern mountain bikes, gravel bikes, and some cyclocross bikes. You will need a trainer specifically designed for your thru-axle size (e.g., 12x142mm, 12x148mm). Many modern trainers offer adapter kits, but you must buy the correct one.
Pro Tip: Measure your axle width (the distance between your rear dropouts) and note the axle type before you even browse trainers. The manufacturer’s spec sheet is your bible here.
Wheel Size and Tire Clearance
Your wheel size matters. Most trainers accommodate 26″, 27.5″, 29″, and 700c wheels, but always verify. For wheel-on trainers, check the maximum tire width they can accept. A plus-sized mountain bike tire (e.g., 2.8″) may not fit in a trainer designed for skinny road tires. You might need to swap to a narrower tire for trainer use.
Matching Resistance to Your Motivation
How do you want to train? The resistance type dictates the feel and noise level.
- Wind/Fan Trainers: Progressive resistance (harder you go, harder it gets). Very realistic road feel but can be loud. Great for raw power intervals.
- Magnetic Trainers: Adjustable resistance via a lever or shifter. Quiet and consistent, but the feel can be slightly “steppy.”
- Fluid Trainers: The popular sweet spot. Smooth, quiet, and progressive resistance. They offer a great road-like feel without the noise of a fan.
- Smart/Electromagnetic Trainers: The premium category (often direct-drive). Resistance is controlled electronically by apps for simulated courses, ERG mode workouts, and racing in virtual worlds. They require a power source and a compatible device.
Ask yourself: Are you just spinning for cardio, or do you want structured training plans and virtual rides? Your answer points to the right resistance type.
The Step-by-Step Conversion Process
You’ve got your trainer. Now, let’s get that bike mounted and ready to ride. This process is straightforward but must be done with care and precision.

Visual guide about How to Make a Bicycle into an Exercise Bike
Image source: bikepassion.net
Pre-Mounting Preparation: Clean and Inspect
Before anything else, give your bike a quick once-over. Wipe down the chain, cassette, and derailleur. This is your chance to inspect for wear. More importantly, check your rear axle and dropouts for any damage or debris. A clean, undamaged mounting point is non-negotiable for safety.
Mounting the Bike on a Wheel-On Trainer
- Position the Trainer: Place it on a solid, level floor. A rubber mat underneath is highly recommended to prevent slipping and protect your floor.
- Attach the Trainer Cup: Most trainers have a “cup” or cradle that the rear axle sits in. Loosen the adjustment knob or quick release on this cup.
- Lift and Insert: Carefully lift the rear of the bike and slide the axle into the trainer’s cup. Ensure it is seated fully and straight.
- Tighten Securely: Tighten the trainer’s clamping mechanism firmly. You should not be able to wiggle the axle side-to-side. For QR axles, the trainer’s lever should close with firm resistance, similar to a wheel in a fork.
- Lower the Front Wheel: This is critical. When the rear wheel is lifted, the front wheel will also lift slightly, making the bike unstable. Use a front wheel riser block (often included with the trainer) under the front tire. Adjust the height until the bike is perfectly level. A level bike means your weight is distributed correctly and the bike won’t nose-dive.
- Final Stability Check: Give the bike a firm side-to-side shake. It should feel solidly anchored. Then, spin the pedals by hand to ensure the rear wheel is centered in the trainer roller and there’s no rub against the frame or fenders.
Mounting a Direct-Drive Trainer
- Remove Your Rear Wheel: Shift to the smallest cog, release the brake (if rim brake), and drop the wheel out. Keep it safe; you’ll need it again for outdoor riding.
- Install the Trainer’s Cassette: If the trainer didn’t come with a cassette pre-installed, you’ll need to install one that matches your bike’s gearing. You’ll need a cassette lockring tool and a chain whip.
- Insert the Trainer Axle: Slide the trainer’s axle (with cassette) into your bike’s rear dropouts. The fit should be snug.
- Tighten to Spec: Use the included thru-axle or QR skewer to secure the bike. Tighten it firmly according to the manufacturer’s torque specification if provided. This connection must be incredibly secure as it bears all the pedaling force.
- Level the Bike: You will still need a front wheel riser block, as the rear triangle is now higher without a wheel.
Safety Emphasis: After your first few minutes of riding, stop and re-check all clamping bolts and the axle security. Things can settle. Get in the habit of a quick pre-ride check every time.
Enhancing the Experience: From Basic to Pro
Your bike is now stationary. Congratulations! But the journey doesn’t end there. To make this a truly effective and enjoyable part of your fitness routine, a few upgrades and additions go a long way.
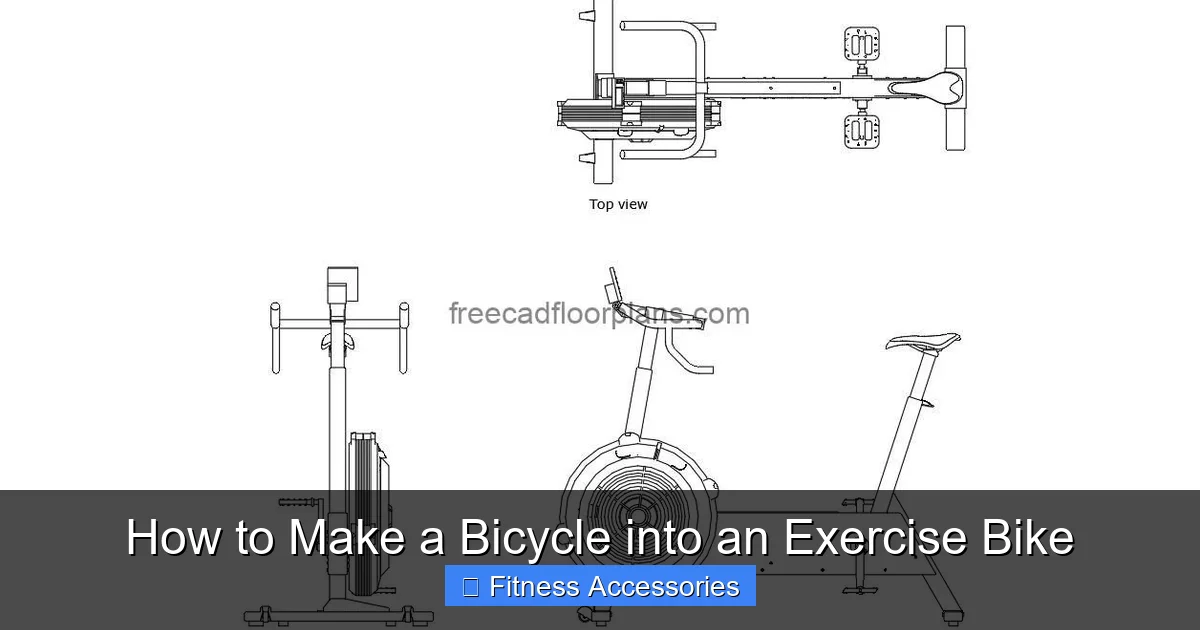
Visual guide about How to Make a Bicycle into an Exercise Bike
Image source: freecadfloorplans.com
The Essential: A Dedicated Trainer Tire
If you’re using a wheel-on trainer, this is not optional. Your regular road or mountain tire will overheat, degrade rapidly, and leave black rubber streaks on your floor and the trainer roller. A cheap, smooth, high-pressure trainer-specific tire (like the Continental Hometrainer or Vittoria Zaffiro) will last for years of indoor use and provide a much better, quieter experience.
Adding Data and Connectivity
This is where indoor cycling gets exciting. You can add sensors to your existing bike to turn it into a “smart” bike.
- Cadence Sensor: A simple magnet and sensor on the crank arm that measures pedal strokes per minute. This is the single most useful metric for indoor training.
- Speed/Cadence Sensor: Combines both functions. For wheel-on trainers, speed is calculated based on your wheel size and cadence.
- Power Meter: The gold standard. Crank-based (like Shimano’s Dura-Ace or SRM) or pedal-based (like Garmin Vector or Favero Assioma) systems measure actual power output in watts. This allows for precise, measurable training.
- Heart Rate Monitor: A chest strap or optical armband to track effort and stay in your target zones.
These sensors pair with apps like Zwift, TrainerRoad, RGT Cycling, or Kinomap. These apps provide structured workouts, virtual routes, and multiplayer racing, turning a boring pedal session into an engaging game.
Comfort and Ergonomics Upgrades
Indoor riding is static. You sweat more and don’t get the cooling breeze of outdoor riding. Invest in:
- A Good Fan: A powerful, oscillating floor fan aimed at your torso is arguably the most important comfort upgrade.
- A Mat: A thick, rubber exercise mat absorbs vibration, reduces noise for downstairs neighbors, and protects your floor and trainer from sweat.
- Handlebar Extensions/Aerobars: These give you multiple hand positions, which is crucial for comfort on long indoor rides.
- A Sweat Cover: A frame-mounted cover or a simple towel over the top tube protects your bike’s finish and components from corrosive sweat.
Maintenance and Long-Term Care
Your converted exercise bike is a fusion of two machines. Keeping it running smoothly requires a hybrid maintenance routine.
Trainer-Specific Maintenance
Your trainer needs love too. For wheel-on trainers:
- Clean the roller and resistance unit periodically with a dry cloth. Never use solvents.
- Check the roller for wear. It’s a consumable part and is often replaceable.
- For fluid trainers, store them upright and never overfill. Fluid can leak if stored on its side.
- Tighten all mounting bolts and adjustment knobs monthly.
For direct-drive trainers, the main task is keeping the unit clean and checking the firmware for updates if it’s a smart trainer.
Bike Maintenance in a Stationary World
Your bike is now in a dusty, sweaty environment.
- Chain Care: Wipe and lube your chain much more frequently than you would outdoors. Indoor conditions are dirty, and there’s no wind to blow debris away. Use a wet lube sparingly, as it can attract more dust. A dry lube is often a better choice for indoor use.
- Tire Pressure: For wheel-on trainers, inflate your trainer tire to the high end of its recommended pressure (often 100-120 PSI) to minimize deformation and wear.
- Drivetrain Cleaning: Sweat and dust will accumulate on your chainring, cassette, and derailleur. Include these in your regular wipe-downs.
Remember: The rear wheel on a wheel-on trainer is under constant, heavy load from the roller. This can slightly “true” a wheel over very long periods. Periodically check your wheel for lateral wobble.
Conclusion: Your Ride, Your Rules
Making a bicycle into an exercise bike is more than a hack; it’s a declaration of resourcefulness. You’re not just buying a piece of fitness equipment; you’re unlocking the potential of a machine you already own and love. You preserve the exact fit and feel of your saddle, your cleat position, and your shifting dynamics. Whether you choose a simple, quiet fluid trainer for evening TV rides or a high-tech direct-drive smart trainer to battle online rivals, the result is the same: a versatile, cost-effective home gym cornerstone that turns rainy days and busy schedules into opportunities to train. Start by honestly assessing your bike’s compatibility and your training goals. Buy the best trainer you can within your budget, prioritize safety with a level setup and a riser block, and then enhance the experience with a fan and some sensors. In no time, you’ll be pedaling strong, indoors, on a bike that’s uniquely yours.
Frequently Asked Questions
Can I use any bicycle with a trainer?
Most standard bikes with quick-release axles work with common trainers. However, modern thru-axle systems (common on MTB and gravel bikes) require a compatible trainer or adapter. Always verify your bike’s axle type and wheel size against the trainer’s specifications before purchasing.
Is a wheel-on or direct-drive trainer better?
It depends on your budget and needs. Wheel-on trainers are affordable and simple but cause tire wear and can be noisier. Direct-drive trainers are quieter, more realistic, require no tire wear, and offer better power accuracy, but they cost significantly more and require you to remove your rear wheel.
Do I need special tools to install my bike on a trainer?
For basic wheel-on trainers, you typically need no tools beyond what’s included (like a wrench for some models). For direct-drive trainers, you may need basic bike tools like Allen keys. Installing a cassette on a direct-drive trainer requires a cassette lockring tool and chain whip, which you may need to purchase separately.
How loud are bicycle trainers?
Noise levels vary by type. Wind/fan trainers are the loudest. Magnetic trainers are moderately quiet. Fluid and direct-drive trainers are the quietest, often making more sound from your chain than the resistance unit itself. Using a thick mat can help dampen vibration and noise.
Will using a trainer damage my bike?
Not if used correctly. The main wear item on a wheel-on trainer is your rear tire, which is why a dedicated trainer tire is essential. Ensure the bike is securely clamped and level to prevent frame stress. Keep the drivetrain clean and lubricated, as sweat and dust accumulate quickly during indoor sessions.
Is it worth converting my bike instead of buying a dedicated exercise bike?
For most cycling enthusiasts, absolutely. You get a superior, personalized fit with your own bike, save significant money compared to a high-quality commercial exercise bike, and can easily switch back to outdoor riding. The main drawback is the setup/storage logistics compared to a all-in-one standalone exercise bike.