Inflating your mountain bike tires with an air compressor is a game-changer for speed and convenience, but it requires the right technique to avoid damage. This guide walks you through everything from selecting the correct compressor and attachments to understanding your tire’s optimal PSI for different terrain. You’ll learn the precise step-by-step process to achieve a perfect, safe inflation every time, plus crucial maintenance tips to keep your setup reliable. Mastering this skill ensures your tires are always trail-ready, maximizing grip, control, and ride quality.
Key Takeaways
- Use the Right Adapter: A Presta-to-Schrader adapter is almost always required to connect a standard air compressor hose to a mountain bike’s Presta valve.
- Know Your PSI: Always check your tire’s sidewall for the manufacturer’s recommended pressure range (usually in PSI and BAR) and adjust for your weight and terrain.
- Inflate in Short Bursts: Use the compressor’s trigger in 1-2 second bursts, checking pressure frequently with a separate gauge to prevent catastrophic over-inflation.
- Check for Bead Seat: Before full inflation, ensure the tire bead is evenly seated on the rim all around to prevent a dangerous blow-off.
- Compressor Quality Matters: A small, portable compressor with a built-in pressure gauge and auto-shutoff is ideal; avoid high-volume shop compressors without precise control.
- Temperature Affects Pressure: Tire pressure increases as the tire heats up during riding; inflate to the lower end of the range on a hot day.
[FEATURED_IMAGE_PLACEHOLDER]
📑 Table of Contents
- Why Use an Air Compressor for Your Mountain Bike Tires?
- Understanding Your Equipment: Compressors, Valves, and Adapters
- Step-by-Step: How to Inflate Your MTB Tires Safely and Correctly
- Finding Your Perfect Tire Pressure: It’s Not One-Size-Fits-All
- Common Mistakes and How to Avoid Them
- Maintaining Your Setup: Care for Your Compressor and Gear
- Conclusion: Embrace the Speed and Precision
Why Use an Air Compressor for Your Mountain Bike Tires?
Let’s be honest: the humble floor pump has served us well. But there’s a new sheriff in town for getting your mountain bike tires trail-ready, and it’s faster, more consistent, and less of a workout. Using an air compressor might sound like overkill for a bike, but it’s quickly becoming the preferred method for serious riders and bike shop mechanics alike. The primary advantage is sheer speed and efficiency. What can take 50-100 vigorous pumps with a floor pump? It often takes 5-10 seconds with a compressor. This is a massive time-saver when you’re prepping multiple bikes or need to make quick pressure adjustments before a group ride.
Beyond speed, an air compressor delivers unmatched consistency. A good floor pump’s output can vary based on your pumping speed and strength, leading to inconsistent inflation. A compressor, especially one with a regulator or precise trigger control, delivers a steady, predictable volume of air. This consistency is key for dialing in that perfect pressure for your specific trail conditions. Furthermore, it eliminates the physical strain, which is a blessing after a long ride or for riders with shoulder or wrist issues. While there’s a learning curve and an initial equipment cost, the benefits in time, precision, and convenience make it a powerful tool in any mountain biker’s arsenal.
Understanding Your Equipment: Compressors, Valves, and Adapters
Before you even plug in a compressor, you need to understand the three core components of this system: the air compressor itself, your bike’s tire valve, and the adapter that connects them. Getting any one of these wrong can lead to frustration, a slow leak, or in the worst case, a damaged valve or tire. Let’s break down each piece.
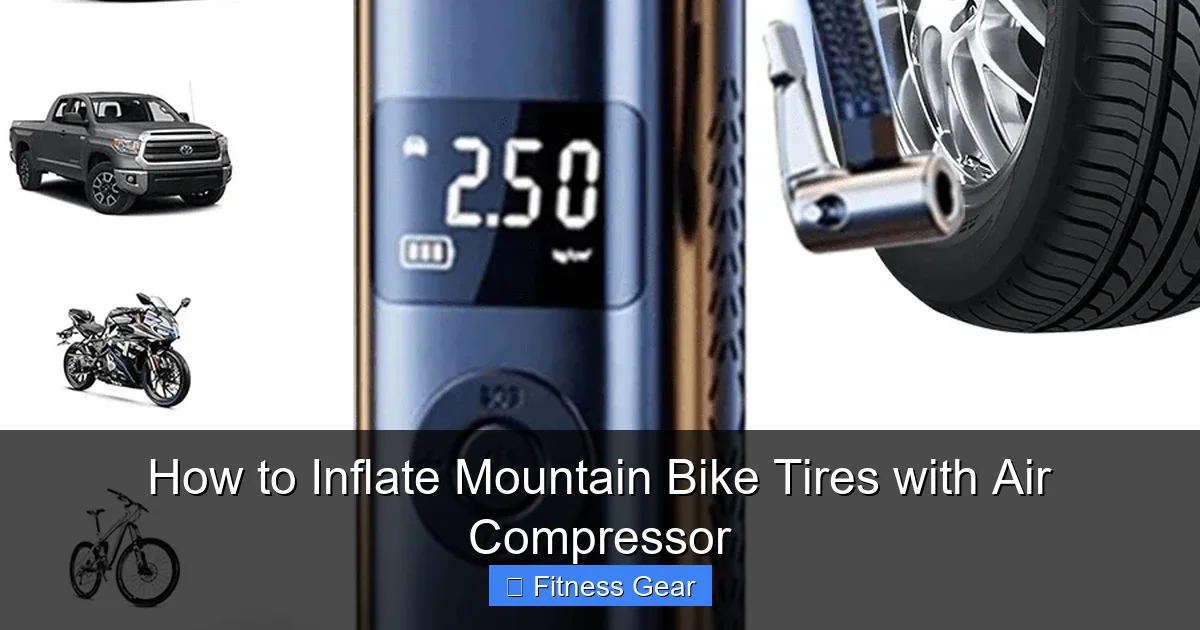
Visual guide about How to Inflate Mountain Bike Tires with Air Compressor
Image source: img.ltwebstatic.com
The Air Compressor: Choosing Your Weapon
Not all air compressors are created equal, and you don’t need a massive 30-gallon shop compressor for your bike. For mountain bike tires, you want a portable, high-pressure unit. Look for these key features:
- High Max Pressure: Mountain bike tires typically require 20-40 PSI, but some lightweight setups or tubeless systems can go higher. A compressor with a max output of at least 60-120 PSI is ideal and gives you plenty of headroom.
- Built-in Pressure Gauge: This is non-negotiable. You must be able to see the pressure as you fill. Some compressors have a gauge on the body, others on the hose. A digital readout is nice, but an analog gauge is perfectly reliable.
- Regulator or Auto-Shutoff: A regulator allows you to set a maximum pressure, and the compressor will stop filling once it hits that mark. An auto-shutoff function on a digital gauge does the same. This is the single best safety feature to prevent over-inflation.
- Portability & Power Source: For trailside use, a 12V DC compressor that plugs into your car’s cigarette lighter is perfect. For home use, a small AC-powered “pancake” or “twin tank” compressor is quiet and efficient. Some even run on rechargeable batteries.
Examples of popular models include the Vibry Lite, Topeak Hurricane, or smaller units from brands like Viair or Porter-Cable. Avoid large, high-CFM (cubic feet per minute) shop compressors; their volume is too high and they lack the fine control needed for a bicycle tire, making over-inflation a real risk.
Valve Types: Schrader vs. Presta
This is the critical compatibility issue. Your mountain bike almost certainly has Presta valves (the skinny, long valve with a small knob at the top that you unscrew to open). Some older or very entry-level bikes might have Schrader valves (the same short, thick valve found on car tires). Identify yours first.
- Presta Valve: Recognizable by its narrow diameter (about 6mm) and the tiny knurled nut at the tip. To open, unscrew this nut counter-clockwise a few turns and press it down to let air escape. It’s lighter and seals better on high-pressure rims.
- Schrader Valve: Recognizable by its wider diameter (about 8mm) and a central pin you depress with a tool. It’s more robust and common on lower-pressure tires or older bikes.
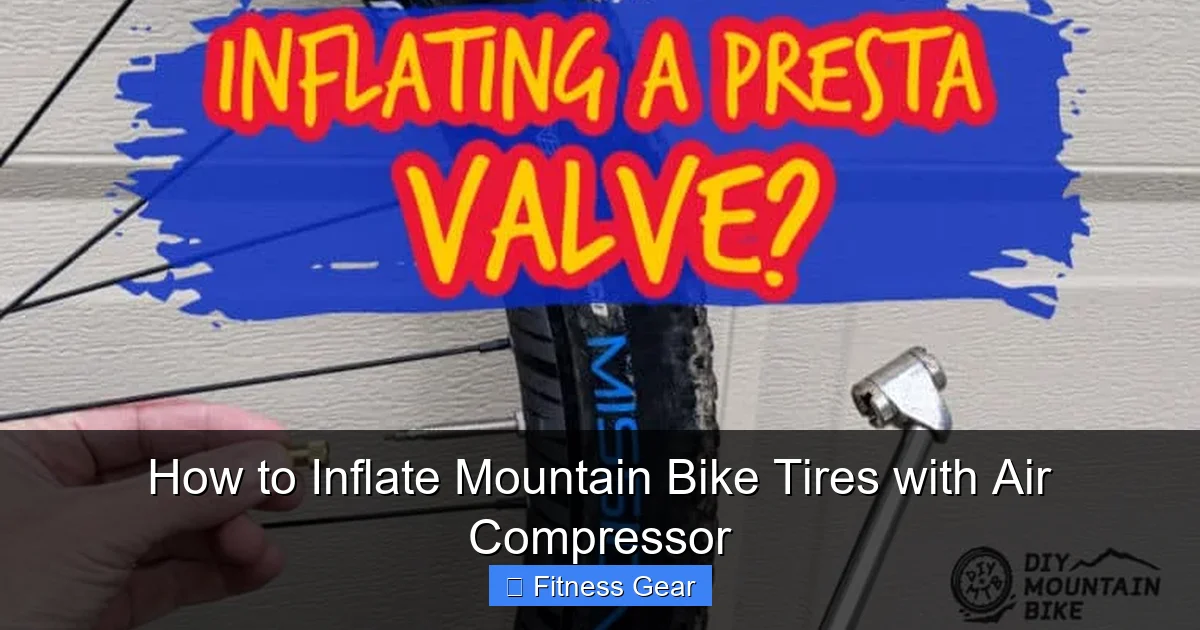
Why This Matters: Standard air compressor hoses and chucks (the fitting at the end) are designed for Schrader valves. They will not seal onto a Presta valve. Attempting to force it will damage the delicate Presta valve stem. Therefore, if you have Presta valves—which you almost certainly do—you need an adapter.
The Essential Adapter: Bridging the Gap
The adapter is a simple, inexpensive piece of metal or plastic that screws onto your Presta valve stem, converting it to a Schrader-compatible thread. This allows the standard compressor chuck to seal perfectly. You can find these at any bike shop, online, or sometimes even included with compressor kits. They are often sold in packs of 2-4. Ensure you screw it on finger-tight before attaching the compressor chuck. The adapter itself does not regulate pressure; it’s purely a mechanical coupler.
Step-by-Step: How to Inflate Your MTB Tires Safely and Correctly
Now that you have your compressor, adapter (if needed), and a separate pressure gauge (highly recommended for double-checking), let’s walk through the process. Patience and attention are your best friends here. Rushing leads to mistakes.
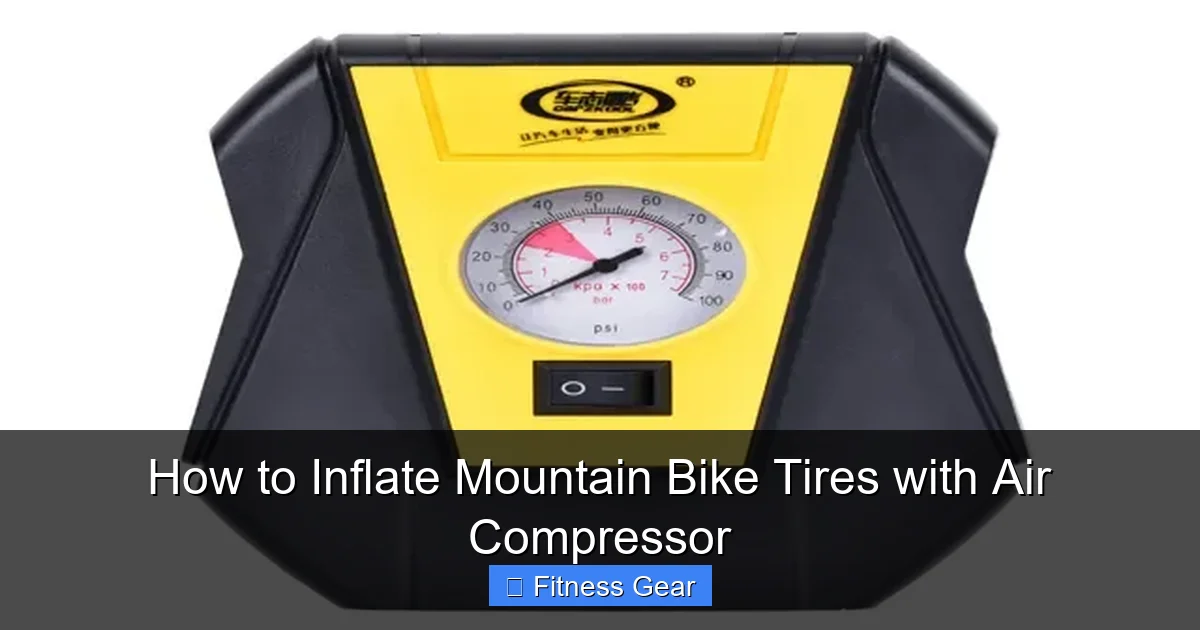
Visual guide about How to Inflate Mountain Bike Tires with Air Compressor
Image source: ourhometools.com
Preparation: The Foundation of a Good Inflation
First, remove the wheel from the bike if possible. This isn’t strictly necessary, but it makes it easier to spin the wheel and check the tire bead seating. If the wheel stays on the bike, ensure the brake calipers are open (for disc brakes this is irrelevant, but for rim brakes, open them to avoid the tire rubbing). Next, visually inspect the tire and rim. Look for cuts, embedded debris, or damage to the rim tape. Check that the tire bead (the edge of the tire) is sitting evenly in the rim channel all the way around. An uneven bead is a major cause of blow-offs during inflation. If it’s uneven, gently push it into place with your hands.
Pro Tip: If you’re inflating a tubeless setup, the process is the same, but you might need a high-volume initial burst to seat the bead. Some compressors have a “burst” mode for this. For tubeless, it’s often helpful to shake the wheel and listen for the bead popping into place.
The Inflation Process: Slow and Steady Wins the Race
This is the main event. Follow these steps meticulously:
- Attach the Adapter (if using Presta): Screw the adapter onto your Presta valve stem firmly by hand.
- Connect the Compressor Chuck: Press the compressor’s chuck onto the adapter or Schrader valve. You should hear a hiss of air and feel it lock in place. Most chucks have a locking collar or a push-to-connect mechanism. Ensure it’s seated fully.
- Set Your Target Pressure: Know your target PSI before you start. Check your tire’s sidewall for the max and min range. A good starting point for a 2.2-2.4″ trail tire is 22-26 PSI for a 160-180 lb rider on mixed terrain. Adjust down for more grip in mud, up for more speed on hardpack.
- Begin Inflation in Bursts: Do not hold the trigger down continuously. Squeeze the trigger or press the button for 1-2 seconds, then release. Listen to the tire. Watch your pressure gauge on the compressor.
- Check Pressure Frequently: After every 2-3 bursts, stop and check the pressure with your separate, reliable gauge. Disconnect the compressor chuck to get an accurate reading. This is your safety check.
- Stop at Target Pressure: As you approach your target (e.g., you’re at 24 PSI and want 25), switch to single, half-second bursts. It’s easy to add 2-3 PSI in the time it takes to think.
- Final Check and Disconnect: Once at your target, give the tire a firm squeeze. It should feel firm but with a slight give. Re-check with your gauge. Then, depress the chuck’s release (if it has one) or pull it off firmly. You’ll hear a brief hiss of air—this is normal and shouldn’t significantly drop the pressure. Finally, screw the Presta valve’s knurled nut back down finger-tight.
Post-Inflation Checklist
Your tire is now pressurized. Before you call it done, do a final inspection. Spin the wheel and watch the tire bead from the side. It should be perfectly concentric with the rim, with no visible gaps or bulges. Give the valve stem a gentle wiggle—it should be snug. If you have tubeless, spin the wheel and listen for any slow leaks at the valve or bead. Finally, reinstall the wheel on the bike, engage the brakes, and give the tire a final squeeze with the bike on the ground to confirm pressure.
Finding Your Perfect Tire Pressure: It’s Not One-Size-Fits-All
This is where the art of mountain biking meets the science of physics. The pressure number on your tire’s sidewall is a maximum safety limit, not a recommendation. Your ideal pressure is a dynamic equation based on several factors. Using a compressor makes experimenting with pressure quick and easy, so you can find your personal “sweet spot.”
Visual guide about How to Inflate Mountain Bike Tires with Air Compressor
Image source: diymountainbike.com
The Core Factors Influencing Your PSI
Think of your tire as a suspension component. Too hard, and you get poor traction and a harsh ride. Too soft, and you risk rim strikes, pinch flats, and a squirmy, inefficient tire. Here’s what to consider:
- Rider Weight: This is the biggest variable. A lighter rider (sub-150 lbs) can often run 2-4 PSI lower than a heavier rider (200+ lbs) on the same tire. More weight compresses the tire more, so you need more air to support it and prevent the rim from bottoming out.
- Tire Volume & Width: A wider tire (2.4″+) at the same pressure as a narrower tire (2.0″) will feel softer because there’s more air volume. Wider tires can often be run at lower pressures for the same level of support and rim protection. A 2.6″ tire at 20 PSI might feel similar to a 2.2″ tire at 25 PSI.
- Terrain: This is your second biggest lever. Hardpack/Rock: Higher pressure (26-32 PSI) reduces rolling resistance and prevents rim damage. Loose Sand/Gravel: Lower pressure (18-24 PSI) increases the tire’s footprint for better flotation and grip. Mud/Rooty: Moderate pressure (22-28 PSI) balances grip with the need to clear debris. Technical, Rocky Descents: Slightly higher pressure (24-30 PSI) protects your rims from hard impacts.
- Tubeless vs. Tubed: Tubeless setups can be run at significantly lower pressures (often 2-5 PSI lower) without the risk of pinch flats (snakebite punctures). The sealant also helps with small punctures. This is the primary reason tubeless is now standard for mountain biking.
- Conditions: Air pressure changes with temperature. A tire inflated to 25 PSI at 60°F will read about 27 PSI at 90°F. Check pressure when the tire is cold (before riding). Also, high altitude can slightly affect readings, though it’s negligible for our purposes.
The Experimentation Process
Start with a conservative pressure in the middle of your tire’s range, adjusted for your weight (e.g., 24 PSI for a 170 lb rider on a 2.3″ tire). Go for a 30-minute ride on your typical terrain. Pay attention: How does it feel over small bumps? Do you feel any “squirm” in corners? Did you hear any rim taps on rocks? Did you get any flats? Adjust by 1-2 PSI up or down based on your notes and repeat. The goal is the lowest pressure you can run without the tire folding over in hard cornering (causing a loss of control) or the rim hitting the ground loudly. You’ll know you’re too low when the tire feels unstable and you get frequent rim strikes. You’ll know you’re too high when every small rock feels like a hammer blow and traction suffers on loose surfaces.
Common Mistakes and How to Avoid Them
Even with the best equipment, mistakes happen. The consequences of a mistake with an air compressor range from a slow leak to a violent tire blow-off that can damage your rim or, in rare cases, cause injury. Let’s cover the critical errors to avoid.
Over-Inflation: The #1 Danger
This is the most common and dangerous mistake. Mountain bike tires do not need car-tire pressures. Over-inflating makes for a harsh, slow, and poorly gripping ride. More importantly, it puts extreme stress on the tire bead and rim, especially during hard impacts. A sudden impact on an over-inflated tire can cause the tire to literally explode off the rim (“blow-off”). This is a loud, violent event that can damage the rim and send the tire flying. How to Avoid: Always use a separate, accurate pressure gauge to check. Never rely solely on the compressor’s built-in gauge, as they can be inaccurate. Inflate in short bursts and check constantly. Use a compressor with an auto-shutoff regulator if available.
Ignoring Bead Seat
If the tire bead is not sitting evenly in the rim’s hook before you start inflating, the pressure will force it into an uneven position. This can create a weak spot where the tire is not properly locked onto the rim. Under load, this can lead to a sudden, partial bead unseating—essentially a flat that happens while you’re riding. How to Avoid: Before connecting the compressor, run your fingers around the entire tire, feeling for any gaps between the tire and rim. Push the tire bead into the rim center channel all the way around if needed. You should see a consistent, small gap between the tire’s sidewall and the rim’s edge.
Using the Wrong Adapter or Forcing Connections
Trying to connect a Schrader chuck directly to a Presta valve will fail. Forcing it will break the valve stem at the base, rendering it useless. How to Avoid: Always have the correct Presta-to-Schrader adapter. Screw it on firmly by hand. It should be snug but not cross-threaded. When connecting the chuck, apply even pressure straight on. You should feel it click or lock. If it doesn’t seal immediately, release it and try again—don’t force it.
Neglecting the Valve Core
The tiny nut at the top of a Presta valve isn’t just decoration. If it’s loose, air can leak slowly around it. If it’s over-tightened, it can stress the valve core inside, which is a small, delicate part that can fail. How to Avoid: After inflation, snug the nut down finger-tight. You don’t need tools. It should be tight enough that it doesn’t unscrew itself from vibration, but not so tight that you’re straining it. If you have a slow leak after inflation, check this nut first.
Maintaining Your Setup: Care for Your Compressor and Gear
Your air compressor is a tool. Like any tool, it needs basic maintenance to perform reliably for years to come. A neglected compressor can deliver dirty, moist air that damages your tires and valves over time, or simply fail when you need it most.
Essential Compressor Maintenance
The most critical maintenance for any air compressor is managing moisture. Compression creates heat, which causes water vapor in the air to condense inside the tank. This water can travel through your hose and into your tire. While a tiny amount won’t hurt, consistent introduction of water can corrode the valve stem from the inside and degrade tubeless sealant.
- Drain the Tank Regularly: After every 3-5 uses (or at least once a month), open the drain valve at the bottom of the compressor tank. Let all the air out and drain the collected water. Do this in a well-ventilated area. This is the single most important maintenance task.
- Check and Replace Air Filters: Most compressors have an intake air filter. A clogged filter makes the motor work harder and reduces efficiency. Check it monthly and clean or replace it as per the manufacturer’s instructions.
- Inspect Hoses and Fittings: Look for cracks, abrasions, or leaks in the hose. Ensure all fittings are tight. Replace any damaged components immediately. A leaking hose is inefficient and can introduce contaminants.
- Store Properly: Store your compressor in a dry place, out of direct sunlight and extreme temperatures. For portable units, avoid leaving them in a hot car trunk.
Caring for Your Adapters and Valve Stems
Your Presta-to-Schrader adapter is a simple part, but it can wear out. The threads can become stripped, or the sealing o-ring (if it has one) can dry out. Periodically check that it screws on smoothly and seals well. Replace adapters if they become loose or leaky. For your bike’s valve stems, keep the Presta nut clean of dirt and grit. When screwing the adapter on, make sure the valve stem threads are clean. A cross-threaded adapter can damage the soft brass or aluminum stem.
Conclusion: Embrace the Speed and Precision
Inflating your mountain bike tires with an air compressor isn’t just a shortcut; it’s a upgrade to your bike maintenance workflow. The speed allows for more frequent pressure tweaks based on changing trail conditions. The precision helps you consistently hit that elusive, perfect pressure that makes your bike feel like an extension of your body on the trail. By understanding your equipment—choosing the right compressor, using the essential adapter, and respecting the process—you eliminate the risks and reap all the benefits. Remember the golden rules: always use a separate gauge, inflate in short bursts, and check the bead seat. With a little practice, you’ll never look back at the days of endless floor pumping. Your tires will be perfectly inflated in seconds, and you’ll be spending less time on maintenance and more time riding the trails you love.
Frequently Asked Questions
Can any air compressor be used for mountain bike tires?
No. You should avoid large, high-volume shop compressors. Use a small, portable compressor with a built-in pressure gauge and, ideally, an auto-shutoff or regulator. High-volume compressors fill too quickly and lack control, making over-inflation very likely and dangerous.
What is the ideal pressure for my mountain bike tires?
There is no single ideal pressure. Start with the manufacturer’s range on your tire’s sidewall (e.g., 30-50 PSI). For modern tubeless setups on typical trail bikes, a common range is 20-28 PSI. Adjust based on your weight (lighter riders go lower), terrain (lower for mud/loose, higher for rock/hardpack), and tire volume (wider tires can go lower). Experiment in 1-2 PSI increments.
Do I always need an adapter for Presta valves?
Yes, absolutely. Standard air compressor hoses are designed for Schrader valves (car tires). Mountain bikes use Presta valves. You must use a small, inexpensive Presta-to-Schrader adapter that screws onto your valve stem to create a proper seal. Trying to connect without one will damage the valve.
Is it safe to inflate a tubeless tire with an air compressor?
Yes, and it’s often the fastest way to seat the bead. The process is the same as for tubed tires. The initial high-volume burst of air from many compressors can help pop the tire bead into its sealed position on the rim. Just be extra cautious to not over-inflate, as tubeless tires at very low pressure can be more prone to bead unseating if over-inflated during setup.
How can I tell if my tire is over-inflated?
An over-inflated tire will feel very hard, with no discernible give when you squeeze it. On the bike, the ride will be harsh and buzzy, you’ll lose traction on small bumps and loose surfaces, and you’ll hear frequent loud “pings” or “clacks” as the rim hits rocks. If you’re consistently getting rim strikes or pinch flats despite high pressure, your pressure is likely too high for your weight/terrain combination.
Why does my tire lose a few PSI after using the compressor?
A small pressure drop (1-3 PSI) after disconnecting the chuck is normal. When you pull the chuck off, a tiny burst of air escapes from the valve stem. It’s not a leak. For a true leak, the pressure will continue to drop noticeably over minutes or hours. Always check your final pressure after the compressor has been disconnected for 30 seconds.