How to Get Barbell on Hips for Hip Thrust
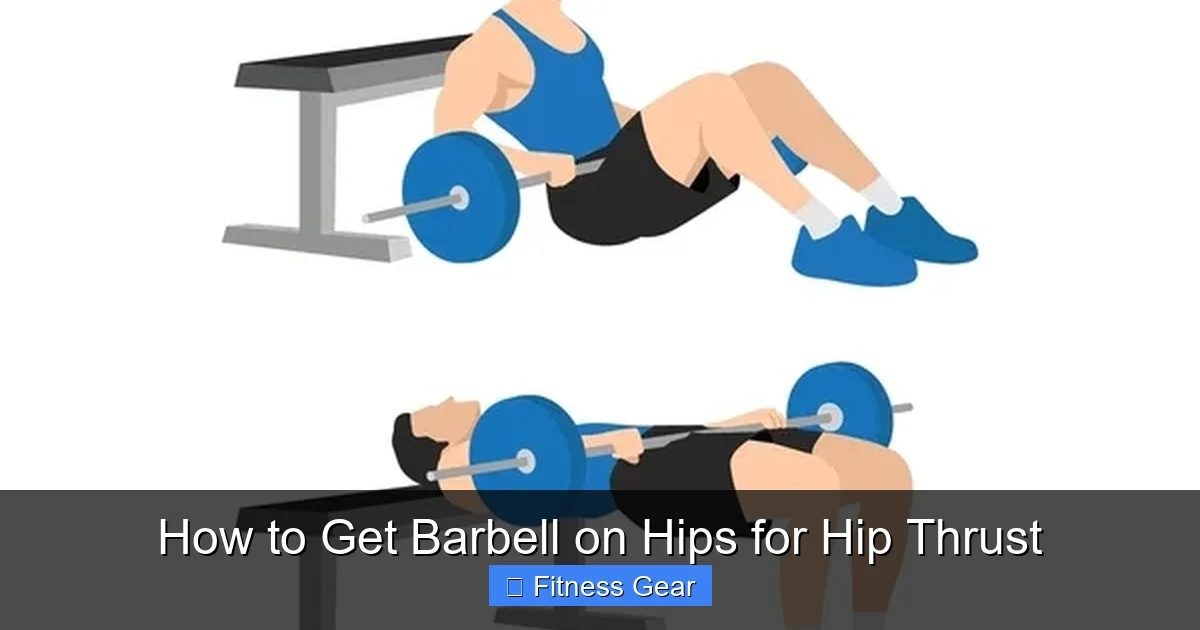
Getting the barbell onto your hips for hip thrusts doesn’t have to be a guessing game. Follow these simple, friend‑to‑friend tips—from setting up the bench to using padding and proper loading—to master the move with confidence and safety. Start strong, stay safe, and watch your glutes grow.
Key Takeaways
- Preparation matters: A sturdy bench, proper padding, and a clear floor are the foundation for a safe hip thrust.
- Use a barbell pad or towel: Protect your pelvis and improve comfort without sacrificing weight.
- Loading technique: Add plates gradually and use a loading platform or rack to keep the bar centered.
- Body positioning: Keep your shoulders on the bench, feet flat, and core engaged for optimal force transfer.
- Safety first: Spotters, safety pins, and proper spotting belts prevent accidents during heavy lifts.
- Progression tips: Start with bodyweight, then move to dumbbells, kettlebells, and finally the barbell as you gain confidence.
- Common mistakes to avoid: Over‑rolling the bar, using too much weight too soon, and neglecting hip mobility can derail your gains.
📑 Table of Contents
- Introduction: Why the Hip Thrust Deserves Your Attention
- 1. Gather the Right Gear
- 2. Set Up the Bench and Bar Position
- 3. Position Your Body Correctly
- 4. Execute the Hip Thrust Properly
- 5. Common Mistakes and How to Fix Them
- 6. Progression Strategies for Bigger Gains
- Conclusion: Master the Setup, Master the Gains
Introduction: Why the Hip Thrust Deserves Your Attention
Hip thrusts have exploded in popularity because they target the glutes better than almost any other exercise. A well‑executed hip thrust can add size, strength, and power to your posterior chain—benefits that spill over into squats, deadlifts, and even sprinting. But the magic starts with the most basic step: getting the barbell on your hips safely and comfortably.
If you’ve ever struggled with wobbling plates, bruised hips, or a bar that slides off mid‑rep, you’re not alone. In this guide we’ll break down everything you need—from equipment choices to loading tactics—so you can set up the barbell on your hips confidently every single time.
1. Gather the Right Gear
Bench or Platform
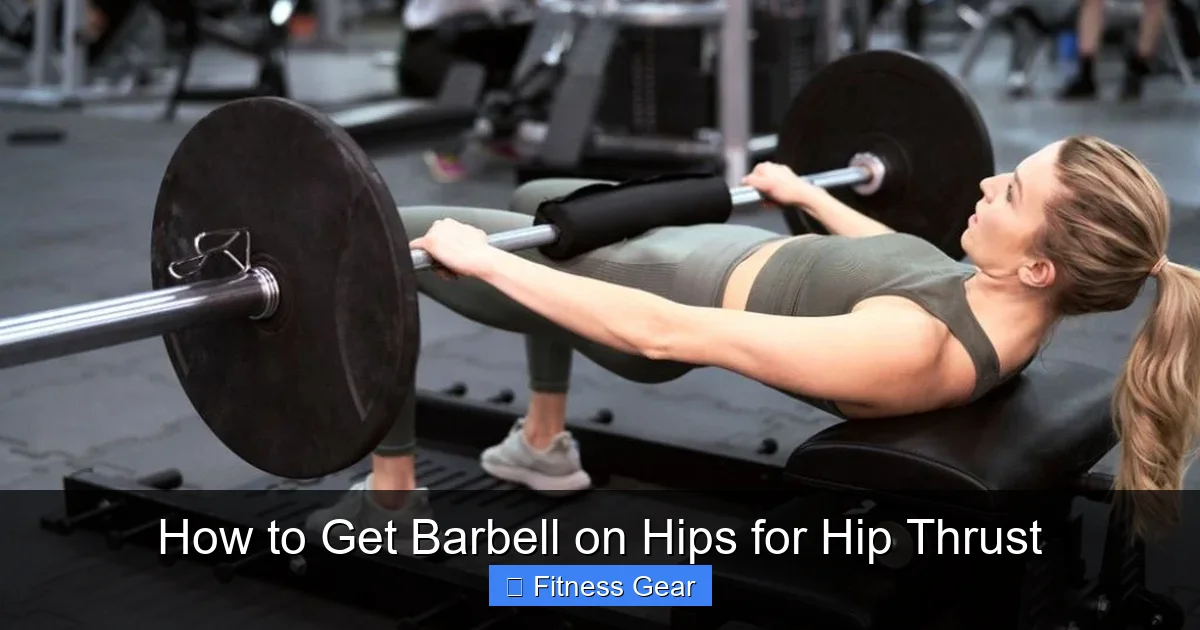
A sturdy, flat bench is essential. Look for a bench that can support at least 500 lb and has a width that matches your shoulder span. If a bench isn’t available, a solid squat rack with a low‑height safety bar works just as well.
Visual guide about How to Get Barbell on Hips for Hip Thrust
Image source: assets.sweat.com
Barbell Pad or DIY Alternatives
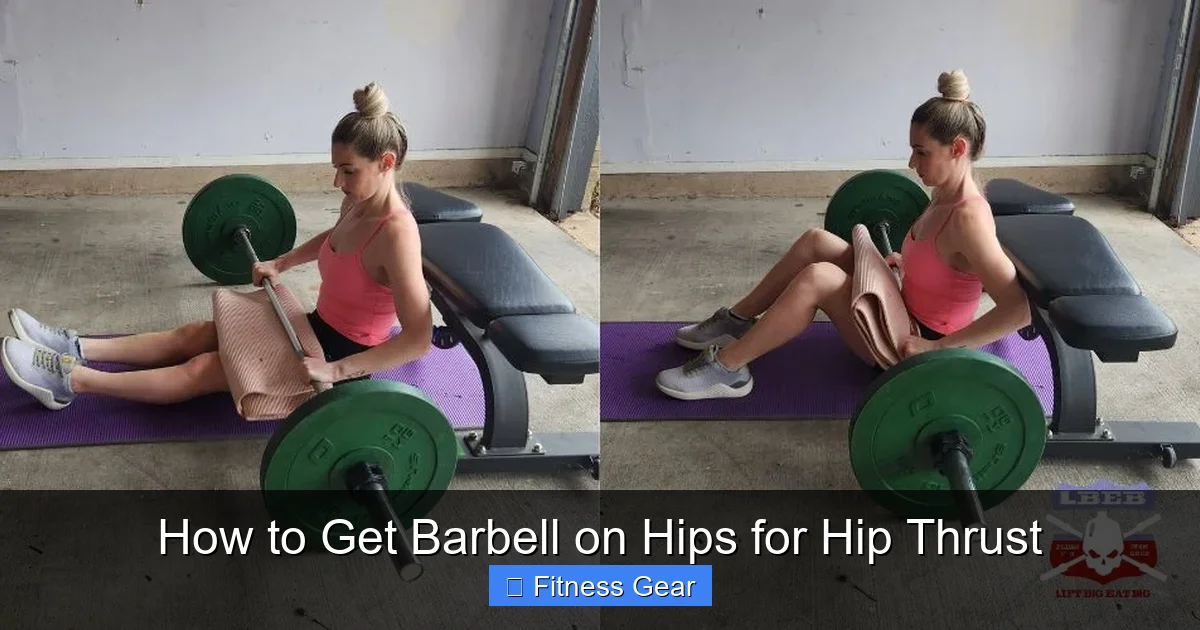
The barbell rests directly on the pelvis, so a padded cushion prevents bruising and improves grip. Commercial pads are cheap and come with a strap to keep them from slipping. For a budget option, wrap a thick towel or a small yoga mat around the bar and secure it with a rubber band.
Weight Plates and Loading Platform
Standard 45‑lb plates are the go‑to, but bumper plates are kinder on the floor and reduce noise. A loading platform (a short piece of wood or a rubber mat) keeps plates from rolling off while you load the bar.
Safety Equipment
Spotting straps, safety pins on a power rack, and a weightlifting belt (especially when you’re lifting heavy) are all worth the investment. They give you confidence and protect you from accidental drops.
2. Set Up the Bench and Bar Position
Bench Height and Placement
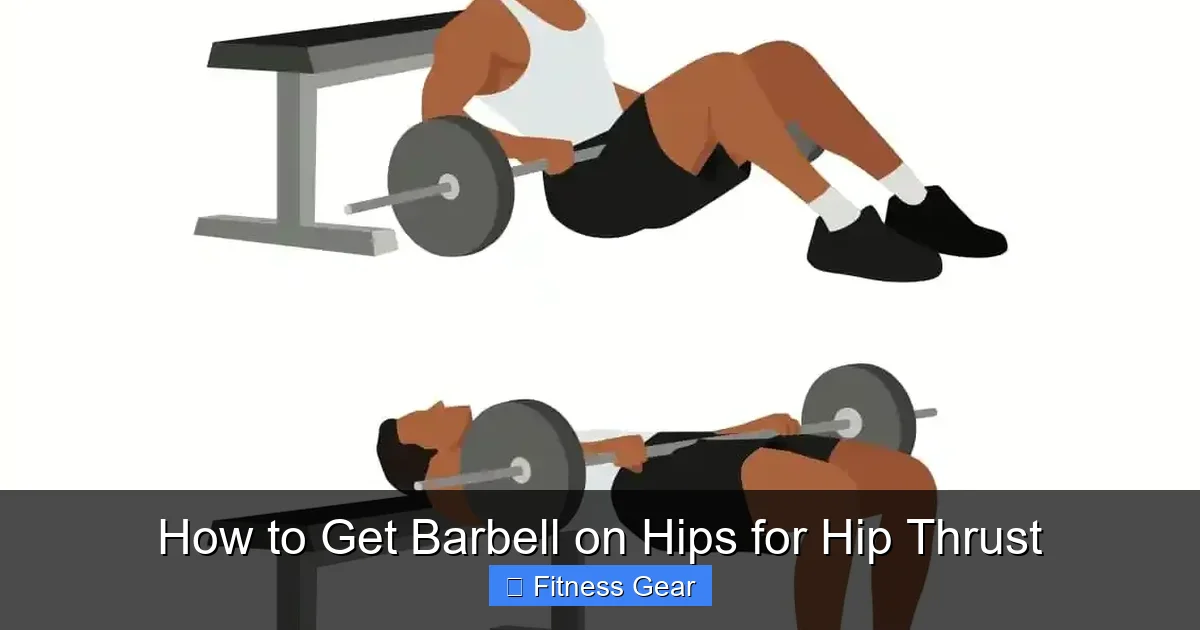
Place the bench so that when you sit on the floor with your back against it, your shoulder blades rest comfortably on the bench. The bench should be about 12‑18 inches from the floor; this distance lets you achieve a full range of motion without over‑extending your lower back.
Visual guide about How to Get Barbell on Hips for Hip Thrust
Image source: mensfitness.co.uk
Bar Placement on the Ground
Slide the barbell onto the floor parallel to the bench. Center it so the plates are evenly distributed on both sides. If you’re using a power rack, set the safety pins just below the height of your hips; they will catch the bar if you fail a rep.
Loading the Bar
Start with a light weight—often just the bar (45 lb) plus a 5‑lb plate on each side—to feel the balance. Use a loading platform to prevent plates from sliding. Add plates in pairs, always checking that they’re snug against the collars.
3. Position Your Body Correctly
Seat Yourself and Align the Bar
Sit on the floor with your knees bent, feet flat, and the bench directly behind you. Roll the barbell up onto your pelvis, using the pad for comfort. The bar should sit just below the iliac crest (the top of your hip bone), not on your lower abdomen.
Visual guide about How to Get Barbell on Hips for Hip Thrust
Image source: liftbigeatbig.com
Foot Placement
Place your feet about hip‑width apart, toes pointing slightly outward. Your shins should be vertical when you’re at the top of the thrust. This stance maximizes glute activation and keeps the force line straight.
Engage Core and Lats
Before you lift, brace your core as if you’re about to be punched in the stomach. Pull your shoulder blades together and down—engaging the lats helps keep the bar stable on your hips.
4. Execute the Hip Thrust Properly
The Upward Phase
Drive through your heels, extend your hips, and squeeze your glutes at the top. Your body should form a straight line from shoulders to knees. Hold the top position for 1‑2 seconds to maximize muscle tension.
The Downward Phase
Lower your hips slowly, keeping tension in the glutes. Avoid letting the bar bounce; control the descent to protect your lower back.
Breathing Technique
Inhale as you lower the hips, exhale powerfully as you thrust upward. A steady breathing pattern helps maintain intra‑abdominal pressure and stability.
5. Common Mistakes and How to Fix Them
Bar Slides Off the Hips
Cause: Padding is too thin or the bar isn’t centered. Fix: Use a thicker pad or a folded towel, and double‑check that the bar sits directly over the center of your pelvis.
Excessive Lower Back Arch
Cause: Not engaging the core or using too much weight. Fix: Tighten your abs, keep the chin tucked, and reduce the load until you can maintain a neutral spine.
Feet Too Far Forward or Back
Cause: Improper foot placement reduces glute activation. Fix: Adjust your feet so that when you reach the top, your shins are vertical. This ensures the glutes do the work, not the quads.
Rushing the Reps
Cause: Trying to lift heavy too quickly. Fix: Slow the tempo to 2‑seconds up, 1‑second pause, 2‑seconds down. This builds strength and improves form.
6. Progression Strategies for Bigger Gains
Gradual Weight Increases
Follow the “2‑5‑10” rule: add 2.5 lb to each side every session until you can’t maintain form, then add 5 lb, and finally 10 lb once you’ve mastered the new weight.
Band‑Assisted Hip Thrusts
Loop a resistance band around your knees to increase hip abduction work. This adds tension at the top of the movement and improves glute activation.
Pause Reps and Tempo Variations
Insert a 2‑second pause at the top of each rep or try a 3‑second eccentric (lowering) phase. These variations shock the muscles and stimulate growth.
Single‑Leg Hip Thrusts
Once you’re comfortable with the barbell, try single‑leg variations. They challenge stability, fix imbalances, and further develop the glutes.
Conclusion: Master the Setup, Master the Gains
Getting the barbell on your hips for hip thrusts is a skill that pays huge dividends. By preparing the right equipment, perfecting your body position, and loading the bar safely, you set the stage for powerful, glute‑building lifts. Remember to start light, focus on form, and progress gradually. With these steps in your toolbox, you’ll feel confident loading heavy plates, avoid common injuries, and watch your hips transform.
Now grab that bar, roll it onto your padded hips, and thrust your way to stronger, bigger glutes—one safe rep at a time.
Frequently Asked Questions
How do I keep the bar from rolling off my hips?
Use a thick barbell pad or wrap a towel around the bar, and make sure the bar is centered over the pelvis. A snug fit prevents movement during the thrust.
Can I do hip thrusts without a bench?
Yes. A sturdy low platform or a squat rack with a safety bar can replace a bench. The key is having a stable surface for your shoulders to rest on.
What is the best weight to start with?
Begin with just the bar (45 lb) plus a light plate on each side. Focus on form first; add weight in 2.5‑lb increments once you feel stable.
Do I need a weightlifting belt for hip thrusts?
A belt isn’t required for light to moderate loads, but it can help protect your lower back when you’re lifting heavy (above 200 lb).
How often should I train hip thrusts?
Two to three times per week is ideal for most lifters. Allow at least 48 hours of recovery between sessions to let the glutes repair and grow.
Is a barbell pad necessary?
While not mandatory, a pad greatly increases comfort and reduces bruising, making it easier to focus on the lift rather than pain.