How to Air Up Bike Tires Without a Pump
Got a flat but no pump? Don’t panic. This guide covers emergency methods like CO2 cartridges, foot pumps, and gas station compressors, plus creative hacks and safety tips. Always check for tire damage first and avoid overinflation. Being prepared with a mini pump or CO2 inflator is your best defense for next time.
Key Takeaways
- Know your valve type: Presta (narrow) and Schrader (wide, like a car tire) require different adapters or techniques.
- CO2 cartridges are fast but temporary: They inflate in seconds, but CO2 seeps out faster than air, so use them as a short-term fix.
- Foot pumps are a reliable manual option: They require effort but can get the job done with the right technique and valve adapter.
- Gas station compressors are accessible but risky: They can overinflate quickly; fill in short bursts and monitor tire firmness carefully.
- Creative hacks exist but come with warnings: Methods like soda bottles or vacuum cleaners can work in a pinch but risk damage or injury.
- Safety always comes first: Inspect the tire for punctures or damage before inflating; riding on a compromised tire is dangerous.
- Prevention is key: Carry a compact pump or CO2 inflator and check tire pressure regularly to avoid emergencies.
📑 Table of Contents
- Introduction: When the Unexpected Flat Strikes
- Understanding Your Tires: The Foundation Before You Inflate
- Emergency Method #1: CO2 Cartridge Systems
- Emergency Method #2: The Foot Pump Technique
- Emergency Method #3: Gas Station Air Compressors
- Creative Hacks: Unconventional Inflation Methods (When All Else Fails)
- Safety First: Avoiding Damage and Injury
- Prevention: Being Prepared for Next Time
- Conclusion: Knowledge Is Your Best Tool
Introduction: When the Unexpected Flat Strikes
You’re out on a ride, the sun is shining, and you’re feeling great. Then you hear it—that dreaded pssst sound. You check, and yes, your tire is flat. You pat your pockets, search your bag, and reality hits: you don’t have a pump. Panic might set in, but stop right there. Knowing how to air up bike tires without a pump isn’t just a neat trick; it’s a vital skill for any cyclist. Whether you’re commuting, touring, or on a casual trail ride, being stranded with a flat doesn’t have to mean a long walk home or a costly rescue.
This guide is your emergency playbook. We’ll explore practical, sometimes unconventional, methods to get air back into your tires using everyday items or public resources. From CO2 cartridges to gas station compressors, and even a few creative (but safe) hacks, we’ve got you covered. Remember, the goal is to get you rolling again safely—not to risk further damage or injury. So take a breath, and let’s dive into how you can solve this problem with what’s available around you.
Understanding Your Tires: The Foundation Before You Inflate
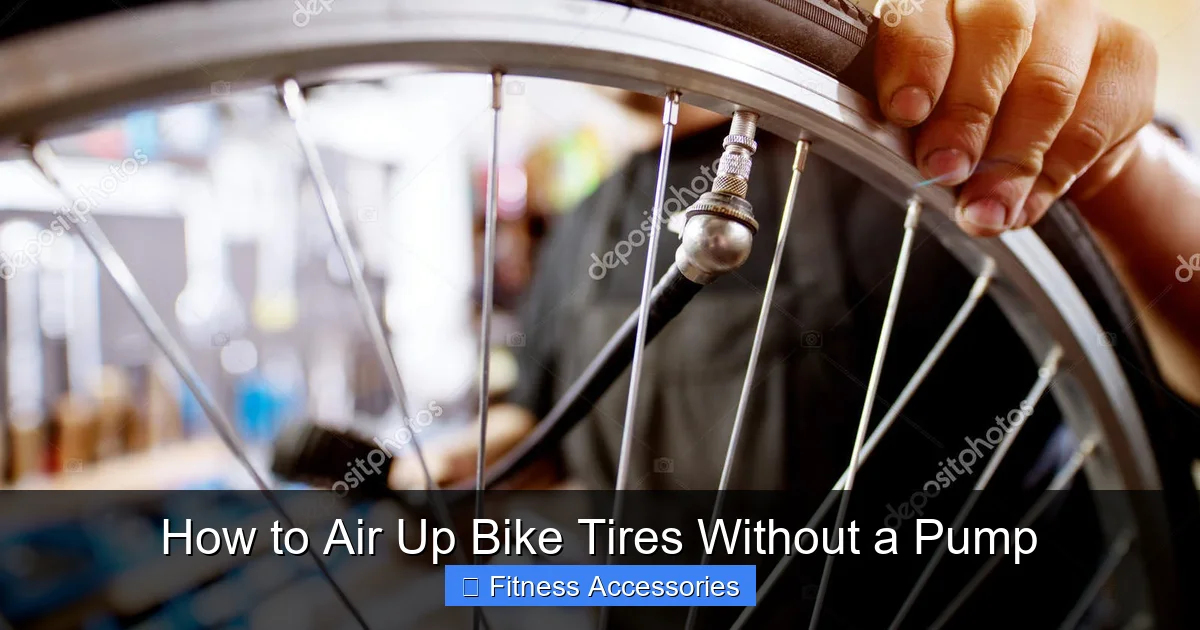
Before we talk about inflation methods, you need to understand what you’re working with. Your bike tire isn’t just a rubber ring; it’s a system that includes the tire itself, the inner tube (or tubeless setup), and the valve. Getting familiar with these parts will make any inflation method easier and safer.
Visual guide about How to Air Up Bike Tires Without a Pump
Image source: tech-outdoors.com
Valve Types: Presta vs. Schrader
There are two main valve types on bicycles, and knowing which one you have is crucial because it determines what tools or adapters you’ll need.
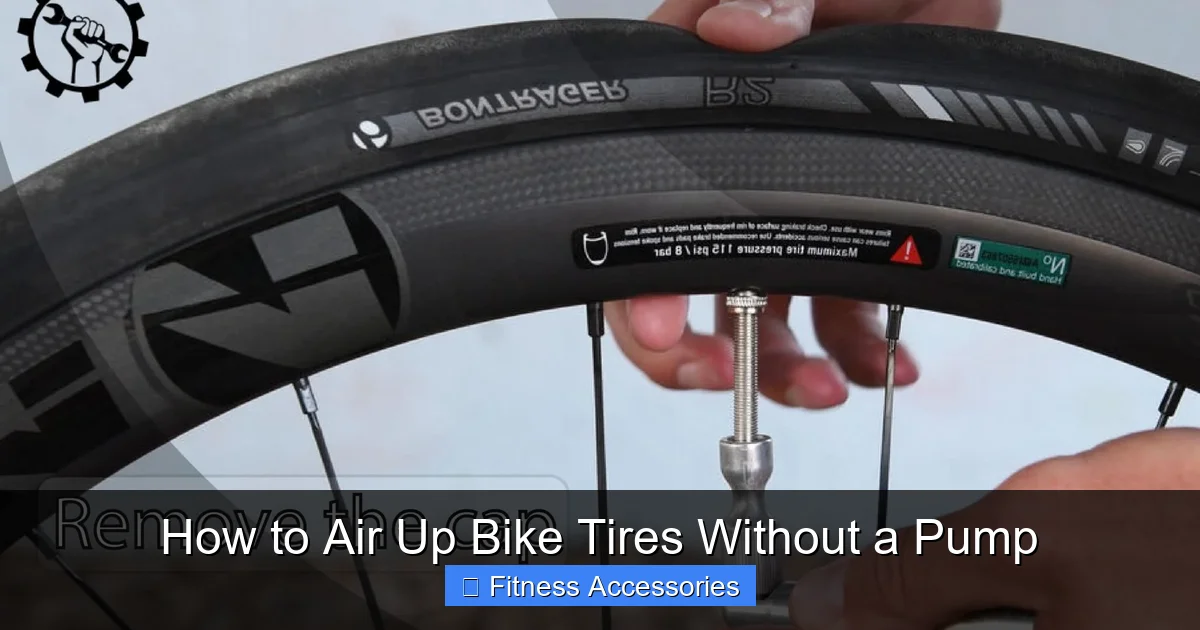
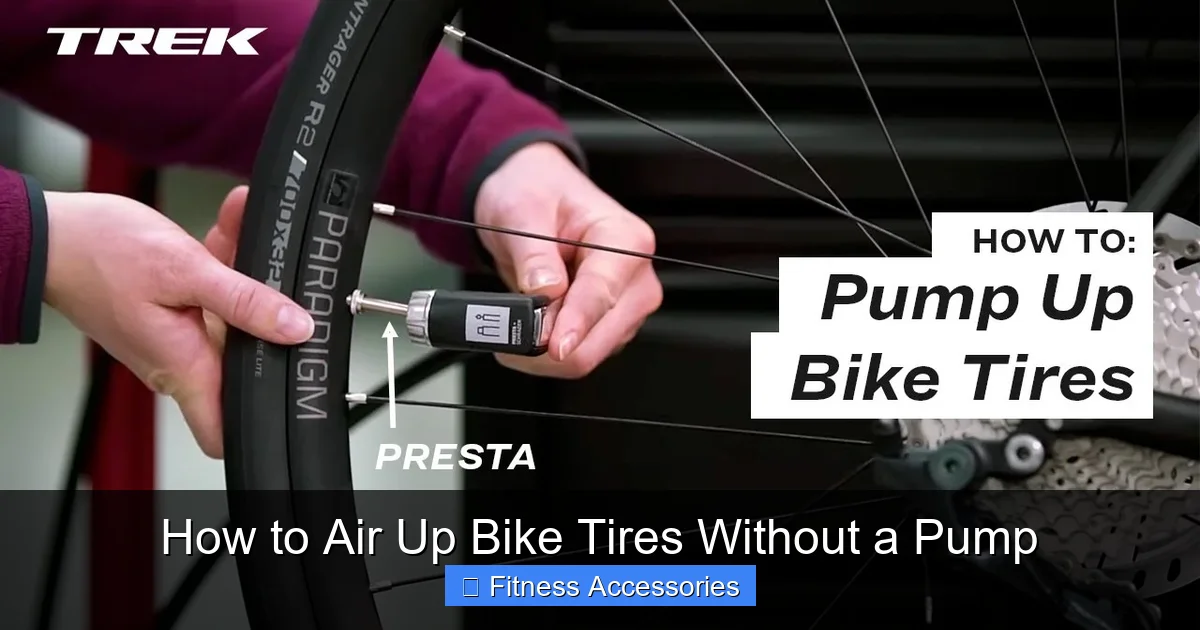
- Presta Valve: This is the skinnier, longer valve commonly found on road bikes and many higher-end mountain bikes. It has a small nut at the top that you unscrew before inflating. To use most public air compressors (like at gas stations), you’ll need a Presta-to-Schrader adapter because those compressors are designed for car tires (Schrader valves).
- Schrader Valve: This is the same valve type found on car tires—shorter and thicker. It’s common on hybrid bikes, kids’ bikes, and many mountain bikes. You can inflate it directly at a gas station without an adapter.
Quick tip: If you’re unsure, look at the valve end. A Presta valve is slender and requires you to loosen the top nut. A Schrader valve has a small pin in the center that you press to release air.
Reading Pressure Recommendations
Every tire has a recommended pressure range, usually printed on the sidewall in PSI (pounds per square inch) or sometimes BAR. For example, it might say “60-80 PSI.” Inflating within this range ensures optimal performance, grip, and safety. Under-inflated tires feel sluggish and are prone to pinch flats. Over-inflated tires are stiff, reduce traction, and can blow off the rim.
Why Proper Inflation Matters
Correct tire pressure is about more than just avoiding flats. It affects rolling resistance, comfort, and control. A properly inflated tire rolls smoother and handles better. When you’re using an emergency method without a gauge, you’ll rely on feel and sound—a firm tire that gives a slight bounce when pressed is usually in the right ballpark. But always try to get a precise reading later with a proper pump and gauge.
Emergency Method #1: CO2 Cartridge Systems
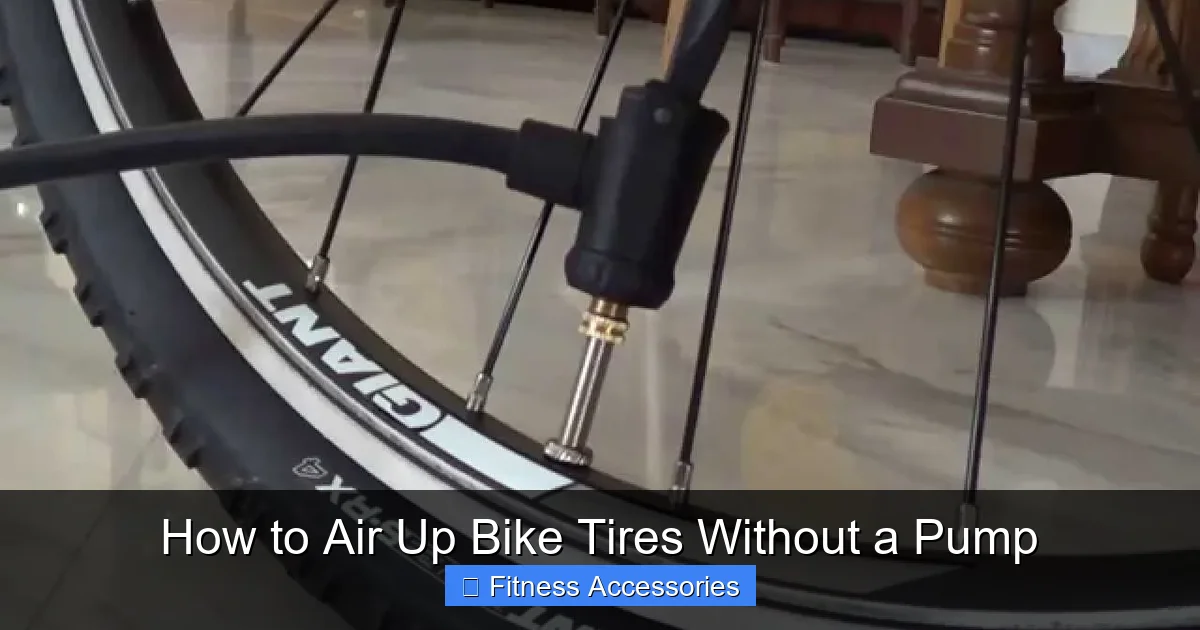
If you’re a cyclist who rides regularly, carrying a small CO2 inflator and a few cartridges is the ultimate backup plan. These tiny metal cylinders pack a big punch, inflating a tire in seconds. They’re lightweight, compact, and perfect for when you’re truly stranded without any other options.
Visual guide about How to Air Up Bike Tires Without a Pump
Image source: i.ytimg.com
How CO2 Inflators Work
A CO2 inflator is a simple device that attaches to your valve and pierces a threaded or non-threaded CO2 cartridge. When you screw the cartridge into the inflator, a pin punctures it, releasing the compressed gas into your tire. The entire process takes less than 10 seconds for a standard road bike tire.
Step-by-Step Guide to Using CO2
- Remove any debris: Before inflating, check the tire for nails, glass, or other objects that caused the flat. If you find something, remove it carefully to prevent another immediate puncture.
- Attach the inflator: Screw the CO2 inflator onto your valve (Presta or Schrader, but you may need an adapter for Presta). Ensure it’s snug to prevent leaks.
- Insert the cartridge: Screw the CO2 cartridge into the inflator until you feel resistance. The pin will pierce the cartridge automatically as you tighten.
- Inflate: Hold the inflator upright and press the release button or lever (depending on the model). You’ll hear a rapid hiss as gas fills the tire. Watch the tire sidewall; it will quickly become firm.
- Stop before full: CO2 expands quickly. It’s easy to overinflate. Stop inflating when the tire feels firm but still has a slight give. You can add more air later if needed.
- Remove the inflator and cartridge: Unscrew the inflator from the valve. Some CO2 may escape; that’s normal. Save the empty cartridge for recycling.
Pros and Cons of CO2
Pros: Extremely fast, lightweight, no physical effort required, works in any weather. Cons: CO2 molecules are smaller than air molecules and seep through rubber faster, so the tire will lose pressure over hours or days—it’s a temporary fix, not a permanent solution. Cartridges are single-use and must be replaced. Also, CO2 can be cold when released, so avoid touching the metal parts directly.
Emergency Method #2: The Foot Pump Technique
Foot pumps are often overlooked but are a fantastic manual alternative. They’re compact, require no cartridges, and can be found at some gas stations, bike shops, or even borrowed from a friendly stranger. If you have a small portable foot pump in your kit, even better.
Visual guide about How to Air Up Bike Tires Without a Pump
Image source: i.ytimg.com
Using a Foot Pump Effectively
A foot pump works by using your body weight and leg power to push air into the tire. They typically have a long hose with a valve attachment. Here’s how to use one:
- Place the pump on a stable surface. Stand on the base plate with one foot.
- Use your other foot to press the pump handle down rhythmically. The motion should be smooth and controlled.
- Watch the tire as it inflates. Foot pumps can deliver a high volume of air quickly, so monitor the firmness.
- Stop when the tire feels firm. You can check by pressing the sidewall with your thumb—it should indent slightly but feel solid.
Adapting Foot Pumps to Different Valves
Most foot pumps come with a dual-head adapter that fits both Presta and Schrader valves. If yours doesn’t, you may need a separate valve adapter. For a Presta valve, unscrew the top nut first. attach the pump head, and lock it in place (some have a lever to secure). For Schrader, simply push it on.
Limitations and Tips
Foot pumps require physical effort, especially for high-pressure road tires. It might take 50-100 pumps to get a road tire from flat to 80 PSI. To make it easier: ensure the pump head is securely attached to avoid air leaks; use your body weight to push down rather than just leg strength; and take breaks if you get tired. A well-made foot pump can reach high pressures, but cheaper models might struggle above 60 PSI.
Emergency Method #3: Gas Station Air Compressors
If you’re near a road, a gas station is often your best bet. Most have an air compressor for car tires that you can use for free or a small fee. However, this method requires caution because these compressors deliver air at high volume and pressure, and they’re designed for Schrader valves.
Finding and Using Public Air Compressors
Look for the air hose with a gauge and nozzle at a gas station. First, check if your valve is Schrader. If you have a Presta valve, you’ll need a Presta-to-Schrader adapter (a small, inexpensive piece that screws onto your valve). Many cyclists carry one in their repair kit for this exact reason.
Steps:
- Remove the valve cap and attach the nozzle. If using an adapter, screw it onto your Presta valve first, then attach the compressor nozzle.
- Set the desired pressure on the compressor’s dial if it has one. If not, you’ll have to estimate by feel.
- Press the lever to start filling. The compressor will automatically shut off at the set pressure on many modern models.
- If there’s no auto shut-off, fill in short bursts (2-3 seconds), then check the tire by pressing the sidewall. Repeat until firm.
Managing Pressure with No Gauge
Gas station compressors often have a built-in gauge, but it may not be accurate for bike tires (calibrated for car tires). If there’s no gauge or it’s unreliable, use the “squeeze test.” A properly inflated bike tire should feel firm but yield slightly when pressed hard with your thumb. For road tires, it should feel rock-hard; for mountain bikes, a bit softer. Compare it to your other tire if only one is flat.
Potential Risks and How to Avoid Them
The biggest risk is overinflation, which can cause the tire to blow off the rim or damage the tube. To avoid this:
- Inflate slowly in short bursts.
- Never walk away while filling.
- If the tire feels very hard and you can’t press the sidewall at all, stop immediately.
- Be aware that high-pressure road tires can reach 100+ PSI easily; mountain bike tires are usually 30-50 PSI.
Also, ensure the nozzle is fully attached to prevent air leaks and wasted time.
Creative Hacks: Unconventional Inflation Methods (When All Else Fails)
In a true survival scenario, you might need to get creative. These methods use items you might have on hand, like a soda bottle or a vacuum cleaner. They are not ideal and carry risks, so only use them if you have no other option and understand the dangers.
The Soda Bottle Method (With Extreme Caution)
This hack uses a plastic soda bottle as a makeshift pump. It’s based on the principle of compressing air inside the bottle and forcing it into the tire.
- Take an empty plastic soda bottle (1-2 liter size) and make a small hole in the cap.
- Find a way to attach the bottle cap to your valve. This is tricky. You might need a rubber stopper with a hole that fits over the valve, or you can try sealing the cap directly onto the valve with tape or clay (not ideal).
- Squeeze the bottle firmly to push air into the tire. You’ll need to re-squeeze repeatedly as the bottle empties.
Warnings: This method is inefficient and can easily overinflate if you’re not careful. The seal around the valve is often poor, leading to air loss. Also, plastic bottles can burst under pressure. Use only as a last resort and monitor tire firmness constantly.
Using a Vacuum Cleaner in Reverse
Some vacuum cleaners have a “blow” function or can be modified to blow air out instead of sucking it in. The exhaust port can be used to push air into the tire.
- Ensure the vacuum is unplugged from the wall if you’re reversing the hose (safety first).
- Attach the vacuum hose directly to the valve. You may need an adapter or tape to create a seal.
- Turn the vacuum on (if it has a blow setting) or reverse the airflow according to the manufacturer’s instructions (some models allow this).
- Hold the hose in place and let the air flow. Check tire firmness frequently.
Warnings: Not all vacuums can blow air, and forcing one to do so might damage the motor. The airflow may be weak for high-pressure tires. There’s also a risk of dust or debris being blown into the valve. This method is better suited for low-pressure tires like those on kids’ bikes.
Why Some Hacks Are Dangerous (and to Avoid)
You might hear about using compressed air from a scuba tank, a fire extinguisher, or even a hair dryer. Avoid these. Scuba tanks contain high-pressure air that can explode if mishandled. Fire extinguishers contain chemicals that can contaminate your tire and valve. Hair dryers don’t produce enough pressure and can overheat. The risk of serious injury or tire damage far outweighs any benefit. Stick to the methods described earlier.
Safety First: Avoiding Damage and Injury
Inflating a tire without a pump is an emergency procedure, but rushing can lead to mistakes. Your safety and the integrity of your bike are paramount. Before you even think about adding air, do a quick assessment.
Checking for Tire and Tube Damage First
A flat tire is usually caused by a puncture, but sometimes it’s due to a damaged rim strip, spoke, or a blowout. Before inflating:
- Visually inspect the tire for nails, glass, thorns, or cuts.
- Remove any debris you find.
- Check the inner tube if you can remove it. Look for holes and feel around for embedded objects.
- Inspect the rim for sharp edges or broken spokes that could puncture the new tube.
If you find significant damage, inflating might be pointless—the tire will just go flat again. In that case, you may need to walk or call for help.
The Dangers of Overinflation
Overinflating is the most common mistake in emergency inflation. A tire that’s too hard can:
- Burst off the rim, especially if the bead isn’t seated properly.
- Reduce traction and make the ride uncomfortable.
- Increase the risk of a blowout from hitting a pothole or curb.
Always inflate in stages, checking firmness frequently. If you’re using a gas station compressor, use short bursts. With CO2, remember it’s easy to add too much in one go—stop early and add more later if needed.
When to Walk Instead of Risk It
Sometimes, the safest option is to walk. If:
- The tire is severely damaged (large cut, sidewall blowout).
- You can’t achieve a seal with the inflator (constant leaking).
- You’re unsure about the tire’s condition.
- The area is unsafe (heavy traffic, no shoulder).
It’s better to walk a few miles than risk a crash from a tire failure. Carry your bike if you must, but prioritize safety over speed.
Prevention: Being Prepared for Next Time
The best way to handle a flat without a pump is to never be without a means to inflate. A little preparation goes a long way in turning a major headache into a minor inconvenience.
Compact Pump Options for Your Kit
Mini pumps or frame pumps are lightweight, inexpensive, and attach to your bike frame or fit in a saddlebag. Look for one that works with both Presta and Schrader valves (dual-head). Some even have a pressure gauge built-in. While they require effort, they’re reliable and unlimited—no cartridges to run out of.
CO2 Inflators as a Lightweight Backup
For riders who prioritize weight and speed, a small CO2 inflator with 1-2 cartridges is a great backup. They’re smaller than a mini pump and can inflate a tire in seconds. Keep them in your saddlebag or jersey pocket. Just remember: CO2 is temporary, so you’ll still need to add regular air at the first opportunity.
Regular Maintenance to Avoid Flats
Preventing flats reduces the need for emergency inflation. Here’s how:
- Check pressure weekly: Tires lose air naturally. Keep them at the recommended PSI.
- Use puncture-resistant tires or liners: These add a layer of protection against thorns and glass.
- Inspect tires regularly: Look for wear, cuts, or embedded debris.
- Carry a repair kit: Include a spare tube, tire levers, and a multi-tool. Knowing how to change a tube is half the battle.
- Practice at home: Before you’re stranded, practice removing a wheel, taking out the tube, and using your pump or CO2 inflator. Muscle memory helps in stressful situations.
Conclusion: Knowledge Is Your Best Tool
Finding yourself with a flat and no pump is a rite of passage for cyclists. It can be frustrating, but it doesn’t have to be a disaster. By understanding your tires, knowing the emergency methods—from CO2 cartridges to gas station compressors—and practicing safety, you can get back on the road quickly and confidently. Remember, creative hacks like soda bottles are last resorts with risks; your best bet is to be prepared with a compact pump or CO2 inflator. Take the time to check your tires regularly, carry the right tools, and practice changing a flat at home. That way, when the unexpected happens, you’ll handle it like a pro. Now, go ride—and ride prepared.
Frequently Asked Questions
Can I use a ball pump to inflate a bike tire?
Technically, you can if you have the right adapter, but it’s not recommended. Ball pumps are designed for lower pressures (like 5-10 PSI) and often can’t reach the high pressure (60-120 PSI) needed for bike tires. They’re also slow and may not seal well with bike valves.
Is CO2 safe for tubeless bike tires?
Yes, CO2 is safe for tubeless setups and can even help seal small punctures temporarily. However, because CO2 seeps out faster than air, you’ll need to add regular air soon after to maintain pressure. Some tubeless sealants react poorly with CO2, so check your sealant manufacturer’s recommendations.
What if I don’t have a pressure gauge? How do I know when the tire is full?
Use the squeeze test. Press the tire sidewall firmly with your thumb. A properly inflated road tire should feel very firm with almost no give; a mountain bike tire should have a slight, soft give. Compare it to your other tire if only one is flat. Also, listen to the sound—a properly inflated tire makes a “tap” sound when flicked, while a flat sounds dull.
Can I use a vacuum cleaner to blow air into my bike tire?
Some vacuums have a “blow” function that can be used in an emergency, but it’s not ideal. The airflow is often weak and may not reach high pressures. There’s also a risk of dust or debris being blown into the valve. Only attempt this for low-pressure tires and monitor carefully. It’s better to use a foot pump or CO2 if available.
How do I avoid overinflating when using a gas station compressor?
Inflate in short bursts of 2-3 seconds, then check the tire by squeezing the sidewall. Stop when the tire feels firm but still has a tiny bit of give. Remember that gas station gauges are calibrated for car tires and may read inaccurately for bikes. Trust your sense of touch over the gauge if you’re unsure.
What’s the most reliable emergency method if I have no pump and no cartridges?
If you’re near a gas station and have a Schrader valve (or a Presta adapter), the compressor is usually the most reliable because it provides a steady air source. For Presta valves without an adapter, a foot pump (if you can find one) is next best. In a true pinch, the soda bottle method might work but is risky. Always inspect the tire first and walk if conditions aren’t safe.