How to Jump Rope One Leg at a Time
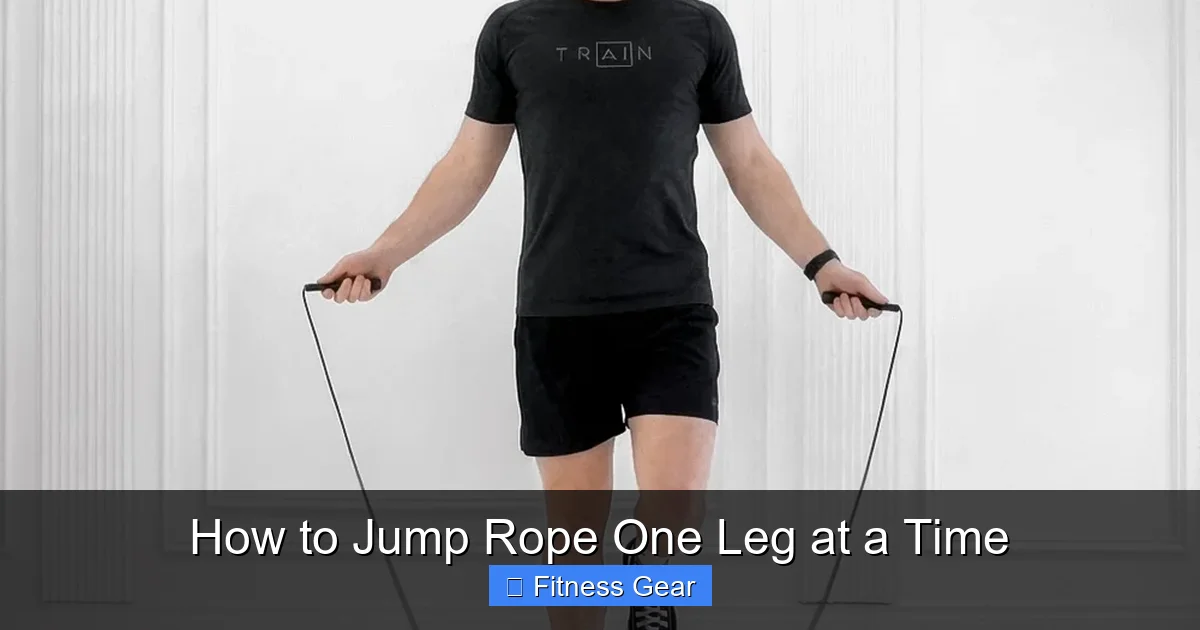
Want to add a fun challenge to your cardio? Learning how to jump rope one leg at a time boosts balance, builds leg strength, and burns more calories. Follow our easy steps, safety pointers, and training plans to master this move and keep your workouts fresh.
Key Takeaways
- Understanding How To Jump Rope One Leg At A Time: Provides essential knowledge
📑 Table of Contents
- Introduction: Why Try How to Jump Rope One Leg at a Time?
- 1. Preparing Your Body for Single‑Leg Jump Rope
- 2. Mastering the Technique Step‑by‑Step
- 3. Building Endurance and Progression
- 4. Safety Tips and Injury Prevention
- 5. Integrating Single‑Leg Jump Rope Into a Full Workout
- Conclusion: Your Path to Stronger, More Balanced Legs
Introduction: Why Try How to Jump Rope One Leg at a Time?
Jumping rope is already a top‑rated cardio exercise. It improves heart health, coordination, and burns calories fast. Adding the single‑leg variation turns a simple routine into a powerful balance and strength builder. When you learn how to jump rope one leg at a time, you challenge your stabilizer muscles, sharpen proprioception, and spark new motivation in your workouts.
Many athletes use this move to improve sprinting speed, basketball footwork, and even martial‑arts foot placement. The good news? You don’t need fancy equipment—just a rope, a pair of supportive shoes, and a little patience. This guide walks you through every step, from preparing your body to mastering the technique and incorporating it into a regular fitness plan.
1. Preparing Your Body for Single‑Leg Jump Rope
1.1 Assess Your Current Jump Rope Skills
Before you attempt how to jump rope one leg at a time, make sure you can comfortably jump rope for at least 5 minutes on both feet. Focus on a steady rhythm, proper wrist rotation, and light landings. If you’re still wobbling, spend a few sessions on basic jumps, side‑to‑side hops, and high‑knees.
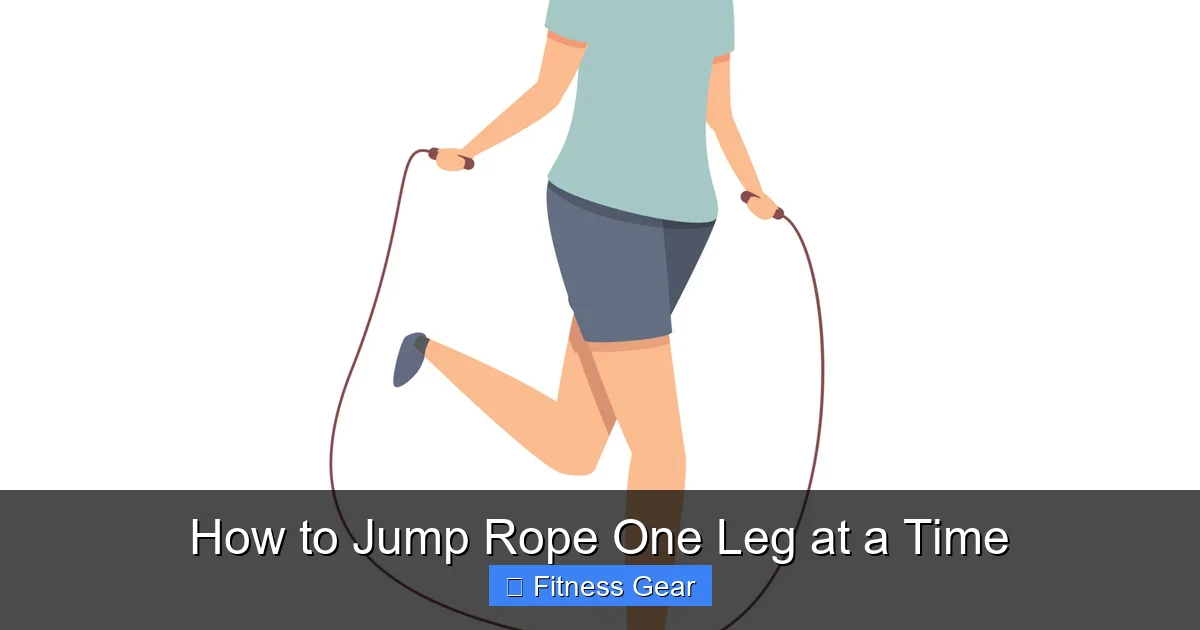
Visual guide about How to Jump Rope One Leg at a Time
Image source: static.vecteezy.com
1.2 Strengthen the Key Muscles
The muscles that matter most are the calves, quadriceps, glutes, and the small stabilizers around the ankle. Include these quick drills in your warm‑up:
- Calf raises: 3 sets of 15 reps per leg.
- Single‑leg bridges: 2 sets of 12 reps per side.
- Wall sits: Hold for 30‑45 seconds, repeat 3 times.
1.3 Improve Core Stability
A strong core keeps your torso upright and reduces wobble. Try planks, dead bugs, and bird‑dogs for 2‑3 minutes total each session.
1.4 Choose the Right Gear
When learning how to jump rope one leg at a time, a lightweight beaded or speed rope (about 2.5‑3 mm thickness) works best. It moves quickly and won’t catch on your foot. Pair it with cross‑training shoes that have good arch support and a slightly cushioned sole.
2. Mastering the Technique Step‑by‑Step
2.1 Find Your Balance Point
Stand on the leg you’ll start with. Slightly bend the knee, keep the weight over the mid‑foot, and engage the core. Practice holding this stance for 10‑15 seconds without the rope. If you feel shaky, focus on a point in front of you and tighten the glutes.

Visual guide about How to Jump Rope One Leg at a Time
Image source: images.nexusapp.co
2.2 Add the Rope Without Jumping
Hold the rope handles at hip height, elbows close to your sides. Swing the rope over your head once while staying still. This helps you feel the timing of the rope’s arc without the impact of a jump.
2.3 The First Single‑Leg Jump
Now combine the two actions:
- Start the rope swing as you would for a normal jump.
- When the rope reaches the front, push off the standing leg with a quick, light hop.
- Land softly on the same leg, keeping the knee slightly bent.
- Immediately swing the rope again and repeat.
Focus on a consistent rhythm—think “one‑two, one‑two” with the rope’s rotation.
2.4 Common Mistakes and Fixes
- Landing on the heel: Keep the landing on the ball of the foot to reduce impact.
- Excessive knee bend: Aim for a 20‑30 degree bend; too deep wastes energy.
- Arms doing the work: Keep wrists loose; the rope should move mainly from wrist rotation.
- Looking down: Keep eyes forward to help balance.
2.5 Switching Legs
After 10‑15 seconds of jumping on one leg, pause, reset your stance, and switch to the other leg. This balances strength development and prevents over‑use.
3. Building Endurance and Progression
3.1 Interval Training
Start with short intervals: 20 seconds of single‑leg jumps, 40 seconds rest. Perform 4‑5 rounds per leg. As you improve, increase the work interval by 10 seconds and reduce rest by 5 seconds.

Visual guide about How to Jump Rope One Leg at a Time
Image source: images.nexusapp.co
3.2 Adding Variations
- Single‑leg double unders: Two rope rotations per jump. Great for power.
- Cross‑body swings: Swing the rope across your body before the jump, increasing coordination.
- Side‑to‑side hops: Jump laterally while staying on one leg, mimicking agility drills.
3.3 Tracking Your Progress
Keep a simple log:
- Date and time of session.
- Leg used.
- Work interval length.
- Number of successful jumps.
Seeing numbers improve keeps motivation high.
4. Safety Tips and Injury Prevention
4.1 Warm‑Up Properly
Spend at least 5 minutes warming up with marching, ankle circles, and dynamic stretches. A warm joint moves more efficiently, reducing strain.
4.2 Choose a Suitable Surface
A wooden floor, rubber mat, or smooth concrete works best. Avoid carpet or uneven ground, which can cause the rope to snag and increase ankle torque.
4.3 Listen to Your Body
If you feel sharp pain in the knee, ankle, or lower back, stop immediately. Minor soreness is normal, but persistent pain signals overuse.
4.4 Recovery Strategies
- Foam roll calves and quads after each session.
- Static stretch the hamstrings, hip flexors, and calves for 30 seconds each.
- Hydrate and refuel with protein within 30 minutes to aid muscle repair.
5. Integrating Single‑Leg Jump Rope Into a Full Workout
5.1 Sample 30‑Minute Routine
- Warm‑up (5 min): Light jog, dynamic leg swings, ankle circles.
- Core circuit (5 min): Plank (1 min), side plank each side (30 sec), rest (30 sec) – repeat.
- Single‑leg jump rope intervals (12 min): 20 sec on right leg, 40 sec rest; 20 sec on left leg, 40 sec rest. Repeat 4 rounds.
- Strength finisher (5 min): Split squats 3 × 12 per leg, body‑weight calf raises 2 × 20.
- Cool‑down (3 min): Stretch calves, quads, hamstrings.
5.2 Combining with Other Cardio
Pair single‑leg jumps with rowing, kettlebell swings, or high‑intensity interval training (HIIT) for a balanced cardio session that hits both upper and lower body.
5.3 Using It for Sport‑Specific Training
Basketball players can simulate quick footwork by alternating single‑leg jumps while moving laterally. Runners can improve stride stability by focusing on a smooth, quiet landing.
Conclusion: Your Path to Stronger, More Balanced Legs
Learning how to jump rope one leg at a time is a simple yet powerful addition to any fitness routine. By starting with solid fundamentals, practicing the technique deliberately, and progressing with structured intervals, you’ll see gains in balance, ankle stability, and calorie burn. Remember to choose the right rope, protect your joints with proper warm‑up, and give your muscles time to recover. Keep a log, celebrate small milestones, and soon you’ll be hopping confidently on one leg—whether you’re training for a sport, a marathon, or just looking for a fresh cardio challenge.
Frequently Asked Questions
Can beginners start with single‑leg jump rope?
It’s best to master two‑leg jumps first. Once you have a steady rhythm and can jump for at least 5 minutes, you can safely progress to single‑leg variations.
How often should I practice single‑leg jumps?
Two to three sessions per week, with at least 48 hours of rest between intense intervals, allows your muscles to adapt without overtraining.
What type of rope is ideal for this skill?
A lightweight beaded or speed rope (2.5‑3 mm) offers quick rotation and minimal drag, making it easier to time the single‑leg hop.
Will single‑leg jump rope help with injury prevention?
Yes. Strengthening ankle stabilizers and improving proprioception can reduce the risk of sprains and enhance overall joint health.
Do I need special shoes?
Cross‑training shoes with good arch support and a slightly cushioned sole are ideal. Avoid heavy running shoes that limit ankle flexibility.
How can I make the exercise more challenging?
Try double unders on one leg, add side‑to‑side hops, increase interval length, or incorporate weighted ropes for extra resistance.