Want to get the most out of the rowing machine at Planet Fitness? Follow this friendly, step‑by‑step guide to set up, row with perfect form, and track progress like a pro. All the tips are easy to apply, even if you’ve never tried a rowing machine before.
Key Takeaways
- Proper setup matters: Adjust foot straps, seat, and resistance before you start.
- Master the four‑phase stroke: Catch, drive, finish, and recovery create smooth, efficient movement.
- Breathe correctly: Inhale on the recovery, exhale on the drive for better endurance.
- Start with interval training: Short bursts help you learn technique and build cardio quickly.
- Track metrics: Use the console to monitor distance, split time, and calories burned.
- Prevent injury: Keep a neutral spine, engage core, and avoid over‑reaching.
- Integrate with your routine: Combine rowing with strength work for a balanced Planet Fitness workout.
📑 Table of Contents
- Introduction: Why Rowing Is a Planet Fitness Secret Weapon
- 1. Getting Started: Setting Up the Rowing Machine
- 2. The Four‑Phase Rowing Stroke
- 3. Breathing, Core Engagement, and Common Mistakes
- 4. Building a Rowing Routine at Planet Fitness
- 5. Etiquette and Practical Tips for Planet Fitness Rowers
- Conclusion: Row Your Way to Better Fitness
Introduction: Why Rowing Is a Planet Fitness Secret Weapon
When you walk into a Planet Fitness club, the first thing you probably see is a wall of treadmills and a row of free‑weight stations. Hidden among the cardio lineup is a sleek, low‑profile rowing machine that often gets overlooked. Yet rowing is one of the most efficient full‑body workouts you can do in a gym. It burns calories, strengthens the core, works the legs, back, and arms, and improves cardiovascular health—all without pounding your joints.
If you’ve ever wondered how to use the rowing machine at Planet Fitness, you’re not alone. Many members feel intimidated by the machine’s unfamiliar motion. The good news? The learning curve is short, and with the right guidance you’ll be gliding smoothly in minutes. This article breaks down every step, from setting the machine up to creating a personalized rowing plan that fits your fitness goals.
1. Getting Started: Setting Up the Rowing Machine
1.1 Choose the Right Machine
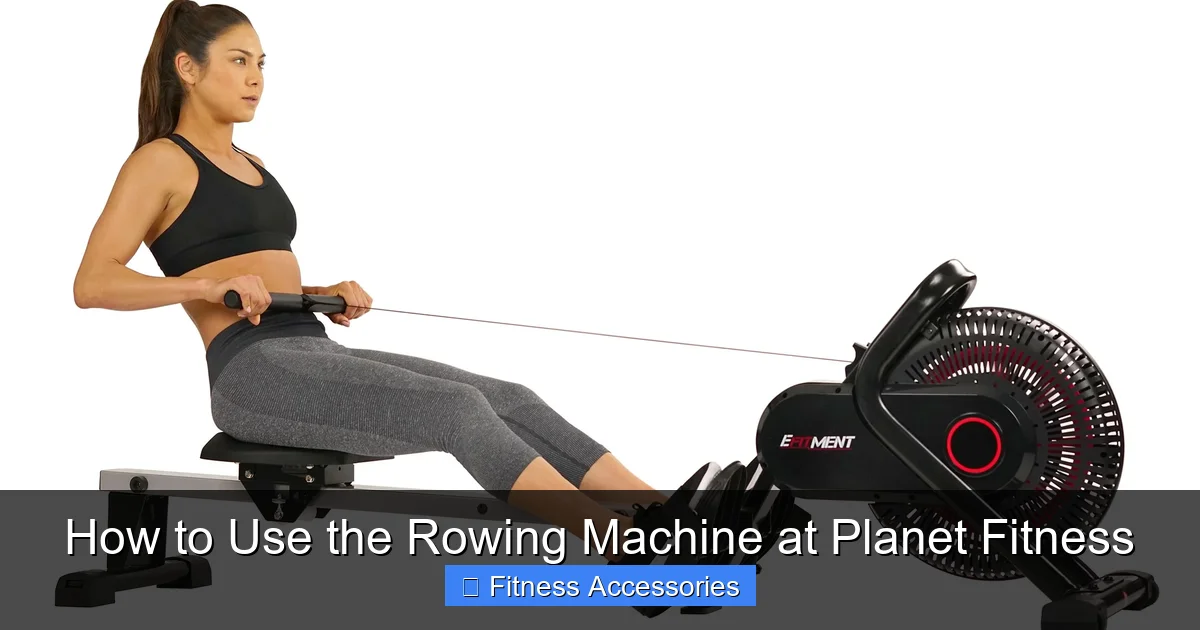
Planet Fitness typically equips its locations with the Concept2 Model D or a similar air‑resistance rower. Both have a familiar feel, a clear console, and easy‑to‑adjust foot straps. Look for the machine with a digital display that shows distance, time, split, and calories.
Visual guide about How to Use the Rowing Machine at Planet Fitness
Image source: i.pinimg.com
1.2 Adjust the Foot Straps
1. Sit on the seat and place the middle of your foot on the footplate.
2. Pull the strap over the top of your foot, ensuring the strap sits snugly across the laces.
3. Tighten the strap until you can wiggle your toes but feel secure. This prevents your foot from slipping during the drive phase.
1.3 Set the Seat Position
Slide the seat forward or backward so that when you’re in the “catch” position (knees bent, shins vertical), your shins are roughly vertical and your hips are just above the knee level. A good rule of thumb: your knees should be at a 90‑degree angle when the handle is just above your shins.
1.4 Choose the Resistance
Planet Fitness rowers use air resistance, which increases with how hard you pull. Beginners should start with a low level (e.g., 3‑4 on a scale of 1‑10). As you get comfortable, add a level every 2‑3 weeks. Remember, the goal is smooth form, not raw power.
1.5 Familiarize Yourself with the Console
The console lets you select programs (e.g., 500‑meter sprint, 2,000‑meter steady state), view splits, and set interval timers. Spend a minute tapping each button so you know where “reset,” “stop,” and “menu” are. This eliminates hesitation once you start rowing.
2. The Four‑Phase Rowing Stroke
2.1 Phase 1 – The Catch
The catch is the starting position. Sit tall, lean slightly forward from the hips, keep your back straight, and extend your arms fully. Your shins should be vertical, and your shoulders relaxed.
Visual guide about How to Use the Rowing Machine at Planet Fitness
Image source: infraredforhealth.com
2.2 Phase 2 – The Drive
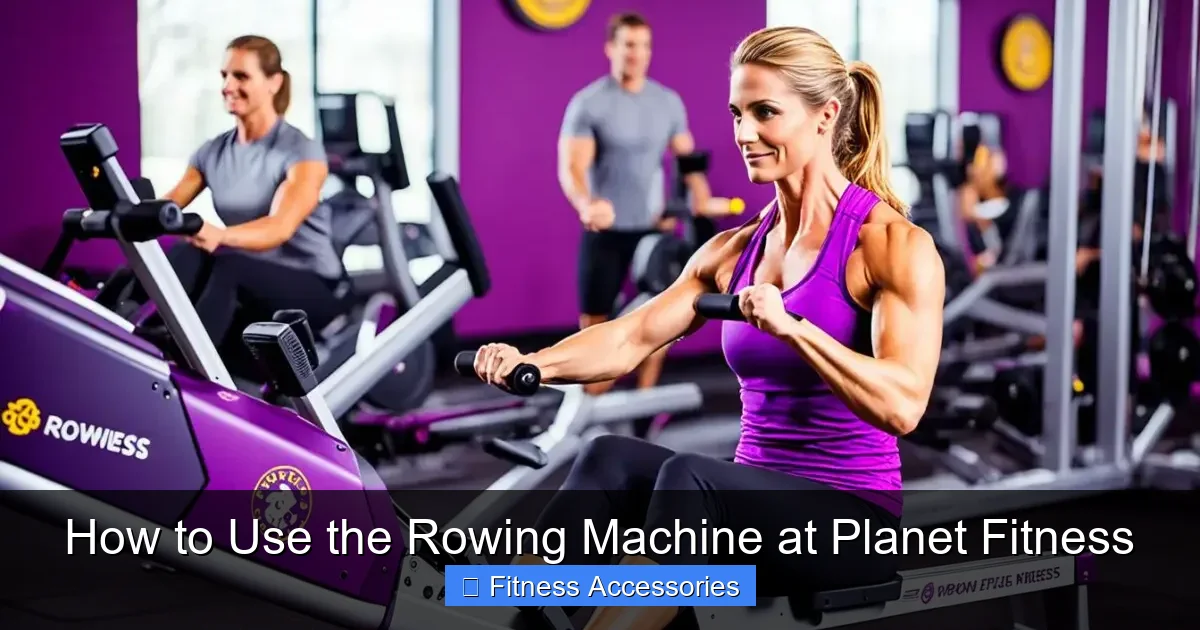
Push with your legs first. As your knees straighten, lean back slightly (about 11‑12 o’clock on a clock face) and pull the handle toward your lower ribs. The motion should feel like a smooth, coordinated push‑pull sequence.
2.3 Phase 3 – The Finish
At the end of the drive, your legs are straight, your torso is slightly leaned back, and the handle rests just below your ribs. Keep elbows drawn close to your body, wrists flat, and shoulders relaxed.
2.4 Phase 4 – The Recovery
Reverse the drive. Extend your arms first, then hinge at the hips to lean forward, and finally bend your knees to slide the seat forward. This returns you to the catch position, ready for the next stroke.
2.5 Rhythm Tips
- Count “1‑2‑3‑4” for the drive (1‑2 on legs, 3 on body, 4 on arms).
- Count “5‑6‑7‑8” for the recovery (5 arms, 6‑7 hips, 8 knees).
- Aim for a 1:2 drive‑to‑recovery ratio. This feels natural and keeps heart rate steady.
3. Breathing, Core Engagement, and Common Mistakes
3.1 Breathing Pattern
Inhale during the recovery (when you’re sliding forward) and exhale sharply during the drive. This “power breath” stabilizes your core and supplies oxygen to working muscles.
3.2 Keep the Core Tight
Imagine you’re about to be punched in the stomach – brace your core gently. A strong core protects your lower back and transfers power from your legs to the handle.
3.3 Mistake #1 – Over‑reaching
Pulling the handle too far past your ribs stretches the shoulders and can cause strain. Keep the handle close to your body; think “hugging a tree” rather than “reaching for a shelf.”
3.4 Mistake #2 – Rounding the Back
A rounded spine during the drive puts pressure on the lumbar discs. Keep your chest up and shoulders rolled back. If you feel your back curving, reduce the resistance and focus on posture.
3.5 Mistake #3 – Using Only the Arms
Rowing is a leg‑driven exercise. If you feel your arms doing most of the work, you’re likely starting the drive too early. Practice the “leg‑first” cue: push with your heels before you pull.
4. Building a Rowing Routine at Planet Fitness
4.1 Beginner Interval Plan (4‑Week)
- Week 1: 5 × 250 m sprints with 2 min rest. Focus on technique, not speed.
- Week 2: 4 × 500 m at a steady pace, 90 sec rest.
- Week 3: 3 × 750 m, 1 min rest.
- Week 4: 2 × 1,000 m, 2 min rest.
This progression builds endurance while reinforcing proper form.
4.2 Advanced Endurance Session
For seasoned rowers, try a 30‑minute “steady state” row at a split time that feels challenging but sustainable (e.g., 2:15 per 500 m). Keep heart rate in the 70‑80 % of max zone.
4.3 Mixing Rowing with Strength Training
Planet Fitness offers a full suite of strength equipment. Pair a 20‑minute rowing warm‑up with a circuit of squats, bench press, and lat pulldowns. Rowing activates the posterior chain, priming the body for heavy lifts.
4.4 Tracking Progress
Use the console’s “log” feature or a fitness app (e.g., MyFitnessPal, Strava) to record distance, split, and calories each session. Aim for a 5‑10 % improvement in split time every 2‑3 weeks.
5. Etiquette and Practical Tips for Planet Fitness Rowers
5.1 Time Limits
Many Planet Fitness locations have a 30‑minute time limit per cardio machine during peak hours. Set a timer on your phone to avoid a “please vacate” notice.
5.2 Cleaning the Machine
After you finish, wipe the seat, handle, and footplates with the disinfectant wipes provided. This keeps the equipment safe for the next member.
5.3 Sharing the Rowing Space
If the gym is busy, be mindful of the rower’s swing arc. Keep your feet centered on the footplate and avoid leaning too far forward, which can encroach on neighboring stations.
5.4 Using Headphones
Many rowers enjoy music or podcasts. Plug in a pair of sweat‑proof headphones, but keep the volume low enough to hear staff announcements.
5.5 Getting Help from Staff
Planet Fitness staff are trained to demonstrate equipment. Don’t hesitate to ask for a quick “how‑to” if you’re unsure about strap placement or resistance settings.
Conclusion: Row Your Way to Better Fitness
Now you know exactly how to use the rowing machine at Planet Fitness—from setup and stroke mechanics to creating a sustainable workout plan. Rowing delivers a low‑impact, high‑return workout that fits perfectly into the friendly, judgment‑free atmosphere Planet Fitness is known for. Start with the simple interval routine, focus on form, and watch your stamina and strength improve week after week. Remember to breathe, keep your core engaged, and enjoy the rhythmic glide. Happy rowing!
Frequently Asked Questions
Do I need any special shoes to row at Planet Fitness?
No special shoes are required. A pair of clean, flat‑soled sneakers with good grip works best because they keep your feet stable on the footplate.
How many calories can I burn on the rowing machine?
Burn rate varies by intensity and body weight, but most people burn 200‑300 calories in a 20‑minute moderate session.
Can I use the rowing machine if I have lower‑back pain?
Yes, rowing is low‑impact and can strengthen the back when done with proper form. Start with low resistance, keep your core tight, and stop if you feel sharp pain.
What’s the difference between air‑resistance and magnetic rowers?
Air‑resistance rowers (like the Concept2) get harder the faster you pull, giving a natural feel. Magnetic rowers provide a smoother, quieter resistance but can feel less dynamic.
How often should I row each week?
Three to four sessions per week of 20‑30 minutes each is ideal for most beginners. More advanced rowers can increase to five sessions, mixing intervals and steady‑state rows.
Is rowing better than treadmill for weight loss?
Both are effective cardio options. Rowing engages more muscle groups, so you may burn slightly more calories per minute and build more overall strength.