Setting up your stationary bike correctly for your height is the single most important step to prevent injury, eliminate discomfort, and maximize your workout efficiency. A proper fit ensures your joints are aligned, muscles engage correctly, and you can pedal powerfully for longer. This guide breaks down the exact, step-by-step process for adjusting every part of your bike—from saddle height and handlebar reach to pedal position—using simple, proven methods you can do at home. Don’t guess; measure and adjust for a safe, effective ride every time.
So, you’ve unboxed your shiny new stationary bike, filled with excitement for the cardio gains to come. You hop on, start pedaling, and within two minutes… your knees are screaming, your back is hunched, and your feet are sliding off the pedals. Sound familiar? This frustrating scene plays out for countless home fitness enthusiasts, and the culprit is almost always the same: a bike that isn’t set up for your body. Think of it like this: you wouldn’t wear shoes that are the wrong size and expect to run a marathon comfortably. Your bike is an extension of your body, and a proper fit is non-negotiable for safety, comfort, and results.
The phrase “set up stationary bike for your height” is a bit of a simplification. While your overall stature is the starting point, the perfect fit is a combination of your inseam, torso length, arm length, and even your personal flexibility and any pre-existing conditions. A one-size-fits-all approach doesn’t exist. But here’s the fantastic news: getting it right doesn’t require a degree in kinesiology or expensive professional fitting (though that’s great if you can get it!). With a few simple measurements, a basic understanding of biomechanics, and a willingness to tweak and test, you can dial in a personalized setup in under 10 minutes. This guide will walk you through every single adjustment, from the big ones like saddle height to the finer points of handlebar angle, using clear, actionable steps. Let’s transform that potential source of pain into your favorite piece of home gym equipment.
Key Takeaways
- Seat Height is Foundational: Use the “Heel Method” to find your starting point, then fine-tune for a 25-35 degree knee bend at the bottom of the pedal stroke.
- Handlebar Position Affects Comfort: Adjust height and reach to maintain a neutral spine with a slight bend in the elbows, preventing back and neck strain.
- Fore-Aft Seat Position Matters: Your knee should be directly over the pedal spindle (ball of your foot) at the 3 o’clock position for optimal knee tracking.
- Strap In Correctly: Secure bike shoes or straps so your foot is flat on the pedal, preventing foot slippage and ankle stress.
- Small Adjustments Make Big Differences: A change of just 1/4 inch in saddle height or 1 inch in handlebar reach can dramatically alter comfort and performance.
- Listen to Your Body: Sharp pain is a stop sign; dull muscle fatigue is normal. A proper setup should feel challenging, not punishing.
- Re-Check Regularly: Your body adapts, and pins/bolts can settle. Reassess your fit every few weeks, especially if you feel new aches.
📑 Table of Contents
- Why a Proper Bike Fit Isn’t Optional: The Cost of a Bad Setup
- Section 1: The Foundation – Setting Your Saddle Height
- Section 2: Finding Your Sweet Spot – Saddle Fore-Aft Position
- Section 3: Upper Body Alignment – Handlebar Height and Reach
- Section 4: The Connection Point – Pedals and Foot Position
- Section 5: Putting It All Together – The Dynamic Test and Final Tweaks
- Section 6: Special Considerations and Troubleshooting
- Conclusion: Your Personalized Ride Awaits
Why a Proper Bike Fit Isn’t Optional: The Cost of a Bad Setup
Before we dive into the “how,” let’s establish the “why.” Why is spending 10 minutes on setup so critical? Skipping this step isn’t just about discomfort; it’s a direct path to injury and stalled progress.
Injury Prevention: Protecting Your Joints
Your legs move in a circular path called a pedal stroke. When your bike is misaligned, you force your knees, hips, and ankles into unnatural angles. The most common mistake is a saddle that’s too low. This hyper-flexes your knee, crushing the patella (kneecap) against the femur and leading to anterior knee pain, sometimes called “biker’s knee.” Conversely, a saddle that’s too high causes your hips to rock side-to-side with each stroke, straining your hamstrings and lower back. A poor fore-aft position can cause the knee to track inward (valgus) or outward (varus), wearing down the cartilage over time. These aren’t just “soreness”; they are micro-traumas that accumulate into chronic issues like tendinitis or chondromalacia.
Maximizing Power and Efficiency
Think of pedaling as pushing down, pulling up, and sweeping through the entire circle. When your joints are aligned, your powerful glutes, hamstrings, and quadriceps can engage in their optimal ranges. A misaligned setup short-circuits this. If you’re reaching too far for the handlebars, you’re using your arms and back to support your upper body weight instead of your core, sapping power from your legs. If your seat is too far forward, you’re predominantly using your quads, neglecting your glutes and hamstrings, leading to muscle imbalances and less overall force. A proper fit lets you transfer maximum energy from your muscles to the pedals with every single stroke.
Comfort Equals Consistency
Let’s be honest: if it hurts, you won’t do it. The psychological barrier of dread is a powerful demotivator. A well-fitted bike should feel like a natural extension of your body. You should be able to focus on your breathing, your pace, your power output—not on the ache in your left knee or the knot in your shoulder. Comfort translates directly to longer, more frequent, and more enjoyable workouts. You’ll show up for your rides because they feel good, not because you have to punish yourself.
Section 1: The Foundation – Setting Your Saddle Height
This is the most critical adjustment, period. Everything else builds on a correct saddle height. The goal is to find a height where your leg has a slight bend at the knee at the very bottom of the pedal stroke, with your foot in a neutral position (ball of the foot over the pedal spindle). A fully straight leg locks the knee joint, transferring all impact to the joint itself. A severe bend (less than 25 degrees) overworks the quadriceps and strains the knee.
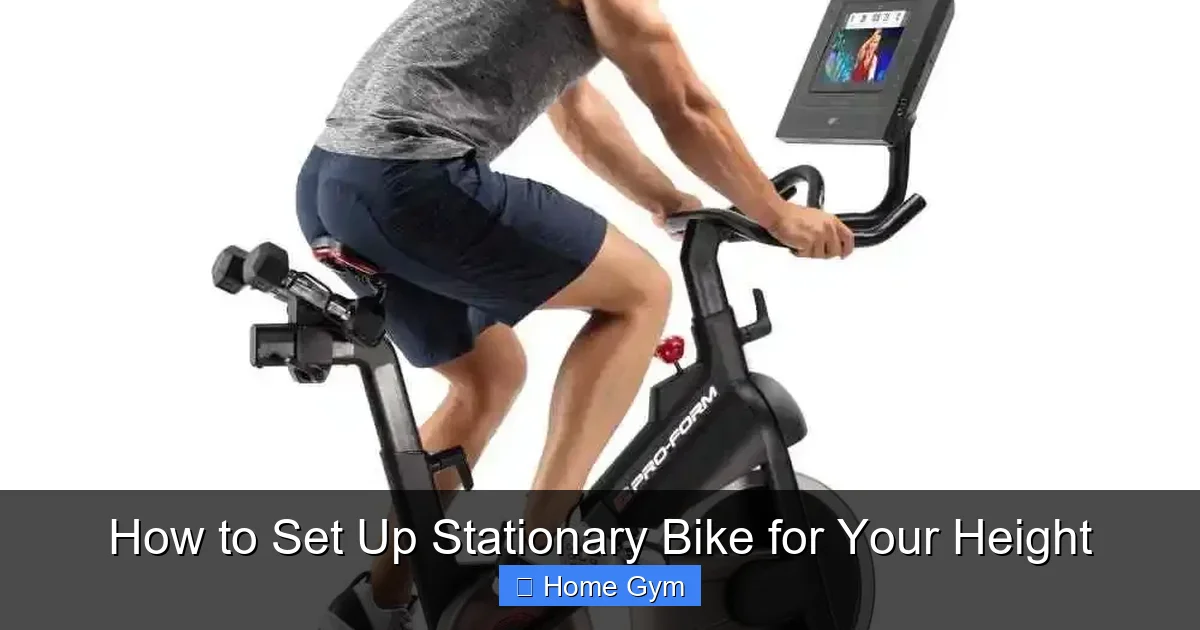
Visual guide about How to Set Up Stationary Bike for Your Height
Image source: i2.wp.com
Method 1: The Heel Method (The Gold Standard for Beginners)
This is the fastest, most reliable way to get into the correct ballpark. All you need is your bike and a wall or stable object for balance.
- Step 1: Place the bike on a level surface. Sit on the saddle. For a moment, let your feet dangle freely and note where your hip bone (the bony protrusion on the side) sits in relation to the saddle. This is your hip joint center, a key reference.
- Step 2: With the crank arm (the arm holding the pedal) at the 6 o’clock position (pointing straight down), place the heel of your foot on the pedal. Your leg should now be fully extended, but your hip should NOT be stretched. If you have to rock your hips to reach the pedal, the saddle is too high. If your knee is bent with your heel on the pedal, the saddle is too low.
- Step 3: Adjust the saddle up or down until, with your heel on the pedal at the bottom, your leg is perfectly straight (no hip rocking) but not hyper-extended. You should feel a gentle stretch in your hamstring, not a strain.
- Step 4: Now, move your foot into the proper riding position (ball of the foot on the pedal spindle, foot flat). You should now have a 25-35 degree bend in your knee at the bottom of the stroke. This is your starting height.
Fine-Tuning with the 109% Rule
For those who want a more mathematical, body-measurement-based approach, use your inseam. Measure your barefoot inseam (from floor to top of inner thigh) while standing against a wall. Multiply that number by 1.09. The result is your ideal saddle height, measured from the top of the saddle to the center of the crank axle. This is an excellent starting point, but the Heel Method is still king because it accounts for individual differences in shoe sole thickness and pedal system. Always use the Heel Method to confirm or adjust from the 109% calculation.
The Tell-Tale Signs of Correct Height
How do you know you’ve nailed it? During a ride:
- At the bottom of the stroke, your knee is soft, not locked, and not deeply bent.
- Your hips remain stable on the saddle; you don’t rock side-to-side.
- You feel a smooth, circular motion. There’s no “mashing” at the bottom or “pulling” at the top.
- After 10-15 minutes, your knees feel warm and engaged, not sharp or achy.
Section 2: Finding Your Sweet Spot – Saddle Fore-Aft Position
Once your height is set, you must position the saddle forward or backward on its rails. This determines where your knee tracks over the pedal. An incorrect position is a major cause of knee pain and inefficient power transfer.
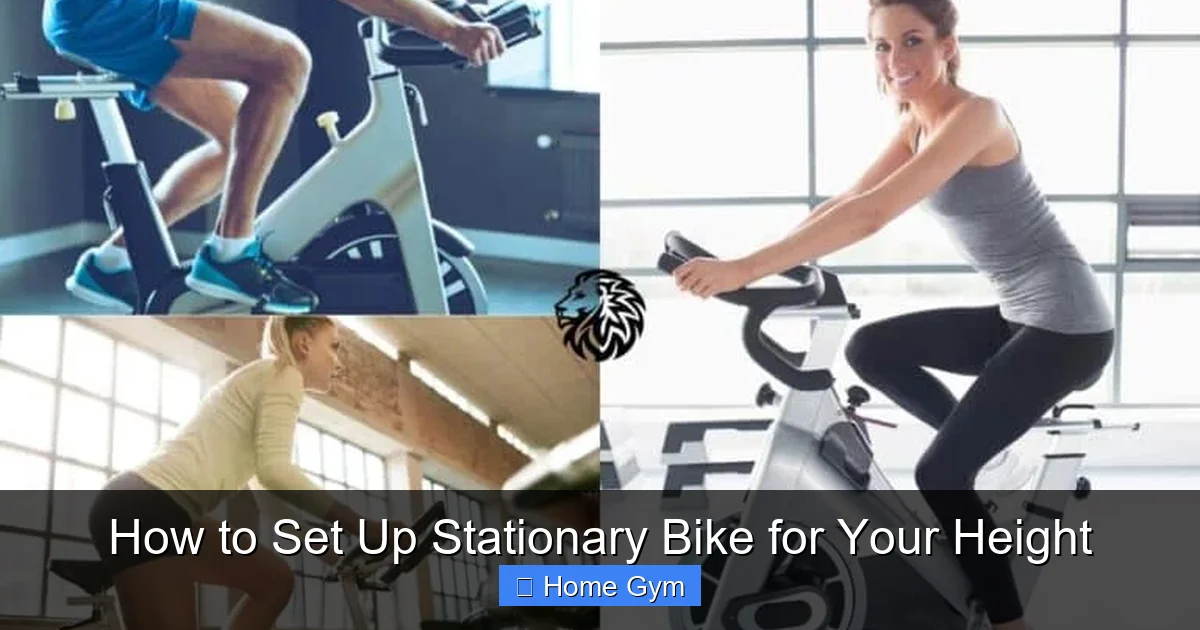
Visual guide about How to Set Up Stationary Bike for Your Height
Image source: angrylionfitness.com
The Knee Over Pedal Spindle (KOPS) Method
This is the classic, simplest method. You’ll need a plumb line (a string with a weight) or a friend with a keen eye.
- Step 1: Set your crank arms horizontally, with the pedal spindle at the 3 o’clock position (forward and level).
- Step 2: Sit on the bike in your normal riding position, hands on the handlebars. Let your feet dangle naturally.
- Step 3: Have your helper (or use a plumb line) find the bony bump just below your kneecap (the tibial tuberosity). Drop a plumb line from this point.
- Step 4: The plumb line should fall directly in line with the pedal spindle (the axle of the forward pedal). If it falls behind the spindle, slide the saddle forward. If it falls in front, slide it back. A small deviation of 1-2 cm is usually fine and can be adjusted for comfort.
Adjusting for Your Riding Style
The KOPS method is a great baseline, but personal preference and riding style can tweak it. If you’re a powerful sprinter who loves to “mash” the pedals, you might prefer the saddle slightly more forward to engage quads. If you’re an endurance rider focusing on a smooth spin and glute activation, a very slightly rearward position might feel better. Always start with KOPS, then make tiny (1-2 cm) adjustments and test ride for 5 minutes. Your body will tell you which feels more stable and powerful.
The Connection to Handlebar Reach
Your saddle fore-aft position is intimately linked to your handlebar reach. If you move the saddle forward to compensate for a reach that’s too far (so you don’t feel stretched), you create a different set of problems: your center of gravity shifts forward, loading your wrists and shoulders. It’s always better to adjust the handlebar stem or angle to achieve a comfortable reach rather than moving the saddle drastically from the KOPS position.
Section 3: Upper Body Alignment – Handlebar Height and Reach
Now for the part that affects your back, neck, and shoulders the most. The goal here is a neutral spine. You should not be rounded over like a question mark, nor should you be sitting bolt upright like on a city cruiser (unless that’s your specific bike’s design).
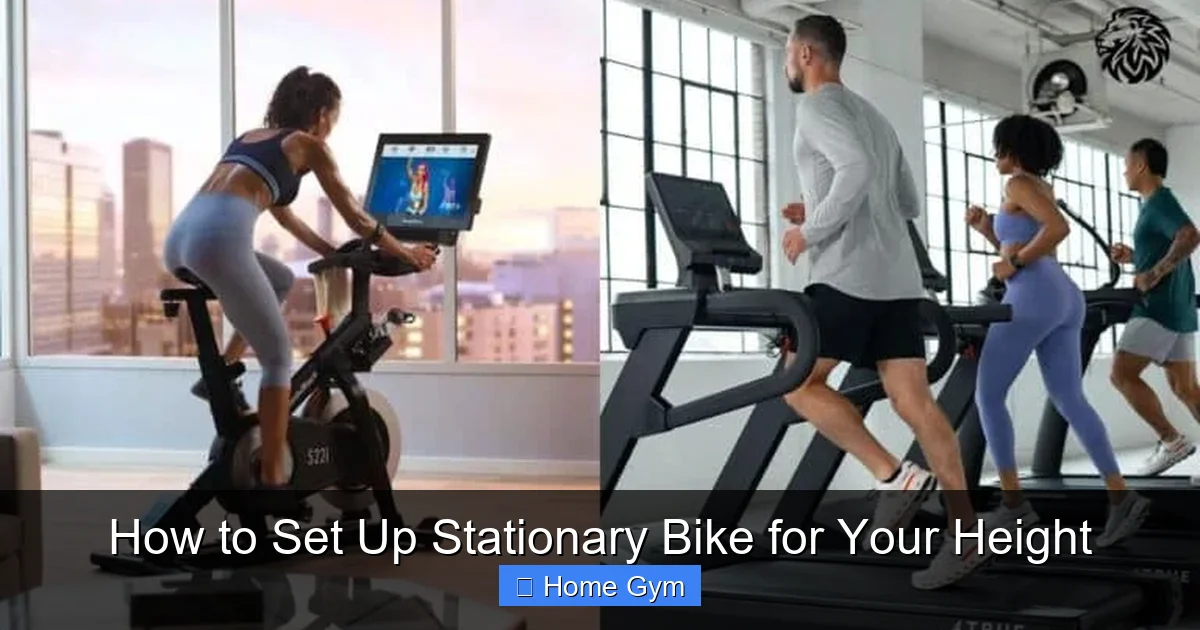
Visual guide about How to Set Up Stationary Bike for Your Height
Image source: angrylionfitness.com
Setting Handlebar Height
Most spin bikes and exercise bikes have a vertical adjustment on the stem. For beginners, those with lower back issues, or for recovery rides, starting with the handlebars level with or slightly above the saddle is ideal. This promotes a more upright torso, reducing spinal flexion. As you gain flexibility and core strength, you can lower the bars incrementally (1-2 inches at a time) to achieve a more aerodynamic position, which engages your core more. Never set the bars so low that you feel a constant pull or rounding in your lower back. Your forearms should be roughly parallel to the ground when you’re resting on the bars.
Adjusting Handlebar Reach (Stem Length/Angle)
This is about how far forward you have to stretch. The correct reach allows you to have a slight bend (25-30 degrees) in your elbows when your hands are on the bars. Your shoulders should be relaxed, not hunched up by your ears. Your hands should rest lightly on the bars or hoods; you should not be bearing your upper body weight on your wrists. If you’re straining to reach, your bars are too far. If your arms are crowded against your chest, they’re too close. Many bikes allow you to adjust the stem angle (tilting the bars up or down a few degrees) which can fine-tune reach and wrist angle more subtly than changing the stem length.
The Aero Position: Is It For You?
You’ve seen the riders in spin class, leaning low over the bars. That “aero” position recruits more core and glute muscles and can feel powerful. But it requires significant hamstring and hip flexibility and a strong core to support the spine. Attempting it without these prerequisites is a recipe for lower back pain. Master the upright position first. Only lower your bars in small increments once you can comfortably maintain a neutral spine for 30+ minutes in the upright setup.
Section 4: The Connection Point – Pedals and Foot Position
Your foot is your only point of contact with the bike’s power transfer system. How it sits on the pedal is crucial.
Clipless vs. Straps vs. Platform
Clipless pedals (with special shoes) offer the best power transfer and safety (your foot can’t slip off). The cleat position on your shoe is a whole other fitting topic, but a general rule: the ball of your foot should be over the pedal axle. Toe clips and straps are common on many home bikes. The key here is to tighten the strap so your foot is held firmly, but you can still easily get in and out. Your heel should not lift up during the stroke. Platform pedals are simple but allow foot slippage. Always wear a sneaker with a grippy sole and ensure the pedal surface is clean and dry.
The Ball of the Foot Over the Spindle
Regardless of pedal type, your foot’s position is governed by this rule. When the crank is horizontal (3 and 9 o’clock), the ball of your foot (the bony part behind your big toe) should be directly over the pedal axle/spindle. If your foot is too far forward (on your toes), you’re stressing your ankle and knee. If it’s too far back (on your heel), you’re reducing power and straining your Achilles. On a strap pedal, you can slide your foot forward or back in the strap to achieve this. On a clipless pedal, it’s determined by your cleat mounting position.
Ankle Angle: The Subtle but Important Detail
As you pedal, your ankle should act like a hinge, moving from a slightly flexed (toes pointing down a bit) at the top of the stroke to a slightly pointed (toes pulling up) at the bottom. Your ankle should never be locked rigid. A slight, relaxed movement through the ankle joint is a sign of a good, fluid stroke. If you feel your ankle is forced into an extreme angle, re-check your saddle fore-aft position.
Section 5: Putting It All Together – The Dynamic Test and Final Tweaks
You’ve made all the static adjustments. Now, you must test it dynamically. Static fit is a starting point; dynamic fit is the reality.
The 5-Minute Warm-Up Test
Before your first real workout, do a 5-minute easy spin. Pay attention to the following in this order:
- Feet: Is your foot stable? Is the ball of your foot on the spindle? Do your toes or heels feel pinched?
- Knees: Do they track straight over your toes? Is there any sharp pain on the inside or outside of the joint?
- Hips: Are they stable on the saddle? Do they rock side-to-side? Is there any pinching in the front?
- Back: Is your spine in a neutral, comfortable position? Are you rounded? Is there a pulling sensation?
- Shoulders/Neck: Are your shoulders down and relaxed? Is your neck long, not compressed? Are your wrists neutral?
Make one adjustment at a time. If your knees hurt, adjust saddle height first, then fore-aft. If your back hurts, adjust handlebar height and reach. Change one thing, ride for 2-3 minutes, and reassess.
Resistance and Cadence: The Final Piece of the Puzzle
Your setup interacts with your riding style. If you always ride with extremely high resistance and a very slow cadence (like 40-50 RPM), you’ll place massive force on your joints at the bottom of the stroke. This magnifies any minor fit errors. For joint health, aim for a cadence of 70-90 RPM with moderate resistance. This creates a smoother, more circular force that is easier on the knees and hips. A good fit allows you to maintain this efficient cadence comfortably.
Document Your Settings
Once you’ve found your perfect fit, write it down or take a photo. Note:
- Saddle height (from center of crank to top of saddle)
- Saddle fore-aft position (measure from the nose of the saddle to a fixed point on the bike, like the center of the stem)
- Handlebar height (relative to saddle height)
- Stem angle
This is your “baseline.” If you ever move the bike, lend it, or feel something is off, you can return to these proven settings instantly.
Section 6: Special Considerations and Troubleshooting
Bodies are not all the same. Here are adjustments for common scenarios.
For Riders with Longer or Shorter Torsos
A long torso relative to your leg length often means you need more reach. You may need to slide the saddle slightly back (to maintain KOPS) and use a longer stem or one with less upward angle to comfortably reach the bars without rounding your back. A short torso is the opposite: you may need a shorter stem or one with more upward angle to bring the bars closer and higher, preventing over-reaching.
For Riders with Hamstring or Hip Flexor Tightness
Tight hamstrings can make it difficult to tilt your pelvis forward, often causing you to feel like you’re “falling off” the front of the saddle. This might mean your saddle is slightly too far forward. Try moving it back 1-2 cm. Tight hip flexors (from sitting all day) can make an aero position painful. Start with a higher handlebar position and work on daily hip flexor stretches.
“But My Friend’s Bike Is Set Up Completely Differently!”
This is a common point of confusion. Two riders of the same height can have vastly different setups due to differences in leg-to-torso ratio (inseam), shoe thickness, flexibility, and riding goals (e.g., aggressive spin class vs. gentle rehab). Your setup is a unique combination for you. Use the methods in this guide, not your friend’s bike, as your template.
Conclusion: Your Personalized Ride Awaits
Setting up your stationary bike for your height isn’t a one-time chore; it’s the first and most important step in your fitness journey with that machine. It’s the foundation upon which every watt of power, every calorie burned, and every minute of enjoyment is built. By methodically adjusting saddle height using the Heel Method, dialing in fore-aft position with the KOPS principle, and configuring handlebars for a neutral spine, you transform a generic piece of metal into a personalized tool for health.
Remember the core philosophy: comfort leads to consistency, and consistency leads to results. A perfectly fitted bike eliminates the bargaining chip of pain. You no longer have to negotiate with your body to get through a workout. Instead, you can focus entirely on the rhythm of your breath, the burn in your muscles, and the mental clarity that comes from a sustained effort. So, take the 15 minutes. Grab a friend, use a plumb line, and test ride. Listen to what your body tells you. The difference between a good setup and a great one is measured not in inches, but in the profound, quiet satisfaction of a ride that just feels right. That’s the setup you deserve.
Frequently Asked Questions
What is the single most important adjustment for avoiding knee pain?
Saddle height is the #1 factor. A saddle that’s too low is the primary cause of anterior knee pain. Always use the Heel Method to ensure a 25-35 degree knee bend at the bottom of the stroke before anything else.
How often should I re-check my bike fit?
Reassess your settings every 4-6 weeks, especially when you first start. Your body adapts, and pins/bolts can settle. Also, immediately re-check if you experience any new aches or pains, or if you change your shoes (different sole thickness changes effective leg length).
My lower back hurts even with the handlebars as high as they go. What now?
First, double-check your saddle height—a saddle that’s too high forces your hips to rock, straining the lower back. Second, your core may be weak, forcing your back to support your upper body. Focus on core engagement exercises. Finally, consider if your bike’s frame geometry is simply too aggressive for your flexibility; a different bike style (like an upright “recumbent” style) might be necessary.
Is it normal for my feet to go numb during long rides?
No, numbness is a sign of poor fit. It’s usually caused by pressure on the nerves between the metatarsals. Ensure the ball of your foot is centered on the pedal, your straps/shoes are snug but not tight (cutting off circulation), and your fore-aft saddle position isn’t so far forward that you’re pushing onto the pedals with your toes.
Should I set my bike up differently for High-Intensity Interval Training (HIIT) vs. steady-state rides?
Generally, no. Your fundamental fit (height, fore-aft) should remain constant. However, for HIIT with very high resistance and standing intervals, a slightly lower saddle (by 1/4 inch) can sometimes feel more stable and powerful for some riders. Test this carefully.
Can I use the same setup for my road bike and my stationary bike?
Not necessarily. The geometry (frame angles, crank length) is different between bikes, and you wear different shoes. You should measure and set up each bike independently using the same principles (Heel Method, KOPS). Your stationary bike position is often slightly more upright.