Getting your dirt bike tire pressure right is non-negotiable for safety, performance, and fun. The correct PSI isn’t a single number; it’s a range that depends entirely on your bike, the terrain, and your riding style. Running the wrong pressure can lead to dangerous crashes, premature tire wear, and a miserable riding experience. This guide breaks down everything you need to know, from manufacturer recommendations to terrain-specific tweaks, so you can confidently set your tires for any condition.
Key Takeaways
- There is no universal “correct” PSI: The ideal pressure is a dynamic range, typically between 12-20 PSI for most off-road conditions, determined by terrain, tire construction, and rider weight.
- Manufacturer guidelines are your starting point: Always begin with the PSI range listed on your bike’s swingarm or in the owner’s manual. This is the safe baseline for your specific machine.
- Terrain dictates pressure more than anything: Softer terrain (sand, deep mud) requires lower pressure for a larger contact patch, while hardpacked or rocky trails need higher pressure to prevent rim damage and pinch flats.
- Under-inflation is as dangerous as over-inflation: Too low causes tire roll, rim damage, and instability. Too high reduces traction, creates a harsh ride, and increases the risk of a blowout.
- Check pressure when tires are cold and before every ride: Riding heats tires and air, giving a false high reading. A reliable digital tire pressure gauge is essential equipment.
- Tire construction matters: Modern bias-ply and radial tires have different sidewall flex characteristics, affecting how they behave at different pressures. Tubeless setups can often run slightly lower pressures safely.
- Your weight and riding style are variables: Heavier riders may need +1-2 PSI. Aggressive racers might drop pressure for maximum cornering bite, while casual trail riders may prefer a slightly higher, more stable setup.
📑 Table of Contents
- Why Your Dirt Bike’s Air Pressure is Everything
- The Golden Rule: Start with Your Manufacturer’s Recommendation
- How Terrain Dictates Your Pressure: The Art of the Adjustment
- Tire Type, Condition, and Tubeless vs. Tube: The Other Variables
- The Practical Ritual: How to Check and Adjust Properly
- Troubleshooting: What Your Tires Are Telling You
- Conclusion: Pressure is Your Personal Secret Weapon
Why Your Dirt Bike’s Air Pressure is Everything
Let’s be real: when you’re itching to ride, checking tire pressure can feel like a tedious chore. You’d rather be kicking up dirt than kneeling beside your bike with a gauge. But here’s the hard truth—your tire pressure is the single most critical setup adjustment you can make that directly translates to the trail or track. It’s the invisible handshake between your bike and the earth. Get it wrong, and you’re fighting your machine for every turn, every climb, every brake. Get it right, and the bike feels like an extension of your body, carving lines with confidence and sticking to the ground like glue.
This isn’t just about avoiding a flat. It’s about traction, control, suspension synergy, and safety. The air inside your tire is a fundamental part of your suspension system. It works in tandem with your fork and shock springs. Too much air, and the tire can’t conform to bumps, transferring harsh impacts straight to your hands, feet, and spine. Too little air, and the tire will squirm, roll unpredictably in corners, and the sidewall can collapse under hard cornering or landing from a jump, potentially causing a “snake bite” flat or a catastrophic rim failure.
Think of it like this: your tire’s contact patch—the part actually touching the ground—is what gives you grip. Pressure determines the size and shape of that patch. On a hard surface, a smaller, firmer patch is efficient. In soft sand, you need a wide, sprawling patch to stay on top. Adjusting your air pressure is your primary tool to reshape that patch for the terrain beneath you. It’s the difference between floating on top of the dirt and digging in too deep.
The Golden Rule: Start with Your Manufacturer’s Recommendation
Before you ever listen to a buddy’s “secret setup” or a random internet forum post, you must find the official recommended pressure for your specific dirt bike. This is your foundation. Ignoring this is like building a house on sand.
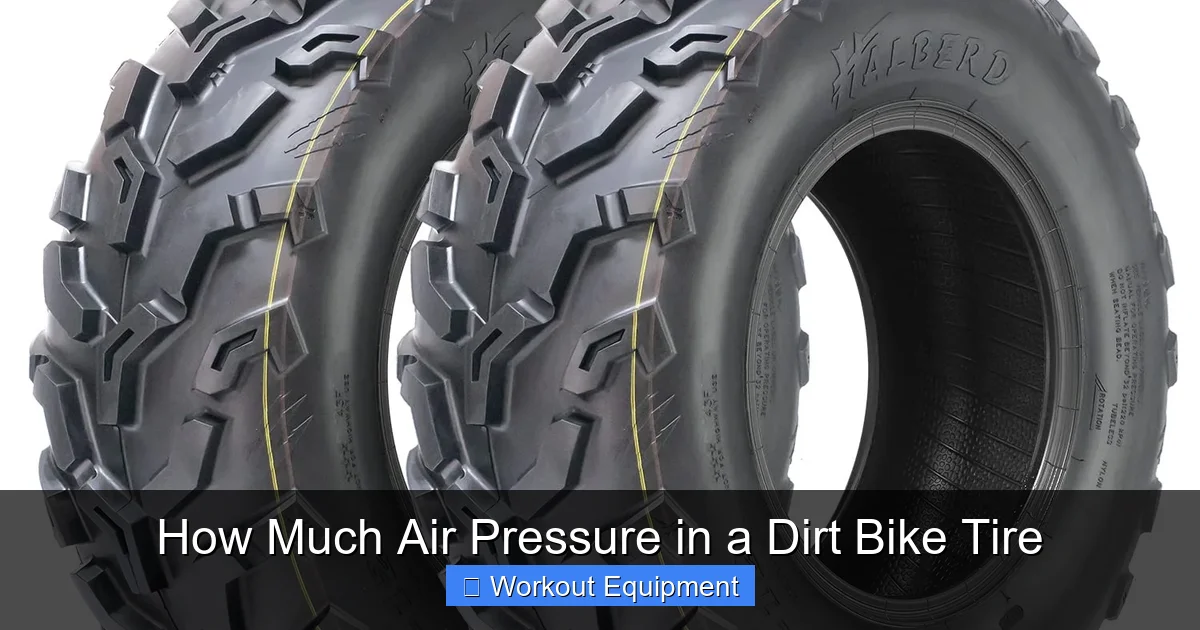
Visual guide about How Much Air Pressure in a Dirt Bike Tire
Image source: m.media-amazon.com
Where to Find the Magic Numbers
Manufacturers don’t hide this information. They usually stamp it directly onto the bike itself. Your first stop is the swingarm. Look on the side, near the rear axle, or on the chain guard. You’ll often see a decal or embossed metal plate listing something like “FRONT: 12 PSI / REAR: 14 PSI” or a range. If it’s not there, crack open your owner’s manual. It will have a specifications section with tire pressures. This recommended pressure is calculated for the stock tire size, a rider of average weight (often around 150-170 lbs), and general off-road use. It is the safest, most reliable starting point.
For example, a 2023 Honda CRF450R might list 12 PSI front and 13 PSI rear. A larger, heavier bike like a KTM 500 EXC-F might list 14 PSI front and 15 PSI rear. These numbers are not arbitrary; they’re engineered based on the bike’s weight distribution, wheel size, and intended use.
Why You Must Start Here
Starting with the manufacturer’s PSI ensures you are within the safe operational limits of your wheel rims and tire bead. The rim is designed to hold a specific volume of air at a specific pressure. Running significantly lower than recommended on a stock rim can allow the tire bead to unseat from the rim under hard cornering or impact, leading to a sudden loss of air and control. The manufacturer’s number also provides a baseline for your bike’s handling geometry. Drastically changing pressure can alter the bike’s rake and trail, affecting steering feel.
Practical Tip: Write the stock pressures on a piece of masking tape and stick it to your bike’s frame or under the seat. That way, you always have your baseline reference, even after you start experimenting.
How Terrain Dictates Your Pressure: The Art of the Adjustment
This is where the real magic—and the personalization—happens. Once you have your safe baseline, you adjust up or down based on what’s under your wheels. The core principle is simple: softer terrain = lower pressure; harder terrain = higher pressure.
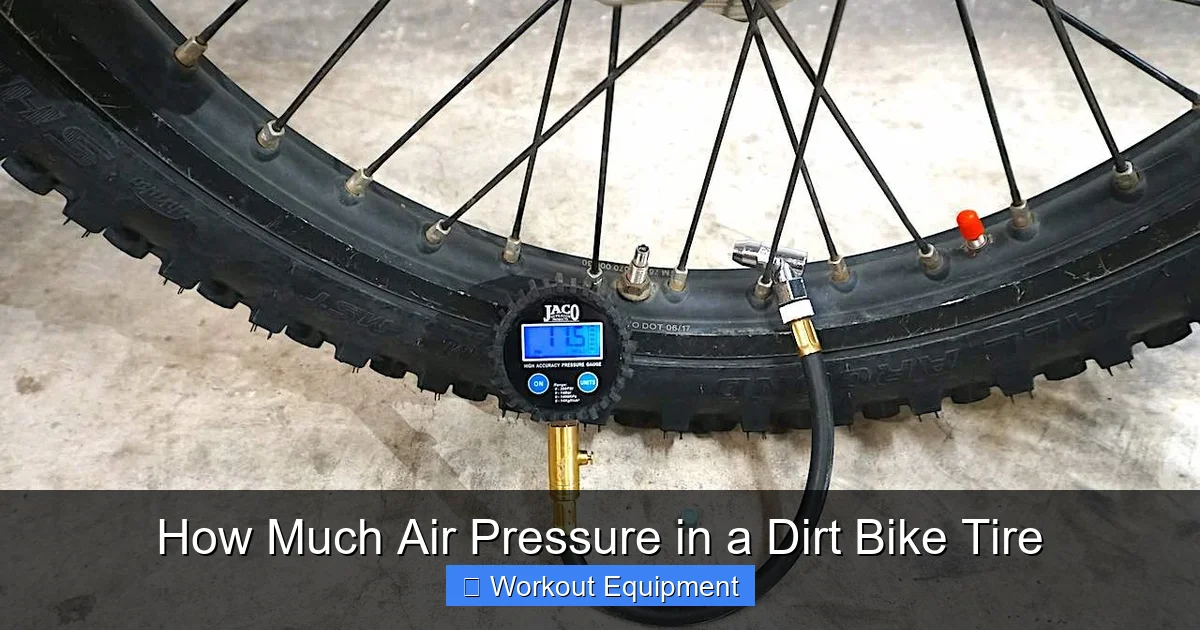
Visual guide about How Much Air Pressure in a Dirt Bike Tire
Image source: betterdirtbikeriding.com
For Soft & Loamy Conditions: Sand, Deep Mud, Silt
Your goal here is to maximize flotation. You want the tire to ride on top of the surface, not dig in. You achieve this by increasing the size of your contact patch. A lower pressure allows the tire to spread out, creating a wider, flatter footprint that distributes your weight over a larger area.
- Typical Adjustment: Drop 2-4 PSI from your baseline. If your baseline is 12/14, try 10/11 or even 9/10 for deep sugar sand.
- What to watch for: The tire will feel “squishy” on hardpacked sections. You may experience a slight “mushy” feel in steering. This is normal. The trade-off for flotation is a less precise feel on firm ground. Be prepared for the bike to wander a bit in whoops.
- Example: Riding the sand dunes at Glamis or the soft riverbeds of the Northwest. Dropping pressure is essential to keep from bogging down. Pro sand racers often run the lowest pressure their rim and tire allow, sometimes as low as 8 PSI front and 9 PSI rear on specialized sand tires.
For Hardpacked & Rocky Terrain: Desert, Mountain Trails, Motocross Tracks
Here, your goal is stability, rim protection, and crisp steering. The ground is firm, so you don’t need a huge footprint. A higher pressure creates a smaller, firmer contact patch that rolls more efficiently and resists sidewall collapse against rocks and roots.
- Typical Adjustment: Add 1-3 PSI to your baseline. From 12/14, try 13/15 or 14/16.
- What to watch for: The ride will feel harsher as small bumps and cracks are transmitted more directly. Traction on loose sections might feel slightly reduced because the tire has less ability to conform to small irregularities. The big benefit is pinch flat resistance. Higher pressure means the tire and rim have more space to compress before the tube is pinched between them—a lifesaver on rocky, fast descents.
- Example: A technical singletrack in the Rockies full of babyhead rocks, or a hardpacked motocross track like Anaheim 1. Running higher pressure here keeps your rims true and prevents those dreaded “snake bite” holes in your tube from landing jumps or hitting rocks.
For Intermediate & Mixed Terrain: Most Trail Riding
This is the most common scenario—a mix of hardpack, loose gravel, roots, and maybe a mud puddle or two. The strategy is to find a balanced compromise. You want enough pressure to protect your rims and maintain steering precision on the hard bits, but low enough to get decent traction in the loose sections.
- Typical Adjustment: Start at your manufacturer’s baseline. This is often the perfect “all-around” pressure. Make minor tweaks of +/- 1 PSI based on your specific feel.
- What to watch for: If you feel the front tire pushing or sliding in corners on loose-over-hard, try dropping 1 PSI. If you’re getting a lot of rim strikes or feeling unstable in high-speed whoops, try adding 1 PSI.
- Example: A typical Sunday ride at your local ORV park. The conditions change every 100 yards. A good, balanced pressure will let you adapt your riding style rather than constantly adjusting your PSI.
Tire Type, Condition, and Tubeless vs. Tube: The Other Variables
Pressure doesn’t exist in a vacuum. The tire itself plays a huge role in how a given PSI feels and performs.
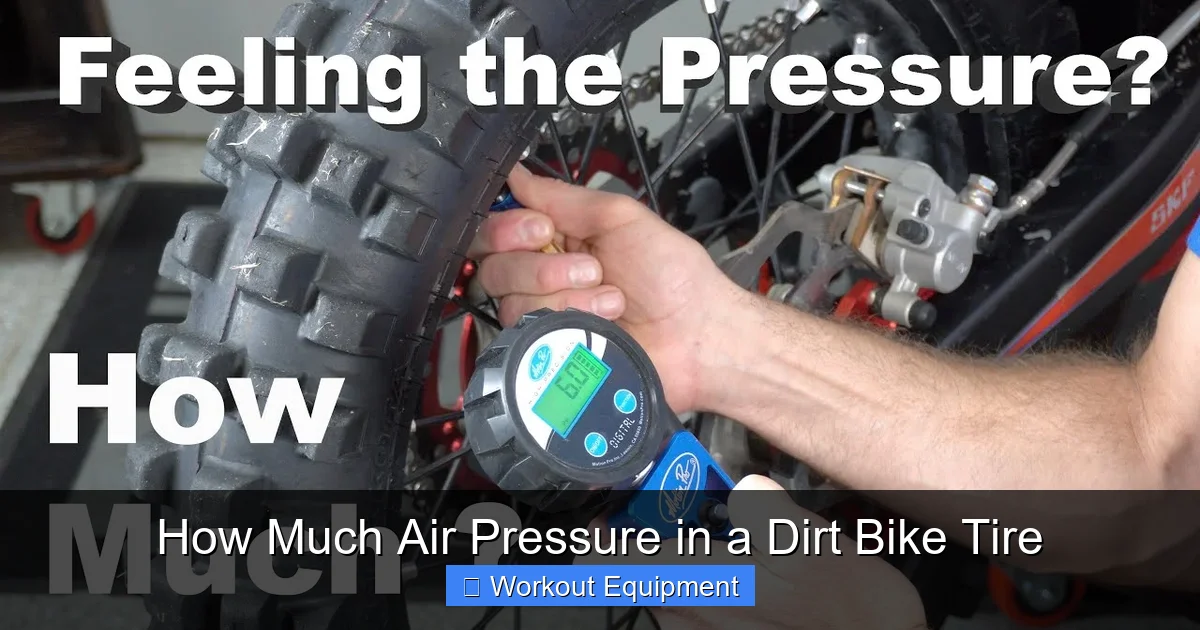
Visual guide about How Much Air Pressure in a Dirt Bike Tire
Image source: i.ytimg.com
Bias-Ply vs. Radial Tires
Most dirt bike tires are bias-ply, meaning the plies run at an angle across the tire. They have stiffer sidewalls and generally require the standard pressure ranges we’ve discussed. Radial tires (less common on dirt bikes, more on adventure bikes) have plies that run perpendicular to the bead. They have more flexible sidewalls and can often safely run slightly lower pressures for a larger contact patch without sidewall collapse, but they can also feel less stable at high speeds on hard surfaces. Always follow the tire manufacturer’s recommendation if it differs from the bike’s.
Tire Wear and Age
A brand-new, stiff tire will behave differently than one with 50% tread wear. As a tire wears, the sidewalls become more flexible. An older, worn tire may feel “squirmier” at a given pressure than a new one. You might need to add 1 PSI to an old tire to achieve the same stability as a new one. Conversely, a very knobby, new tire with tall, stiff blocks may need a touch more pressure to prevent the blocks from flexing excessively and wearing unevenly.
Tubeless vs. Tube-Type Setups
This is a major point of discussion. Tubeless setups (using a rim strip and sealant) allow for much lower, safer pressures. Why? Because there’s no tube to pinch. The primary failure mode changes from a “snake bite” flat to a bead unseating or a sidewall tear from excessive flex. Many modern bikes are tubeless-ready, and riders exploiting this can drop pressures into the 8-10 PSI range on soft terrain with remarkable grip and comfort, with a drastically reduced chance of a simple puncture flat. Tube-type tires are more susceptible to pinch flats, which is why the pressure minimums are more critical. Never run a tubeless pressure on a tube-type tire without a heavy-duty, pinch-resistant tube.
The Practical Ritual: How to Check and Adjust Properly
Knowing the numbers is useless if you don’t implement them correctly. The ritual of checking pressure is sacred.
When to Check: Cold Tires, Every Ride
ALWAYS check pressure when the tires are “cold.” This means the bike hasn’t been ridden for at least 3 hours, or the tires haven’t been in direct sunlight. Riding even for a few minutes heats the air inside the tire, causing it to expand and giving a falsely high reading. Checking hot tires is the #1 reason people think they’re losing pressure when they’re actually just reading a heated tire. Make it a habit: before you push the bike out of the garage, check your pressures.
The Right Tools: Invest in a Good Gauge
Forget the cheap, sliding-stick pencil gauges that came with your bike. They are notoriously inaccurate. Invest $20-$40 in a quality digital tire pressure gauge or a high-quality dial analog gauge. Accuracy matters. A 1 PSI error can be the difference between perfect grip and a slide. Keep it in your gear bag. A floor pump with a built-in gauge is great for adjustments at home, but a handheld gauge is essential for trailside tweaks.
The Adjustment Process: Step-by-Step
- Remove the valve cap. Keep it safe; don’t let it roll into the dirt.
- Press the gauge firmly onto the valve stem. You should hear a slight hiss of air. Hold it steady for a second for an accurate reading.
- Read the pressure. Compare to your target for the day’s conditions.
- Add air: If low, use your pump. Push the pump chuck firmly onto the valve. For Schrader valves (common on dirt bikes), you may need to depress the small pin in the center. Pump in short bursts, re-checking frequently.
- Let air out: If over-inflated, use a small tool (like the end of your gauge or a tire lever) to gently press the valve stem pin. You’ll hear a sharp hiss. Let it out in short bursts, re-checking.
- Replace the valve cap securely. It keeps dirt and moisture out of the valve core, which can cause leaks.
Troubleshooting: What Your Tires Are Telling You
Your tire’s performance and wear pattern are a direct report card on your pressure choice. Learn to read the signs.
Signs of Over-Inflation
- Wear Pattern: The center of the tire tread wears down significantly faster than the edges. The tire is “ballooning” in the middle, so only the center touches the ground.
- Feel & Performance: Very harsh, “bouncy” ride. Lack of traction, especially in loose corners, as the tire can’t conform to the surface. The bike feels “nervous” and can skip over small bumps instead of absorbing them.
- Visual: The tire sidewall looks very taut and rounded, with little visible flex when you push on it.
Signs of Under-Inflation
- Wear Pattern: The edges of the tire tread wear prematurely. The tire is “cupping” or “squaring off” as the sidewalls collapse and the edges bear most of the load.
- Feel & Performance: Unstable, vague steering. The front end feels like it’s “wandering” or “washing out” in turns. You may feel a “squirm” or side-to-side flex in the rear tire under acceleration. Increased risk of a “snake bite” flat from the tube pinching.
- Visual: The tire has a noticeable sidewall bulge at the contact patch. The sidewall looks wrinkled or folded when the bike is weighted.
Other Issues: Bead Damage & Sidewall Tears
If you see damage to the bead area (where the tire meets the rim) or a tear in the sidewall, this is often a sign of extreme under-inflation combined with hard impact (like landing a jump or hitting a rock). The sidewall flexed beyond its limits and ripped. This is a tire replacement scenario, not a pressure tweak.
Conclusion: Pressure is Your Personal Secret Weapon
Mastering your dirt bike’s tire pressure is a continuous experiment, not a one-time setup. It connects you to the terrain in a tangible way. Start with your manufacturer’s safe baseline, then use your senses—the feel of the bike, the look of the tire wear, the sound of the traction—to make small, calculated adjustments. Remember the core formula: soft terrain = lower pressure; hard terrain = higher pressure. Always check cold, use a good gauge, and respect the limits of your rims and tires, especially if you’re running tubes.
This simple, 30-second ritual before every ride transforms your machine. It turns a generic bike into a personalized tool, perfectly tuned for the conditions you’re about to face. It builds a deeper understanding of your bike’s dynamics and makes you a more intuitive, confident, and—most importantly—safer rider. So stop guessing. Start measuring. And get ready to feel the difference that the right amount of air can make.
Frequently Asked Questions
What is the typical air pressure range for a dirt bike?
For most off-road conditions with standard tube-type tires, the safe range is typically between 12 and 20 PSI. The exact number depends on your bike’s manufacturer recommendation, the terrain, your weight, and the tire construction. Always start with the PSI listed on your swingarm or owner’s manual.
What happens if my dirt bike tire pressure is too low?
Under-inflation causes unstable, vague handling and increases the risk of a “snake bite” pinch flat. It leads to excessive sidewall flex, which can overheat and damage the tire or cause the bead to unseat from the rim. The tire will also wear prematurely on the edges.
Can I run the same pressure on all terrains?
No. Terrain is the primary factor for adjustment. Use lower pressure (e.g., 10-12 PSI) for soft sand or deep mud to increase flotation. Use higher pressure (e.g., 14-18 PSI) for hard, rocky, or fast-paced terrain to protect rims and maintain stability. A balanced, all-around pressure is usually the manufacturer’s baseline.
How does temperature affect my tire pressure?
Air pressure changes with temperature. For every 10°F (5.5°C) increase in temperature, pressure rises by about 1 PSI. This is why you must check pressure when tires are cold. Riding heats the tires and air, giving a falsely high reading. Adjustments should always be made based on cold pressure.
Is it safe to run very low pressures like 8 PSI?
It can be safe, but only with a tubeless setup and tires/rims designed for it. Running 8 PSI on a standard tube-type tire with a stock rim is extremely risky and will almost certainly cause pinch flats or bead unseating. If you want to run very low pressure, invest in a proper tubeless conversion kit and use heavy-duty, low-pressure-rated tires.
How often should I check my dirt bike tire pressure?
You should check the pressure before every single ride. Tires can lose 1-3 PSI per week naturally, and a slow leak can happen at any time. It’s a critical safety check, just like checking your oil or chain tension. Make it the first thing you do when you approach your bike.